

When you think about your water heater, you probably focus on whether you have hot water—not the quiet hero inside that keeps it running: the water heater anode rod, a sacrificial metal rod designed to attract corrosive elements away from the tank lining. Also known as a sacrificial anode, it’s the reason your tank doesn’t rust from the inside out. Most people don’t know it exists until their heater starts leaking—and by then, it’s too late.
This rod is usually made of magnesium, aluminum, or zinc, and it’s screwed into the top of your tank. Over time, it slowly eats away as it pulls corrosive minerals and electrolytes toward itself instead of letting them attack the steel walls. That’s why it’s called sacrificial. Think of it like a bodyguard taking bullets for the tank. Once it’s worn down, your tank is exposed—and that’s when rust, leaks, and expensive replacements start showing up. Most manufacturers recommend checking it every 2 to 5 years, depending on your water quality. Hard water? It’ll eat the rod faster. Soft water? It lasts longer, but still wears out.
The water heater lifespan, how long your tank lasts before needing replacement is directly tied to the anode rod. A heater with a fresh rod can easily hit 10 to 15 years. Without one—or with a dead one—it might only last 5 to 7. That’s not just a few extra years of service; it’s hundreds or even thousands of pounds saved. You wouldn’t skip oil changes in your car, so why skip this? It’s one of the cheapest maintenance tasks you can do, and it’s often overlooked because it’s hidden out of sight.
And it’s not just about the rod itself. The water heater maintenance, routine checks and actions that keep your heater running efficiently routine includes flushing sediment, testing pressure valves, and checking for leaks—all things that work hand-in-hand with anode rod health. If you’ve got a 10-year-old heater and never checked the rod, you’re gambling. That same heater might still work fine, or it might be one cold shower away from flooding your utility room.
Some people try to skip the anode rod entirely, thinking they can just replace the whole tank when it fails. But that’s like waiting for your brake pads to vanish before you fix your brakes. Replacing a water heater isn’t cheap—especially when you factor in labor, plumbing adjustments, and disposal. A new rod costs under £30. A new heater? Easily £800 to £2,500. The math isn’t even close.
And if you’re wondering whether your water heater even has a rod—yes, almost all standard tank models do. Even newer ones with aluminum or hybrid designs still rely on this principle. The only exceptions are tankless heaters, which work differently and don’t need one. But if you’ve got a traditional tank, that rod is your first line of defense.
Below, you’ll find real-world guides on how to check your anode rod, when to replace it, what happens when it fails, and how to extend your heater’s life without breaking the bank. These aren’t theory pieces—they’re based on actual repair reports from homes across Bognor Regis. You’ll see what common mistakes people make, how to spot a failing rod before disaster hits, and why waiting for a leak is never the right move.
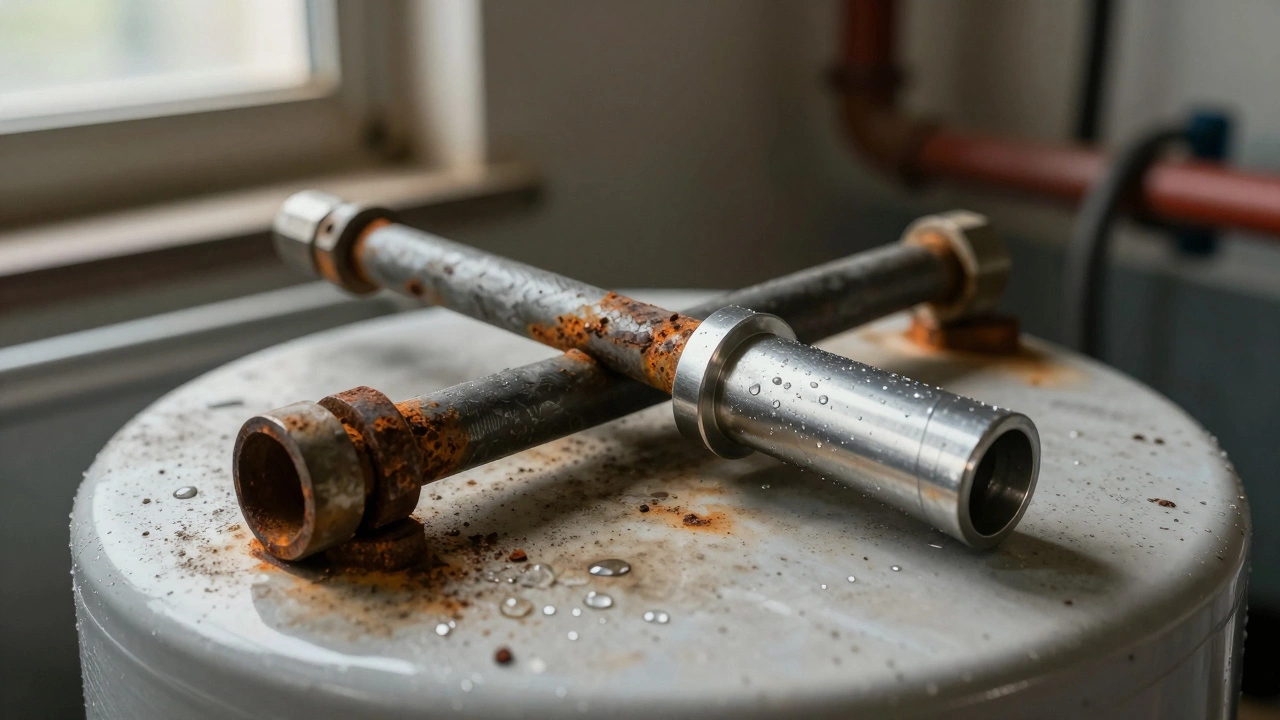
Replace your water heater's anode rod every 1-2 years in hard water areas to prevent tank corrosion. A simple £20 part can save you hundreds in repairs.
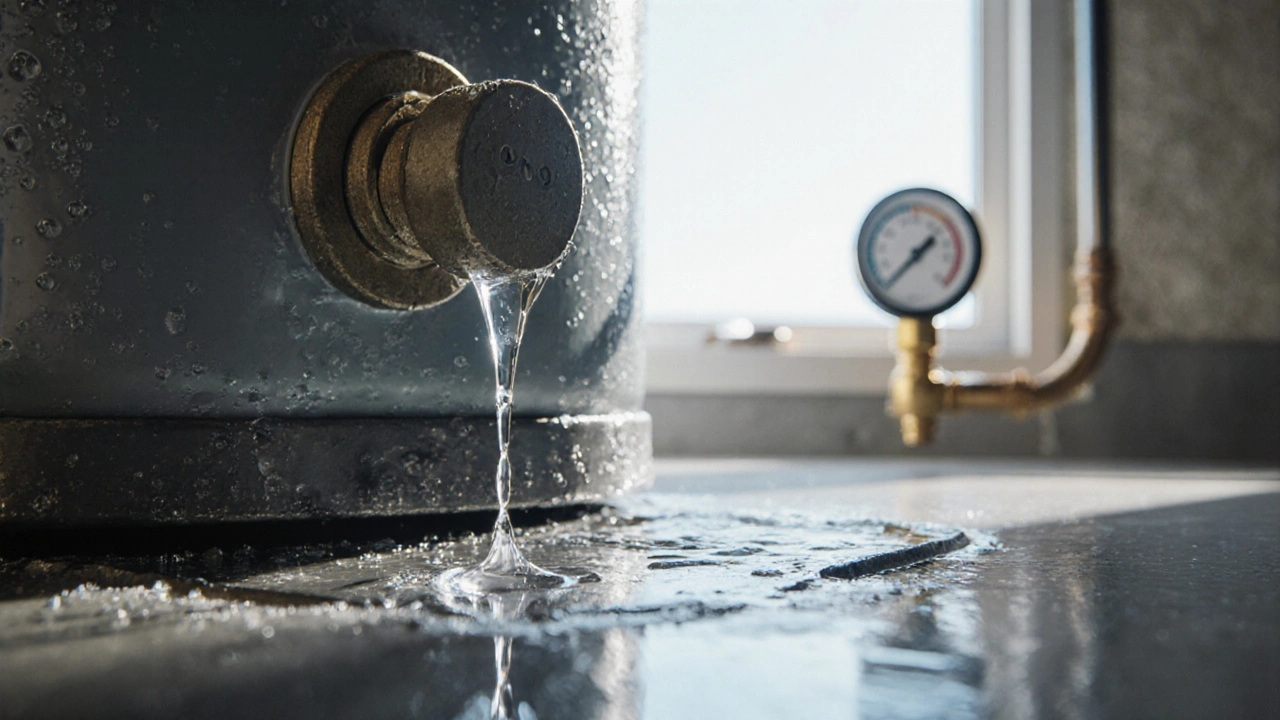
Water heater leaks usually come from five common spots: the pressure relief valve, anode rod, drain valve, tank corrosion, or pipe fittings. Learn where to look and how to fix it before it turns into a flood.
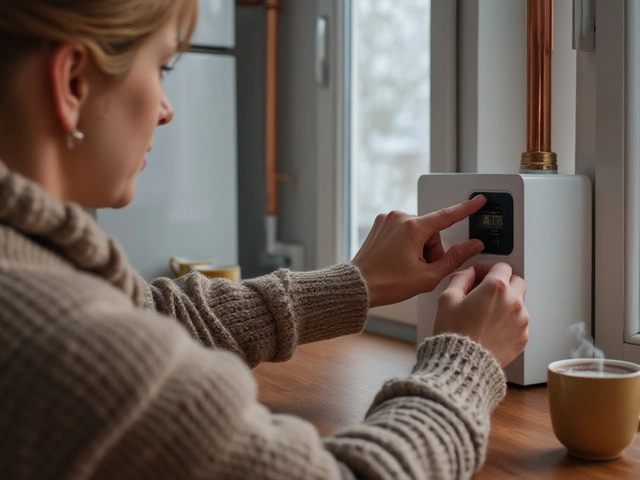
Maintaining a boiler goes beyond just an annual check-up. Regular maintenance ensures that your heating system runs efficiently, prolonging its lifespan and saving money on repairs. This article delves into necessary care tips, signs indicating a need for professional help, and actions homeowners can take to keep their boilers in top shape. Understanding the importance of each maintenance task can help prevent unexpected breakdowns, especially during colder months.

Wondering if your 20-year-old oven can be repaired? Discover repair tips, replacement part insights, costs, and when it makes sense to swap your old oven for a new one.
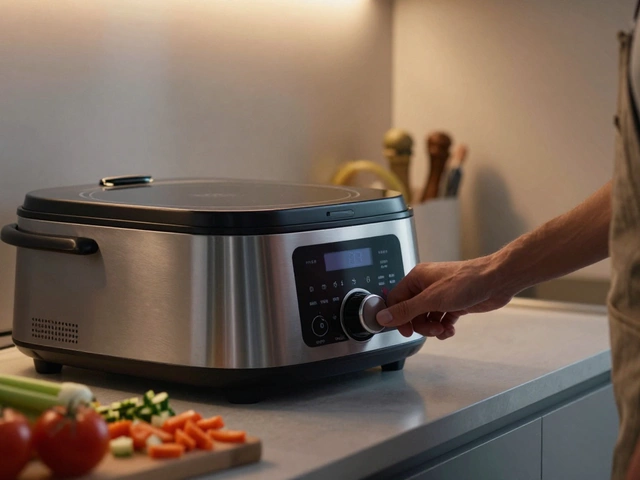
Learn how to tell if your cooker is broken by checking power, error codes, and symptoms like uneven heating or gas smells. Get practical tips for DIY fixes and know when to call a professional.
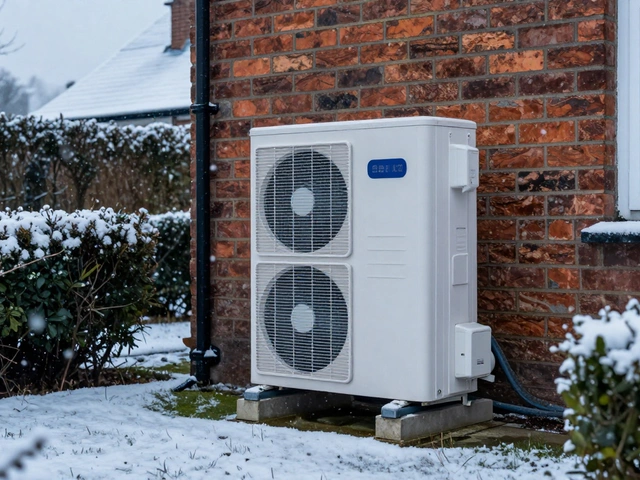
Discover real heat pump repair costs in the UK for 2026. Learn which faults are expensive, how maintenance saves money, and when to replace vs repair your system.

Experiencing a sudden loss of hot water can be inconvenient and potentially alarming. Understanding common reasons for this issue, such as thermostat malfunctions or a broken heating element, can help you troubleshoot the problem. Sometimes the solution is as simple as relighting the pilot light or adjusting the thermostat settings. For more complex issues, professional repair might be necessary. This article provides insightful tips and practical information to help you get your hot water flowing again.