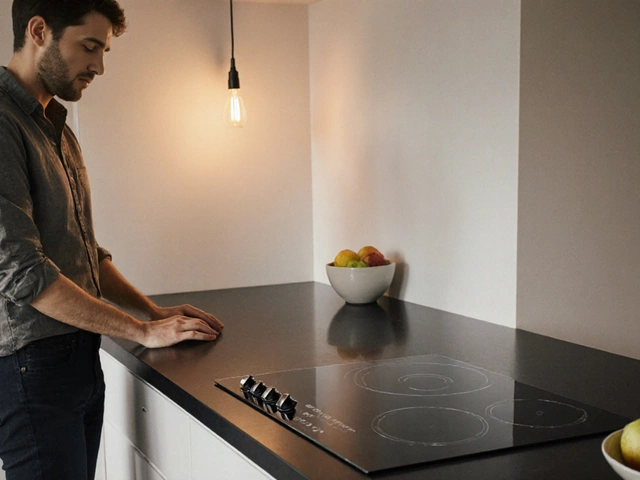
Picture this: you're halfway through frying up breakfast, and suddenly, one ring on your electric hob just... dies. No warning, no heat, no nothing. You might think your only option is to call in a repair tech or just replace the whole hob. But what if I told you—swapping out a dud element is something you can totally handle? You just need the right info, some simple tools, and a little bit of patience.
How Electric Hob Elements Work—and Why They Fail
Electric hobs, sometimes called cooktops or stoves, get their magic from one key part: the heating element. These nifty pieces turn electricity into the sizzling heat you need to cook. Most modern electric hobs use either coiled elements (older style) or sleek ceramic/glass tops with hidden elements underneath. Each ring or zone is a separate circuit—it’s basically resistance wire that heats up once you twist the knob.
Why would an element give up the ghost? A few main reasons: regular wear and tear, accidental impact (looking at you, clumsy casserole dish), overheating, and electrical faults. Coiled elements are more exposed, so they are pricier to replace but dead simple to spot. Ceramic tops hide things, so issues are less obvious but they protect the wiring from most kitchen catastrophes.
Manufacturers usually test elements to last years with regular use, but according to data from Which? (2023), the average lifespan is between 6-10 years depending on how often you use the hob and how well it's maintained. Burnt smells, erratic heating, visible cracks, or zero response when you crank the dial are clear signs: your element is probably shot.
Can You Replace an Element on an Electric Hob Yourself?
Short answer: yep. This isn’t some off-limits, trade-secret job. If you can use a screwdriver and follow safety rules, you’re already halfway there. On freestanding cookers, elements are even easier to access. For built-in hobs (especially ceramic/glass ones), there’s a bit more careful prying and lifting, but it’s still within reach for a careful DIYer.
That said, you do need to switch off and unplug the hob first—never skip this step. If it’s hardwired, find your main fuse box and cut the power at the circuit breaker. Test with a voltage tester before touching anything inside. Sound super-cautious? Good. Safety trumps everything when you’re dealing with live wires.
Tools you’ll want handy: Philips and flat-head screwdrivers, a socket wrench, insulated needle-nose pliers, maybe a Torx set. And remember to snap a picture before disconnecting anything—those wire layouts get confusing fast, especially after the second cup of coffee.
When shopping for a replacement element, grab exactly the right part for your hob’s make and model. Even two hobs from the same brand might need totally different elements. Check the label underneath or inside the hob for model numbers.
Step-by-Step: Swapping a Faulty Electric Hob Element
Ready to roll up your sleeves? Here’s how a replacement usually goes for both coiled electric hobs and modern glass/ceramic types.
- Confirm the exact element is dead. Try another working ring first—this can save you a wasted repair if the problem’s with the control knob or wiring, not the element itself.
- Turn off all power and double-check (seriously, double-check) with a voltage tester.
- For removable coiled hobs: Gently pull out the burner. Unhook the mounting bracket, then detach the wires (remember to note which wire goes where). Replace with the matching new element, reconnect wires, snap back in place, and test.
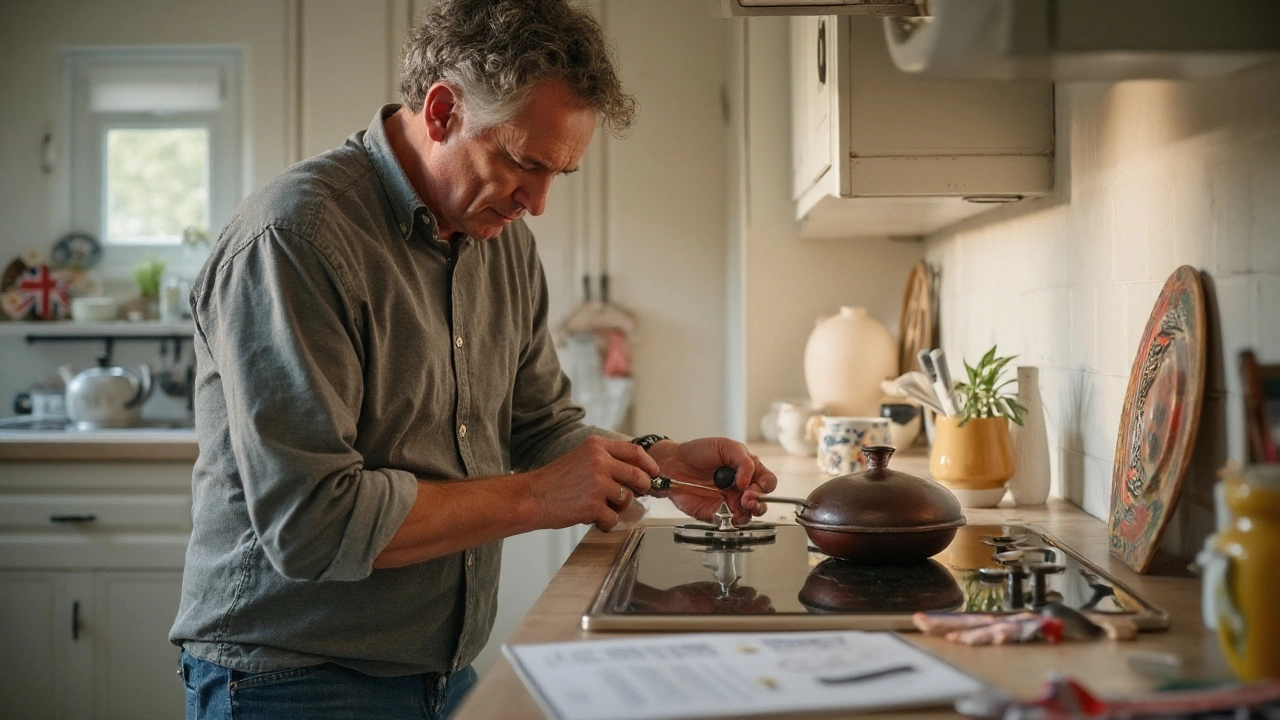
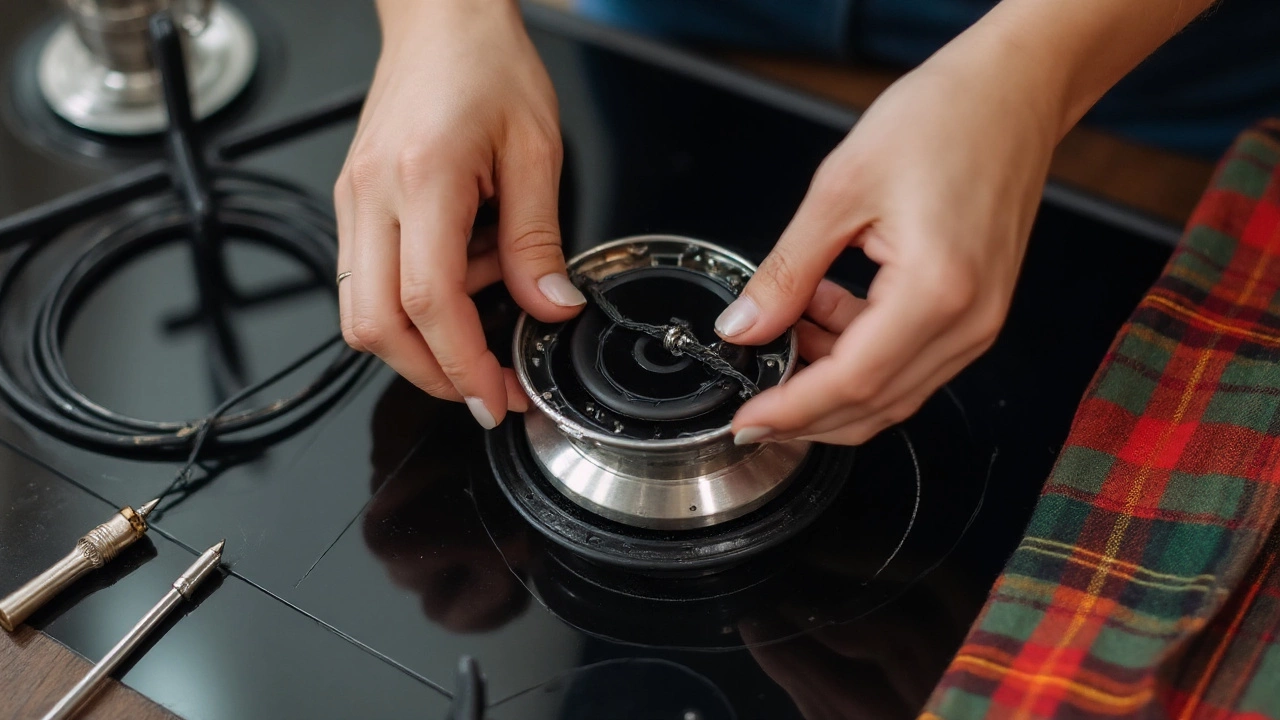
- With ceramic/glass hobs: Unscrew the hob from the counter or lift it out (some are held by clamps underneath). Remove the main cover. You’ll see several round elements under the glass—find the faulty one by visual clues or by checking with a multimeter for continuity.
- Remove the bad element by unscrewing its mounting points and disconnecting the attached wires. Plug those wires onto the new element, fix it in place, and reassemble everything.
- Reconnect power, test the new ring, and watch it glow happily when you turn the knob.
Some tips make life easier: Label wires with masking tape, keep all screws in a dish so you don’t lose them, and don’t overtighten anything. Replacement jobs generally take under an hour if you’re organized—but no shame in spending longer, especially if it’s your first rodeo.
Here’s a quick breakdown of standard hob element costs in the UK from 2024, collected from AO.com and major appliance retailers:
| Type of Element | Average Cost (£) |
|---|---|
| Traditional Coiled Ring | £15-£30 |
| Ceramic/Glass Heating Zone | £25-£65 |
| Dual- or Triple-Zone Hob Element | £40-£90 |
Labour charges for a pro? Typically £60-£100 per job, sometimes plus a callout fee. So doing it yourself can save a chunk of cash—and gives you a story for family, too.
Keeping Your Electric Hob Running Smoothly
Once you’ve fixed your hob, you might want to know how to avoid this trouble in the future. Just a few tweaks to your kitchen habits can make a world of difference:
- Keep spills in check. Liquids can seep under the glass—eventually corroding contacts and killing the element. Wipe up any spills the second they happen.
- Don’t whack pans onto the hob. Sudden, heavy impacts are bad news, especially for ceramic and glass elements.
- Make sure pan bases are flat and matched to the ring size. Tiny pots on big rings or vice versa can wear elements faster and waste loads of electricity.
- Don’t use abrasive scouring pads. Scratches on the glass can lead to stress fractures over time.
- Give your electric hob a gentle clean (when cool) with a soft cloth and mild detergent. Harsh chemicals? Not worth it—they can etch the glass or stain surfaces.
- Try not to run an element on full blast for long periods—most manufacturers, like Bosch and Neff, warn that maxing out heat constantly can send an element to an early grave.
If your hob is over 10 years old and has already gone through multiple elements, it might be time to weigh up replacement. But if you’re swapping your first dud element at year five or seven, you’re actually right on schedule. Keeping a hob element in good shape isn’t magic—it’s just regular cleaning, careful pan handling, and the occasional fifteen-minute repair job.
Next time you find yourself staring down a cold, dead burner on your trusty electric hob, don’t panic or pull out the credit card. With some common sense and a bit of guidance, you can handle the fix and get back to sizzling in no time.