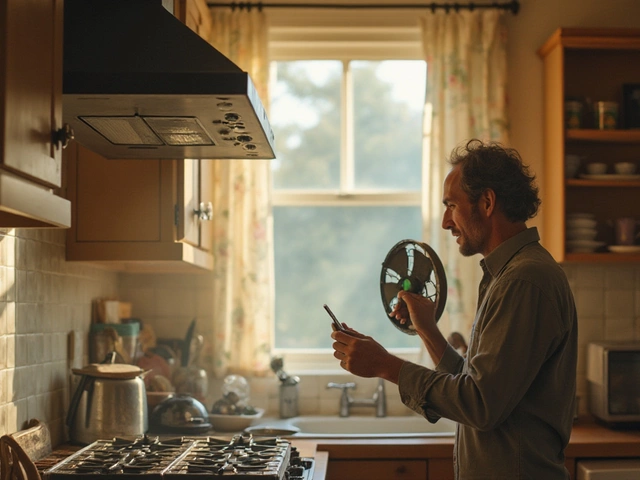
Fresh air in the kitchen or bathroom isn’t a luxury, it’s a must. When your extractor fan gets noisy, stops working, or just looks worn out, you don’t need to call a pro right away. With the right tools and a bit of patience you can swap the fan yourself in under an hour. This guide walks you through everything you need, step by step.
Before you start, gather a few basic tools: a screwdriver set (Phillips and flat‑head), a drill with a small bit for any screw caps, wire strippers, and a flashlight. You’ll also need a new fan that matches the size and airflow rating of the old one – most residential fans are 100mm or 150mm in diameter. Safety matters, so turn off the electricity at the consumer unit. Double‑check the circuit is dead with a voltage tester; you don’t want a surprise shock while you’re working.
If the fan is in a bathroom, make sure the area is dry and the walls are clean. A damp environment can hide moisture that could affect your new fan’s wiring. Also, keep a fire‑extinguishing blanket nearby just in case you accidentally strip a wire.
1. Remove the old cover. Most fans have a plastic grille held by clips or a few screws. Gently pry the clips apart or unscrew the fasteners, then set the cover aside.
2. Disconnect the wiring. You’ll see two or three wires – usually live (brown), neutral (blue) and sometimes earth (green/yellow). Loosen the terminal screws, note which wire goes where, then pull the connectors off. If the wires are capped, cut the caps off with wire strippers.
3. Unscrew the fan unit. The fan sits on a metal or plastic frame attached to the ceiling or wall. Use the screwdriver to remove the mounting screws, then pull the fan out of the opening. Some models have a quick‑release clip; just press the release and lift.
4. Prepare the new fan. Attach the new fan’s mounting bracket to the existing frame if it’s not pre‑installed. Make sure the fan sits level – an uneven fan can cause vibration and noise.
5. Wire the new fan. Match the live, neutral, and earth wires to the terminals on the new unit. Tighten the screws securely, but don’t over‑tighten – you could strip the screw heads. Wrap each connection with a bit of electrical tape for extra safety.
6. Fit the fan and secure it. Slide the fan back into the opening and align the mounting holes. Re‑insert the screws and tighten them evenly. If the fan came with a rubber gasket, place it now to prevent drafts.
7. Replace the grille. Snap or screw the cover back on. Make sure it clicks into place and there are no gaps.
8. Test the fan. Switch the circuit back on at the consumer unit. Turn the fan on – you should hear a steady hum and feel air moving. If it’s silent or makes a grinding noise, double‑check the wiring and mounting.
That’s it. You’ve just replaced an extractor fan without hiring anyone. Regular cleaning of the grille and checking the fan’s motor will keep it running smoothly for years.
Still not sure if you can do it yourself? The biggest hurdle is the electrical connection; if your wiring looks damaged or you feel unsure, a qualified electrician can finish the job in minutes. Otherwise, enjoy the fresh airflow and the satisfaction of a job well done.

Wondering if you can change your kitchen extractor fan yourself? This guide covers steps, safety, tools, common mistakes, and installation tips for a smooth DIY experience.
Boiler repair costs in 2026 range from £80 to £1,500 depending on the fault. Learn average prices for common fixes, hidden fees, and when to repair versus replace your boiler.

Dealing with a lack of hot water can be incredibly frustrating, especially during colder months. This article provides step-by-step guidance to identify and fix common issues with water heaters, ensuring you can tackle minor problems yourself before calling a professional. By understanding the functionality and common problems associated with water heaters, you can save time, money, and avoid inconvenient cold showers.

Struggling with a troublesome boiler? Discover the most frequent issues like lack of heat, strange noises, and leaking water. Learn practical tips and tricks on how to diagnose and fix these problems on your own. Recognize when it's time to call a professional and keep your home warm and comfortable.
Explore the practical steps in diagnosing and fixing common issues with kitchen extractor fans. Learn about the signs your fan might need repair, and gather essential maintenance tips to extend its life. Whether you're a DIY enthusiast or considering professional help, this guide provides valuable insights for restoring your kitchen ventilation system to optimal performance. Discover how regular upkeep can prevent costly replacements.

A malfunctioning boiler can be a real nuisance, especially during the cold months. Understanding whether a broken boiler constitutes an emergency is crucial. This article provides insights into when to prioritize boiler repairs, potential risks associated with delayed attention, and essential DIY tips to consider before professional help arrives. Dive into valuable advice on maintaining your heating system efficiently.