Ever looked up at your noisy, wheezing extractor fan and thought, “How hard could it be to swap this thing out myself?” The answer: it depends. If you can handle a screwdriver and turn the power off without forgetting, you’re halfway there. But here’s the catch—electricity is no joke, and there’s no shame in hitting pause if things look too tricky.
Extractor fans wear out more often than people realize. The kitchen and bathroom just chew through them, thanks to all that steam and grease. Instead of putting up with the moldy smell or foggy mirrors, a fresh fan makes a real difference in daily life. The real bonus? You could pocket a good chunk of cash by doing it yourself—assuming you stay smart about it.
- Why Replace Your Extractor Fan?
- Can Anyone Do It? What You Really Need to Know
- What Tools and Materials Are Required?
- Step-by-Step: Replacing the Fan
- Safety Pitfalls Most DIYers Miss
- When to Call a Pro Instead
Why Replace Your Extractor Fan?
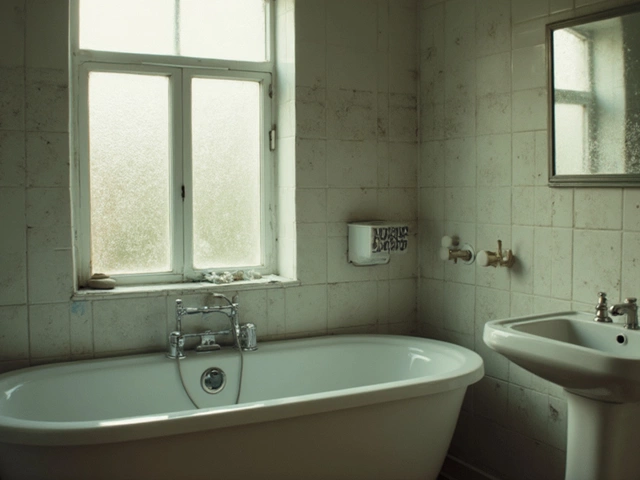
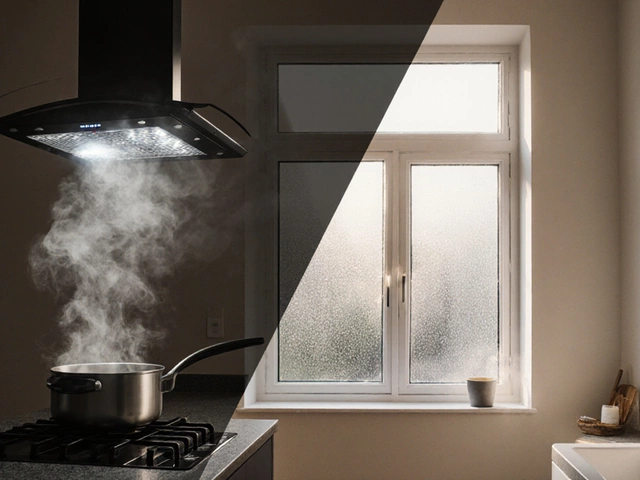
If you’re dealing with a bathroom that stays stuffy or a kitchen that never seems to lose that fried smell, your extractor fan probably isn’t doing its job. These fans aren’t built to last forever—most only stick around for 7 to 10 years before they slow down, get noisy, or just quit. Fans pack up early when clogged with dust, jammed by grease, or just worn out from daily use.
A worn-out fan can lead to bigger problems than you’d expect. When moisture hangs around, you’ll get mold on ceilings, around windows, or even inside walls. Mold messes with indoor air quality and, for some people, can trigger asthma or allergies. And in kitchens, a dead fan means greasy cabinets and lingering cooking smells that just won’t leave.
Here’s a quick comparison to show the real difference a working fan makes:
| Old/Faulty Fan | New Fan | |
|---|---|---|
| Humidity after shower | 40% remains after 20 mins | 15% remains after 20 mins |
| Noise level | Over 45 decibels | Around 25 decibels |
| Mold growth risk | High | Low |
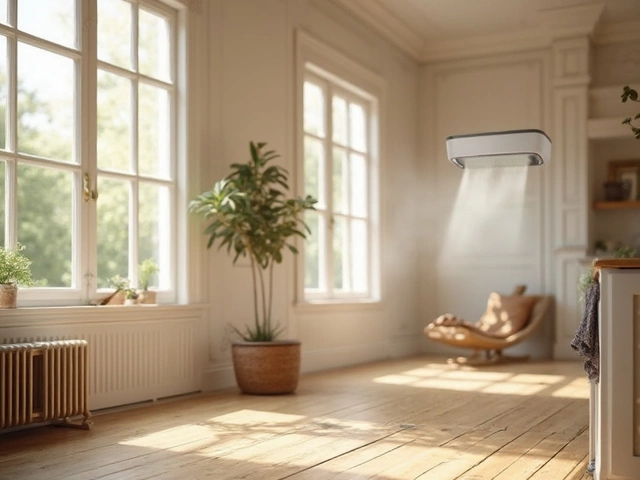
Plus, new fans use way less energy, so you’ll see a bump down on utility bills. Some newer extractor fan models even come with sensors or timers to make air circulation a no-brainer.
In short: replace that tired fan to keep smells, steam, and mold at bay, improve air quality, and save energy while you’re at it. The upgrade really pays off faster than you’d think.
Can Anyone Do It? What You Really Need to Know
So, are you really up for swapping out that extractor fan by yourself? Loads of people want to skip the cost of a pro and DIY it, but a few facts could change your mind. First, ask yourself: are you comfortable flipping breakers and making sense of wires? If not, you’re better off calling in help. Your safety—and maybe your ceiling—depend on it.
Fans in bathrooms and kitchens plug right into the electrical system. It’s not rocket science, but you need to respect the danger. UK stats show that around 50% of home electrical faults come from bad repairs by uninformed DIYers, which often leads to damaged fans, power cuts, or worse—fires. It’s not just about following a YouTube video. Knowing exactly which wire goes where is non-negotiable.
If your fan is just screwed to the wall or ceiling, and plugs into a nearby socket, you probably can handle it. But if it’s wired directly and hidden behind tiles or plasterboard, you’re stepping into electrician territory. Fans with timers, humidistats, or those on the same circuit as your bathroom lights are also trickier. Making a wiring mistake could trip your house’s power or void your home insurance—no one wants that.
- You must fully switch off power at the mains. Double check using a voltage tester, not just by flipping a switch.
- Not sure what kind of wiring setup you’ve got? Take a clear photo before you start. It can save hours later if something’s confusing.
- Replacement is much easier if you’re swapping like-for-like—a bathroom fan for another of the same size and wiring.
- Don’t try to update old wiring or move the fan’s location unless you’re qualified. That’s when the risks skyrocket.
Here’s a handy short table to show when a DIYer can usually handle it, and when you should call a pro:
| Situation | DIY | Call a Pro |
|---|---|---|
| Like-for-like fan, simple wiring | Yes | No |
| Wiring is confusing or old | No | Yes |
| Fan is linked to lighting circuit | Maybe | Yes |
| Fan hidden behind tiles/plaster | No | Yes |
| Fan has extra features (timer/humidity sensor) | Maybe | Yes |
Bottom line? If you’re confident and careful, replacing a standard extractor fan is doable. But don’t force it if you’re not sure—better safe (and dry) than sorry.
What Tools and Materials Are Required?
Before you even look at the screws on your old extractor fan, get your toolkit sorted. Having the right gear makes the job smoother and saves you from hunting around with wires hanging out of your wall. Most fans, whether they’re bathroom or kitchen types, use normal hand tools, nothing wild.
- Screwdriver set (Flathead and Phillips) — You’ll definitely need both because screws on fans love to surprise you.
- Voltage tester — Never skip this. Double check there’s zero power before you touch any wires.
- Wire strippers or cutters — Essential for disconnecting and reconnecting wires.
- Drill (with masonry bits if you’re drilling into brick or tile) — Sometimes the new fan’s fixings won’t match up with the old holes.
- Pliers — Handy for twisted wires or stubborn connections.
- Safety goggles and a dust mask — Don’t underestimate the grit and insulation that can fall from ceilings or walls.
On the materials side, here’s what you’ll want to have ready:
- The exact extractor fan replacement — If you’re unsure, measure the old unit and check for a matching size and rating.
- Rawl plugs and screws — Sometimes the old hardware won’t grip anymore, especially in crumbling plaster or old tiles.
- Electrical tape and wire connectors — You need these for secure, safe connections.
- Sealant (usually silicone) — Stops steam or cooking fumes from sneaking around your fan edge.
Here’s a quick look at the average cost you can expect for the basics if you need to hit the shop:
| Item | Estimated Cost (£) |
|---|---|
| Screwdriver Set | 10–15 |
| Voltage Tester | 5–10 |
| Extractor Fan | 20–60 |
| Sealant | 3–6 |
If you want things simple, there are even DIY extractor fan kits that include screws, connectors, and basic instructions right in the box. Just check that your new fan matches the old one, so you’re not hacking a bigger gap or patching more drywall than you planned. Nothing slows things down like realizing you bought the wrong size halfway through the job.
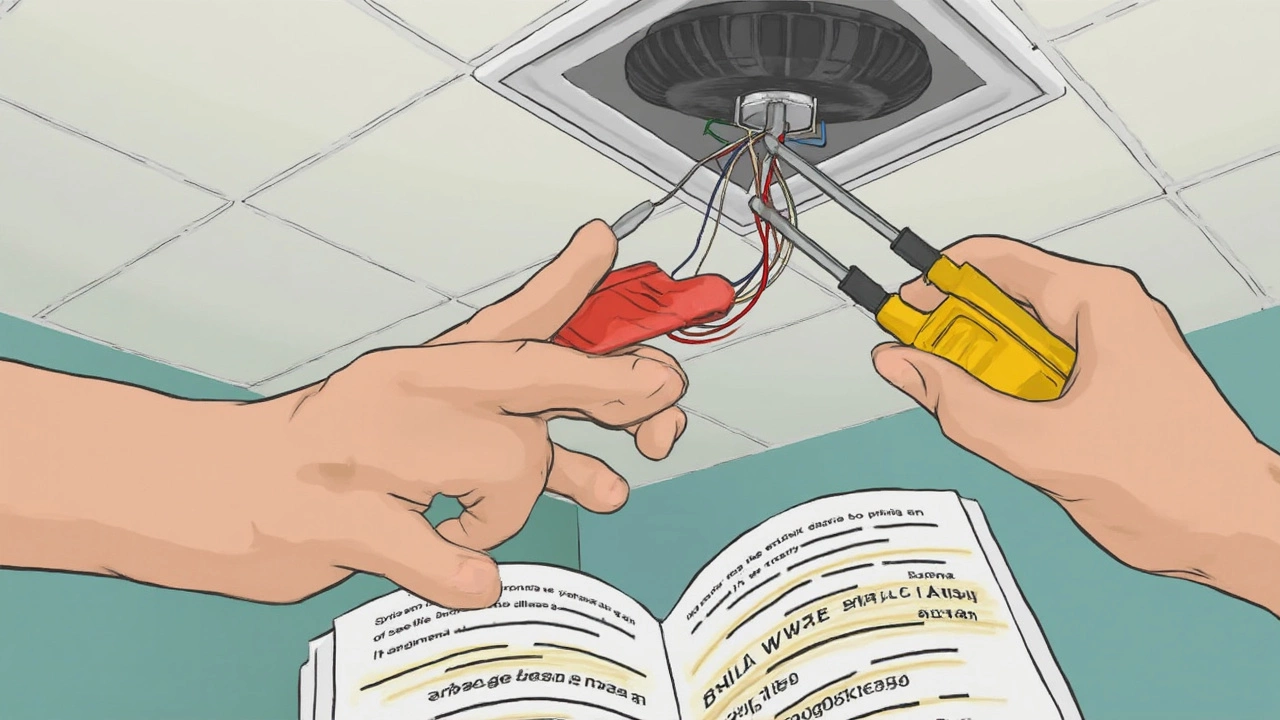
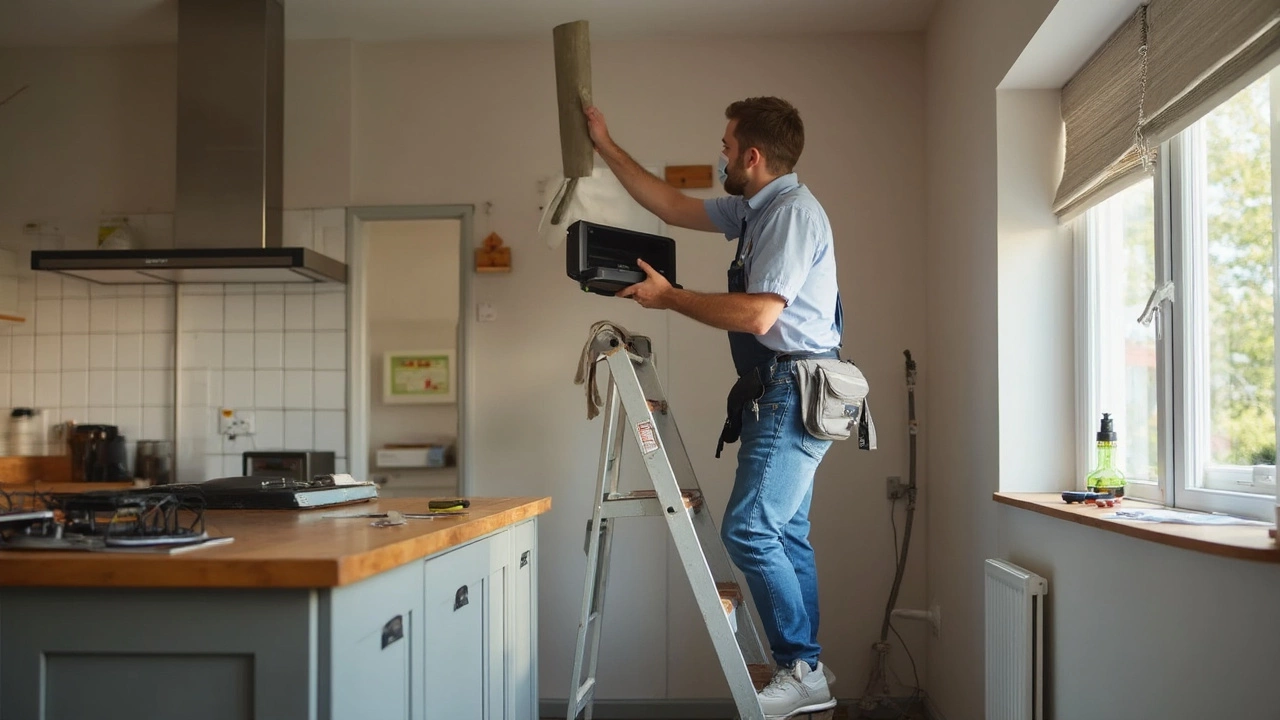
Step-by-Step: Replacing the Fan
Swapping out an old extractor fan isn’t rocket science, but cutting corners can lead to dodgy results or even electrical trouble. Here’s a real-life, straightforward rundown to get the job done without the headache.
- Power Down – First thing’s first: kill the power at the fuse box. Never just flip the wall switch. Test the fan to make sure it won’t turn on before you touch anything.
- Remove the Old Fan Cover – Most bathroom or kitchen fan covers pop off by hand or with a screwdriver. If yours seems stuck, check for hidden screws or clips.
- Unscrew and Take Out the Old Fan – Unscrew the main fan unit from the wall or ceiling. Carefully pull the fan outward, exposing the wiring behind it. Take a quick photo of the wiring setup with your phone—it’ll save your bacon later.
- Disconnect the Wiring – Loosen the terminal screws or connectors. Gently free the wires, and remember exactly where they went (that’s why the photo’s handy).
- Clean the Area – Wipe out any dust, grease, or cobwebs so your new extractor fan sits flush and works its best.
- Wire Up the New Fan – Match each wire on your new unit to its mate from the wall—usually live, neutral, and sometimes an earth wire. Use the manufacturer’s diagram as a sanity check. Tighten everything securely in the terminals—loose wires cause shorts and headaches.
- Fit the New Fan in Place – Ease the fan into the opening and secure it with screws. Double-check it’s level and snug. Don’t crush any wires behind the fan.
- Attach the Cover – Click or screw the cover on as the last step. This is your fan’s face, so line it up right.
- Power Up and Test – Flip the breaker back on. Give your new extractor fan a spin—literally. If it’s running smoothly without weird noises, you nailed it.
A lot of people mess up by mixing up the wires. Remember: brown is usually live, blue is neutral, and green/yellow is earth, but always check your unit’s instructions—a quick glance at the wrong color and you’ll have a fan that won’t start, or worse.
Here’s a quick look at the basics you might see inside the wall:
| Wire Color | Function |
|---|---|
| Brown | Live |
| Blue | Neutral |
| Green/Yellow | Earth |
Some older places use different colors, so double-check first. If your home’s wiring looks ancient or has surprising colors, don’t risk it—bring in a professional. Most of the time, it’s just a careful unplug-and-plug swap. You’ve got this, but don’t rush, and keep the power off unless you want an accidental shock to remember.
Safety Pitfalls Most DIYers Miss
Before you start bragging about your DIY skills, you need to watch out for some sneaky safety risks. Messing around with electricity isn’t just risky—it can be flat-out dangerous. About 46% of all household electric shocks actually happen during simple repairs, including extractor fan swaps. That’s not a made-up number. It’s straight from UK government accident stats in 2023.
First thing: always cut the power at the fuse box. Flipping the wall switch isn’t enough—fans are often wired to more than one circuit. Use a voltage tester every single time before you touch any wires. Getting lazy here is how accidents happen.
Another one most folks don’t think about—the ductwork. If your old fan is greasy or full of dust, you could trigger allergies, or just end up breathing in all sorts of nasty stuff while you work. Wear a dust mask if you see grime when you remove the cover.
Wiring is where things get dicey. Not every fan uses the same setup. A lot of older homes have confusing color codes or dodgy wiring. If you see something you weren’t expecting, don’t just take a guess. Take a picture of how it was before you remove anything. Even better, use wire labels or tape to keep track. Getting wires crossed can fry the new extractor fan or trip your home’s breakers.
Here’s a quick table to show the most common mistakes people make:
| Safety Mistake | Quick Fix |
|---|---|
| Not switching off at the breaker | Always turn off at the main panel |
| Touching unidentified wires | Label and photograph before touching |
| Standing on poor surfaces | Use a sturdy ladder, never a chair |
| Ignoring dust or mold in the fan | Wear a mask and gloves |
Don’t rush, and don’t cut corners. It’s not just about getting the job done—it’s about finishing in one piece. Don’t let that new bathroom fan or kitchen ventilation project become a story your friends laugh about for the wrong reasons.
When to Call a Pro Instead
Sometimes, doing everything yourself sounds good—until you're halfway through the job and realize it's not like changing a lightbulb. Here are some moments when calling an expert is absolutely the right move, especially with extractor fan setups tied into your home's electrical or venting system.
If your old fan is hardwired (not just a simple plug-in model), working with home wiring can get risky fast. UK law even says that major electrical work in the bathroom or kitchen—"Part P" stuff—often needs a qualified electrician. Messing up isn’t just a hassle, it’s a real safety risk too.
Got weird wiring colors, mystery wires, or a fan linked to your light switch with a timer or humidity sensor? That’s usually a signal to stop and get help, unless you already know exactly what those wires are for. Same goes for any jobs that mean opening up walls, patching ceilings, or re-routing ductwork. These jobs need more than a screwdriver and a YouTube video.
- The fan is part of a larger bathroom or kitchen overhaul—coordinating with builders or electricians keeps things smooth (and legal).
- If local codes or rules say so—a lot of places require licensed pros for electrical work in "wet" rooms like bathrooms.
- If you smell burning, see melted wires, or find damage in the old install, don’t guess. That’s a safety call right there.
If you ever feel out of your depth—even if it’s just basic nerves—don’t gamble. The cost of a pro is a lot less than the fallout from an electrical fire or ruined ceiling.
| DIY Fan Replacement | Call a Pro |
|---|---|
| Simple replacement, straight swap, basic wiring | Wiring is unfamiliar or modified |
| Fan plugs into a socket | Hardwired or integrated with lighting/timers |
| No damage or known hazards | Burnt wires, broken ducts, water leaks nearby |
It’s smart, not weak, to know when to call in a professional for extractor fan jobs. Safety and the law come first—your wallet (and ceiling) will thank you.