

If your electric oven isn’t getting hot, the heating element is the usual suspect. Swapping it out yourself can save you a call-out fee and get the kitchen back in action within an hour. Below you’ll find a straightforward walk‑through, the tools you’ll need, and tips for avoiding the most common mistakes.
Gather these items first so you don’t have to stop mid‑job:
Having everything on hand keeps the process smooth and reduces the chance of improvising with the wrong part.
1. Disconnect power. Unplug the oven from the wall or switch off the dedicated circuit at the breaker. Even if you think the element is the only live part, it’s safer to cut power completely.
2. Access the element. Open the oven door and remove the bottom oven rack. Most elements sit behind a metal cover or a plastic shield at the base. Unscrew the cover and set the screws aside – they’re usually easy to lose.
3. Test the old element (optional). Use a multimeter set to the resistance (ohms) setting. Touch the probes to the element’s terminals; a reading of infinity means the element is broken. If you get a low reading, the element may still work and the issue could be elsewhere.
4. Detach the old element. You’ll see two wire connectors clipped onto the element’s terminals. Press the release tabs (or pull the connectors apart) and pull the wires away. Some models have a single screw holding the element in place – loosen it with a screwdriver.
5. Install the new element. Position the new element into the same slot, align the screw hole, and tighten the screw. Re‑attach the wire connectors, making sure they click into place securely. A loose connection will cause the oven to trip the circuit.
6. Re‑assemble and test. Put the cover back, screw it in, and replace the oven rack. Restore power and set the oven to a high temperature for a few minutes. If it heats up evenly, you’re done. If not, double‑check the connections or consider calling a professional.
That’s the whole process. It usually takes 30‑45 minutes, even if you’ve never done it before.
While many homeowners can replace an oven element themselves, there are a few situations where it’s smarter to call Bognor Regis Appliance Repair Experts. If the oven still won’t heat after a new element, there might be an issue with the thermostat, wiring, or control board. Our technicians know how to diagnose those problems quickly and can get your oven back to full power without a long wait.
Remember, safety comes first. If you ever feel unsure about handling live wires, don’t hesitate to reach out. A quick call can save you time, money, and a potential injury.
Ready to give your oven a new lease on life? Grab the right element, follow these steps, and enjoy hot meals again in no time.

Got a cold oven? Learn if you can swap that faulty heating element yourself, what tools you'll need, and exactly what to watch out for. Easy fixes, with real-life tips.
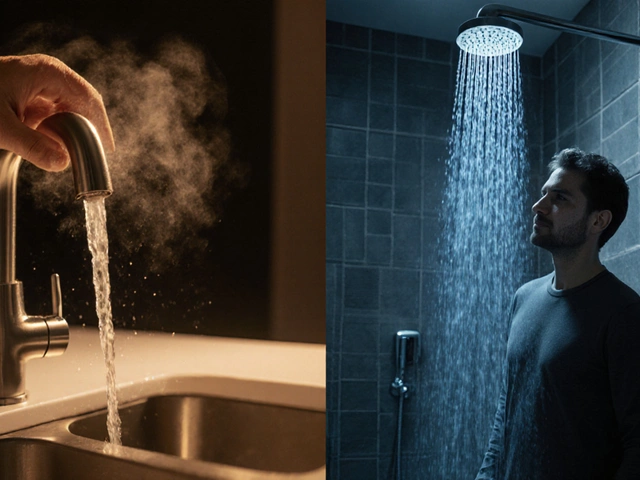
Discover why hot water reaches your sink but not the shower, learn the common causes, DIY fixes, and when to call a plumber for a reliable solution.
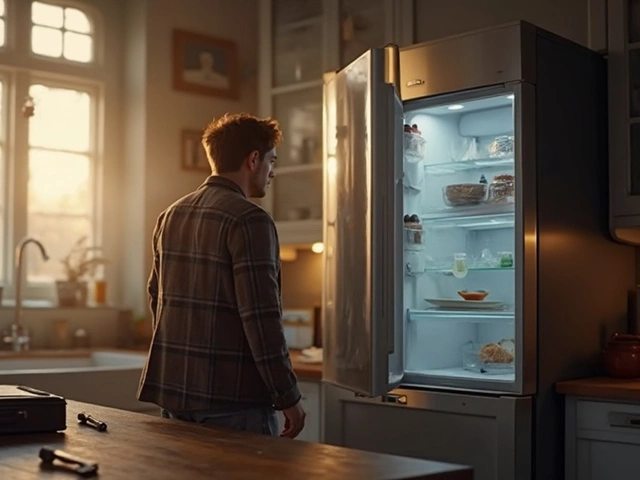
If your freezer isn't doing its one job—keeping things cold—you're in a pickle. But before you start shopping for a new one, there are a few things you might try to get it back to work. From checking the power source to cleaning coils, fixing cooling problems can often be simple and straightforward. Let's explore some potential solutions to get your freezer chilling again.

Wondering how long your electric stove is supposed to last? This article breaks down real-world numbers, explains what impacts the life of an electric stove, and gives you the know-how to make yours last longer. You’ll get practical advice on repairs versus replacement, and tips to avoid common pitfalls that cut appliance life short. Choosing the right upkeep now can save you money and headaches later. Perfect for homeowners who want their kitchen running smoothly for years.
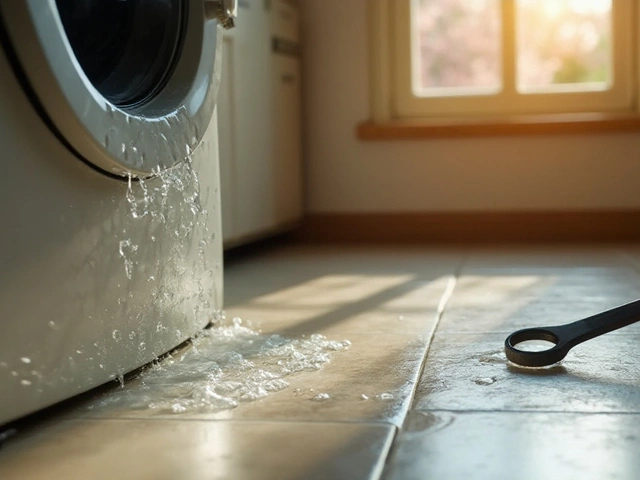
Washing machines are among the most used household appliances, making them prone to various problems over time. This article explores the most frequent issues like leaks, drainage problems, and strange noises. Understanding these problems can help in diagnosing issues quickly and considering effective repairs. The article also offers helpful tips to maintain your machine and keep it running efficiently for years. Simple maintenance steps can prevent most common problems from occurring.
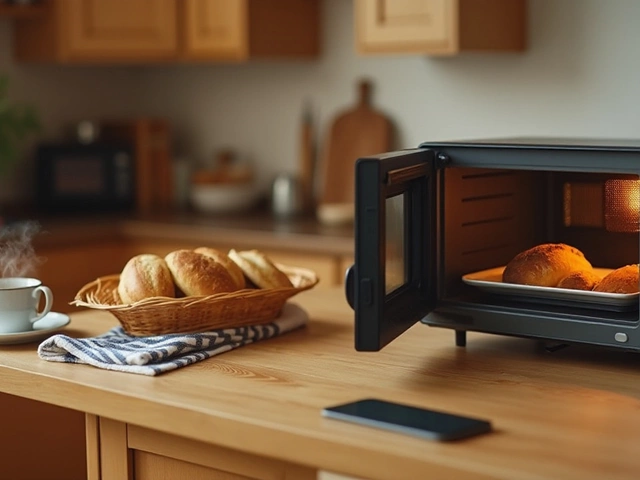
Microwave ovens are essential appliances due to their convenience in heating food. However, they can encounter several problems over time. The most frequent cause of microwave failure is a faulty door switch. This article discusses common microwave problems, how to identify them, and offers practical guidance on how to handle these issues.