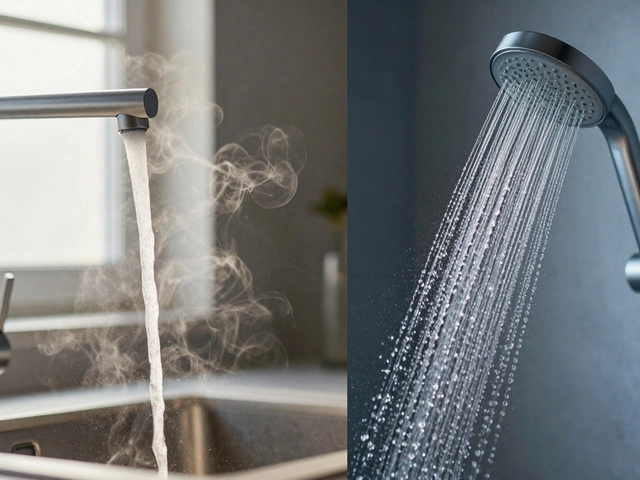
There's nothing quite as unwelcome as stepping into a shower only to feel the icy bite of cold water, and hearing your water heater's silence can quickly turn a good day sour. Dealing with a troublesome water heater can feel daunting, but many of its issues are fixable with some basic troubleshooting. Whether your water heater runs on electricity, natural gas, or solar power, problems often stem from similar issues.
This guide will help you navigate through common water heater problems and provide practical solutions, taking the mystery out of why your hot water isn’t flowing. Learn some basic diagnostic steps and find what might be causing the roadblock to your comfort. Before you make the call to professional plumbers, let's dive into some simple checks and fixes that might solve the problem without putting a dent in your wallet.
- Common Causes
- Initial Troubleshooting Steps
- Checking the Thermostat
- Inspecting the Heating Elements
- Maintaining Your Water Heater
Common Causes
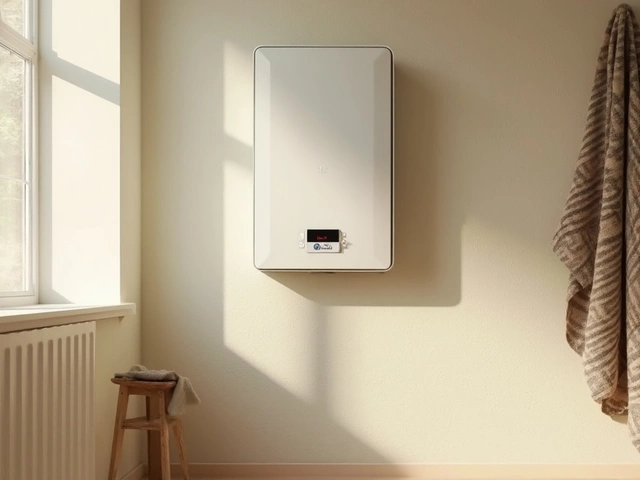
Understanding why your water heater might not be providing hot water is the first step in resolving the issue. The causes can be numerous, ranging from simple to complex. The most benign problem, and perhaps the easiest fix, is that the power supply to an electric model might be interrupted. Verify that the circuit breaker hasn't tripped or the fuse hasn't blown. Surprisingly, many homeowners overlook this initial check, assuming something more sinister is at play. Gas water heaters can suffer from a similar fate, but instead of electricity, gas supply issues could be culprit number one. An extinguished pilot light or a problem with the gas line might be preventing the burner from igniting, leaving you colder than desired.
Thermostat and Temperature Settings
The thermostat is another common suspect. If the thermostat isn't set properly, or if it's malfunctioning, the water heater won't heat water to the desired temperature. Double-check the settings to ensure they're configured to your preference. On electric models, each heating element has its own thermostat. With more modern digital models, a simple reset can sometimes recalibrate a thermostat that's gone askew. For older models, manual adjustments might be necessary. A faulty thermostat can require replacement, which might sound daunting but is actually a straightforward task for a seasoned DIY enthusiast.
Sediment Buildup
Indeed, another roadblock to blissfully hot showers is sediment buildup in the tank. Over time, minerals from the water supply can settle at the bottom of a water heater tank. This sediment can create a barrier between the burner and the water it is supposed to heat, resulting in lukewarm or cold water. Sediment can also insulate the water, forcing your heater to expend more energy to achieve the same effect. Routine maintenance, including regular flushing of the tank, is essential in areas with hard water. Not only can sediment affect water heating efficiency, but it can also cause rumbling noises, providing a telltale sign of internal distress.
Heater Components and Accessories
Issues can also arise from the components of the heater itself. The heating elements could be worn out, especially in electric heaters, which usually have both upper and lower elements. A failure in either one can cause insufficient water heating. For instance, if your heater delivers some hot water before tapering off, the upper element might be faulty, as it does most of the initial heating. Water heater repair is not only about the science inside the tank, but it’s about understanding its every part. A ruptured dip tube, which directs incoming cold water to the bottom, can also be a common hindrance, causing mixed temperatures and leaving you shivering despite your appliance’s best efforts. As a famous home improvement show once stated, "The secret of staying calm in a crisis is solid understanding of your tools."
Being aware of these potential causes can arm you with the knowledge you need to potentially fix these issues yourself. Whether the hot water issues stem from power glitches, thermostat misbehaviors, a sediment blockade, or faulty parts, each possible problem represents an opportunity to learn and handle your home's water heater with confidence. You'll not only save a bit on service calls but also enrich your understanding of one of the most essential commodities in your household.
Initial Troubleshooting Steps
When it comes to water heater repair, starting with the basics can often lead to a quick fix and save you from more serious interventions. Before diving into the complexities, it’s important to tick off some fundamental checks. Begin by ensuring that the thermostat is set to the right temperature. Often, the settings might have been altered inadvertently, especially if there are children around. Most experts recommend keeping the thermostat set to around 120 degrees Fahrenheit, as this not only ensures warm water but also prevents accidental scalding.
Next, check if your water heater is receiving power. For electric models, a tripped circuit breaker is a common culprit. Head over to your home's breaker panel and see if the switch for your heater has flipped. It could have been triggered by a power surge or overload. Simply resetting it might solve your problem. For gas heaters, ensure that the pilot light is on. A slight draft or incorrect settings might have extinguished it. Relighting it according to your manufacturer's instructions can restore your hot water in no time.
Checking for Leaks
Another critical step in troubleshooting involves inspecting the unit for leaks. Water pooling around the heater is a telltale sign of a problem. Check the valves and connections where leaks are most likely to occur. Leaking water could be a sign of a malfunctioning pressure relief valve or sediment buildup, both of which are quite common. If you discover a leak, it’s usually wise to turn off the water supply to prevent any further damage until a solution is found.Uncovering Obstructions
If your water heater appears to be intact but there's still no hot water, it may be due to blockages. Sediment can accumulate at the tank's bottom over time, impacting the heater's efficiency. Draining and flushing the tank every few years is a good preventative measure against sediment buildup. Additionally, inspecting the inlet and outlet pipes for obstructions can sometimes reveal surprising blockages.In a report by the Department of Energy, it was noted that routine maintenance of water heaters, like checking and adjusting the settings and valves, could increase efficiency by up to 12%. Simple checks and regular upkeep can indeed make a significant impact on performance, potentially extending the unit's lifespan while maintaining its efficiency.
Henry Bright, a veteran plumber with over thirty years of experience, asserts, "A little attention to your water heater goes a long way. Regular maintenance and checks not only keep things running smoothly but also stave off larger, more expensive problems down the line."
By following these initial troubleshooting steps, you can hopefully restore your hot water without much hassle. However, persistent issues might indicate a need for professional diagnosis, especially if you're dealing with a new or complex system. Addressing the problem promptly increases your chances of finding a simple solution, while also keeping you comfortable with access to steamy showers and warm water on demand.
Checking the Thermostat
When it comes to troubleshooting a stubborn water heater, examining the thermostat is a smart first move. The thermostat is an unsung hero in maintaining the much-loved balance of hot water within your home. It controls the temperature and ensures that your water stays at the level you desire. If it's misbehaving, it's possible that your hot water woes stem from this key player. Many water heaters have a dual thermostat system, one at the top and another at the bottom. Each governs its respective heating element and ensures even heat distribution throughout the tank.
If your water is only lukewarm or intermittently cold, it's worth investigating the thermostat settings. Begin by cutting off the power supply to your heater at the circuit breaker for safety. Once you're sure it's safe, remove the access panel to reveal the thermostats. This usually involves unscrewing a panel located on the side or front of your water heater. Inside, you'll see a couple of dial controls. They're generally set to around 120°F but check the manufacturer's recommendations for specific settings.
If the dials are incorrectly set, this could be the root of your problem. Turn them to the recommended setting and test your water again. If this doesn't resolve the issue, you might have a faulty thermostat. Consider replacing them with new ones. They're usually inexpensive and can make a world of difference. The next step would involve removing the faulty thermostat. Ensure you have the appropriate replacement part by checking the specifications in your water heater's manual.
Replacing a thermostat involves disconnecting the wires attached to it, loosening the securing screws, and removing the device itself. Once it's out, install the new unit by reversing these steps. Always use a digital multimeter to verify that the new thermostat is functioning correctly. As a less commonly known fact, according to the Department of Energy, adjusting your thermostat settings can save you 10% on yearly water heating costs, emphasizing the importance of its role.
According to Richard Trethewey, a plumbing and heating expert on This Old House, "The thermostat on your water heater is crucial for finding the perfect balance of safety and efficiency. A little fine-tuning can mean the difference between waking up to a freezing shower or enjoying the smooth luxury of soothing hot water.”
Once everything is back in place, turn the power back on at the circuit breaker and wait for a bit. Give your water heater some time to reach the desired temperature. Testing your hot water tap will let you know if your efforts were successful. If you find the water running hot and steady, that's a victory. But if the problem persists, further inspection on other components might be necessary, or it could be time to bring in a professional.
Inspecting the Heating Elements
Your hot water heater, much like a faithful servant, silently toils away. But when it stops working, the culprit is often the heating elements. These unsung heroes, embedded snugly inside your water heater, do the heavy lifting when it comes to converting energy into the steaming showers and hot baths we all crave. When you find yourself lacking in hot water, it's time to take a closer look at these components to see if they need any attention.
Heating elements are usually made from a resistance wire surrounded by an insulating material, housed in a tubular sheath. Over time, sediment build-up from hard water can coat these elements and force them to work harder, eventually leading to wear and, sometimes, failure. Ensuring these elements work well might seem daunting, but it's manageable with a few simple tools. The process of checking and potentially replacing heating elements should start with turning off the power at the circuit breaker and ensuring the heater is empty by draining it—safety is always paramount when dealing with appliances and electricity. Once safety is guaranteed, remove the access panels to expose the elements and thermostat.
"Routine maintenance and understanding the components of your water heater can significantly extend its lifespan and efficiency," advises the American Society of Home Inspectors. "Address heating issues quickly before they cause inconvenience or costly repairs."
With an electrical multimeter, you can check if the elements are functioning. Place the multimeter's leads on the element terminals. A good reading typically indicates a continuous circuit; if the multimeter shows no continuity, it's likely the element has burned out and needs replacement. Remember, heating elements come in various sizes and wattages, so ensure you find the right match for your specific heater model. When replacing them, pay attention to tightening the element firmly and replacing the rubber gasket to prevent leaks.
Keeping on top of your appliance's condition can forestall larger, costlier repairs. Often, catching a problem early and resolving it yourself can save the hassle and expense associated with calling out a technician. Our everyday comfort relies heavily on appliances like water heaters, and understanding them better can help maintain that comfort. Taking the time to perform regular checks and maintenance will ensure that your hot water supply remains steady and reliable, just like your trusty heater should be.
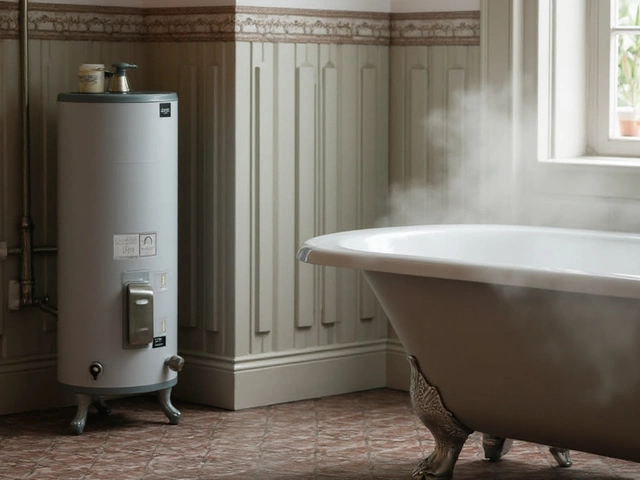
Maintaining Your Water Heater
Regular maintenance on your water heater isn't just about preventing cold showers—it’s about ensuring efficiency, safety, and extending the lifespan of your unit. Think of your water heater as the unsung hero quietly working behind the scenes. Without it, those leisurely baths and relaxed mornings would be, well, less relaxing. Let's delve into how you can keep your water heater in optimal condition and avoid unexpected failures.
One effective way to maintain your water heater is to regularly check its temperature setting. Ideally, it should be set around 120 degrees Fahrenheit. This not only helps in saving energy but also reduces the risk of accidental scalding. Next, frequently inspect the pressure relief valve, an essential safety component. This valve should occasionally be tested to ensure it’s functioning correctly by slightly lifting it and letting some water out, ensuring the pathway is unobstructed. If you notice persistent drips, you might need to replace the valve.
Flushing your water heater tank at least once a year is another crucial task. Sediments often settle at the bottom, impacting efficiency and potentially leading to corrosion. To flush it, connect a garden hose to the drain valve and let the water and sediments flow out until clear. Protect your floors by performing this in an area with proper drainage. From time to time, inspect the anode rod; this sacrificial component prevents your tank from rusting. If it's less than half an inch thick or coated with calcium, consider replacing it, ensuring the longevity of your unit.
Considerations for Long-Term Care
Water heaters might seem like passive household devices, but they require attention much like any other piece of technology. Have a maintenance schedule. Mark your calendar for bi-annual inspections of the tank and heating elements, even if you encounter no issues. Wrap your water heater with an insulating blanket, especially if it's located in an unheated part of your home. Heat loss is a silent cost that can be easily mitigated with this simple step. A little effort can translate to significant savings over the life of your heater, both in energy bills and potential repair costs.For those of us who prefer credible advice from experts, here’s some wisdom:
“Regular water heater maintenance not only extends the life of your unit but also ensures safe operation, preventing costly repairs,” says Joshua Freed, a professional plumber with over 20 years of experience.Such words emphasize the vitality of routine checks and continual upkeep. Avoid the common pitfalls that many homeowners encounter by being proactive rather than reactive.
Data on the Impact of Regular Maintenance
To provide a broader perspective, here’s a quick look at how maintenance can impact efficiency and cost:| Maintenance Task | Energy Savings (%) | Potential Increased Lifespan (Years) |
|---|---|---|
| Annual Tank Flush | Up to 12% | 1-3 Years |
| Anode Rod Replacement | N/A | 3-5 Years |
| Proper Insulation | Up to 15% | N/A |