

If your oven takes forever to heat up or never gets hot enough, the heating element is probably the culprit. A bad element not only ruins dinner plans but can also raise your electricity bill. The good news? Swapping the part is a job most DIY‑savvy homeowners can handle in under an hour, and knowing the basics helps you decide when to call a professional.
Before you open the door, look for these red flags:
Spotting one or more of these clues means it’s time to pull the element out and either test it with a multimeter or replace it outright.
Here’s a quick, no‑nonsense guide that gets you from a cold oven to a hot one in about 45 minutes.
If the oven still won’t heat, the issue may be a faulty thermostat, a broken wiring harness, or a deeper electrical fault. In those cases, calling a qualified repair service like Bognor Regis Appliance Repair Experts is the safest move.
Replacing an oven element usually costs between £30 and £80 for the part, plus a modest labour fee if you hire someone. Doing it yourself saves the labour cost and gives you the satisfaction of fixing the problem yourself.
Remember, the key to a long‑lasting oven is regular maintenance. Keep the interior clean, avoid spilling sugary liquids that can scorch the element, and give the oven a quick visual check every few months. A well‑maintained oven will keep its element healthy for years.
Got more oven questions? Our team in Bognor Regis is ready to help with fast, reliable service. Whether you need a second opinion, a professional replacement, or a quick safety check, we’ve got you covered.
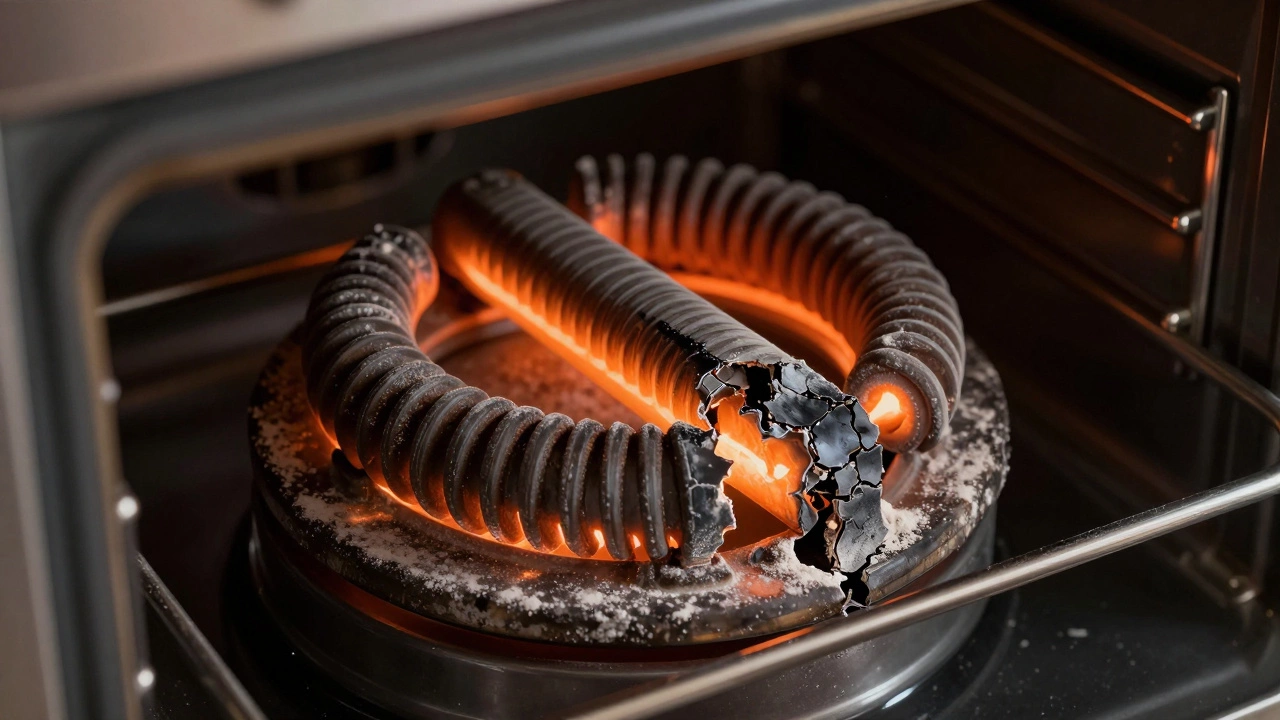
Learn how to tell if your oven element is blown by checking for visible damage, testing with a multimeter, and observing oven behavior. Most oven heating issues are simple fixes.

Find out how to tell if your oven’s heating element or thermostat is busted with simple tests, warning signs, and expert tips you can trust.
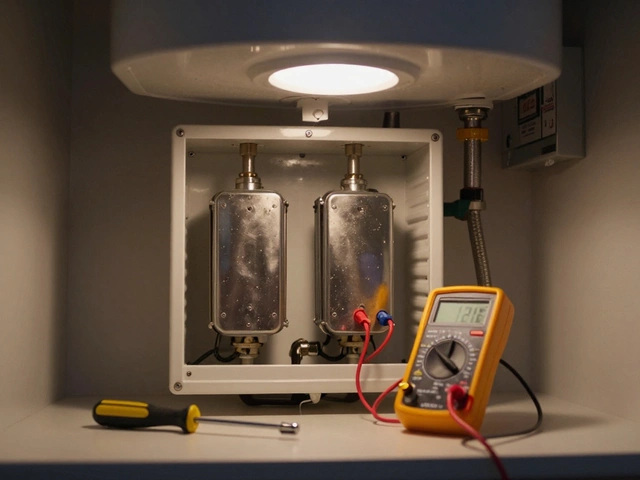
Fix a water heater producing cold water by checking the power, testing heating elements, adjusting the thermostat, flushing sediment, and replacing faulty parts like the dip tube or thermocouple. Most issues are simple DIY fixes.

Wondering if you can change your kitchen extractor fan yourself? This guide covers steps, safety, tools, common mistakes, and installation tips for a smooth DIY experience.

Find out exactly how much laptop repair costs in the UK in 2026. Learn the 50% rule for deciding when to fix or replace your device, average prices for screens, batteries, and motherboards, and tips to avoid overpaying.
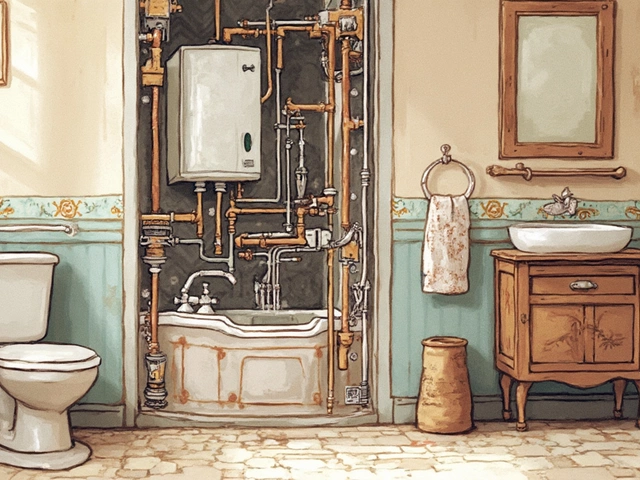
A failing water heater element can leave you in the chilly lurch just when you need a warm shower. Learn how to diagnose the problem with simple, straightforward steps. This guide covers common symptoms, testing methods, and practical tips for handling a faulty element. We'll explain what's involved and offer insights for DIY repair or knowing when to call a professional.

Dryers are workhorses in the laundry room, but they aren't immune to problems. This article breaks down the most common issues found in tumble dryers, from weird noises to clothes that just won't get dry. You'll find straightforward explanations for why these problems happen and learn some practical tips to fix or prevent them. Plus, get the inside scoop on when you should call for a pro. Save money, avoid headaches, and keep your dryer running smoother for longer.