

If your fridge, washing machine or oven has stopped working, the culprit is often the control board – the appliance’s “brain”. Replacing a whole unit can be pricey, but many faults are fixable with a few tools and a bit of patience. This guide shows you how to spot common board problems, do safe DIY repairs, and decide when it’s smarter to call an expert.
First, look for obvious clues: the appliance powers on but displays error codes, or it cycles on and off without completing a cycle. A burnt smell, black spots, or swollen capacitors are visual red flags. Use a multimeter to check voltage at the power input – if you get the correct reading but the board still won’t respond, the fault is likely internal.
Before you order a new board, try these quick fixes. 1) **Power reset** – unplug the appliance, wait a minute, then plug it back in. This can clear stuck firmware. 2) **Clean the contacts** – use a soft brush and isopropyl alcohol to remove dust or corrosion from connectors. 3) **Resolder loose joints** – if you see cracked solder joints under the board, a soldering iron and fresh solder can restore the connection. 4) **Replace fuses or protective components** – many boards have replaceable fuses or thermal protectors; swapping a blown fuse can revive the board instantly.
When you’re ready to open the appliance, always disconnect power and wear safety glasses. Take photos of the wiring before you unplug anything – this saves time when you re‑assemble. Keep screws organized in a small container so nothing gets lost.
If the board still misbehaves after these steps, look for cracked tracks on the PCB. A thin piece of copper tape or a conductive pen can patch small breaks. For more serious damage, such as burnt ICs, a professional repair service will have the equipment to replace the chip without compromising safety.
Knowing when to stop is key. If you notice water damage, strong odors, or the board is physically warped, it’s best to let a qualified technician handle it. Trying to repair a severely damaged board can be dangerous and might void any warranty.
In short, many motherboard issues are simple faults that you can address yourself with basic tools. Start with a visual inspection, perform a power reset, clean the board, and only move on to soldering if you’re comfortable. When in doubt, call a local repair specialist – they’ll save you time and ensure the appliance runs safely.
Got a stubborn board that just won’t cooperate? Drop a comment below and we’ll help you troubleshoot the next step.

Find out exactly how much laptop repair costs in the UK in 2026. Learn the 50% rule for deciding when to fix or replace your device, average prices for screens, batteries, and motherboards, and tips to avoid overpaying.
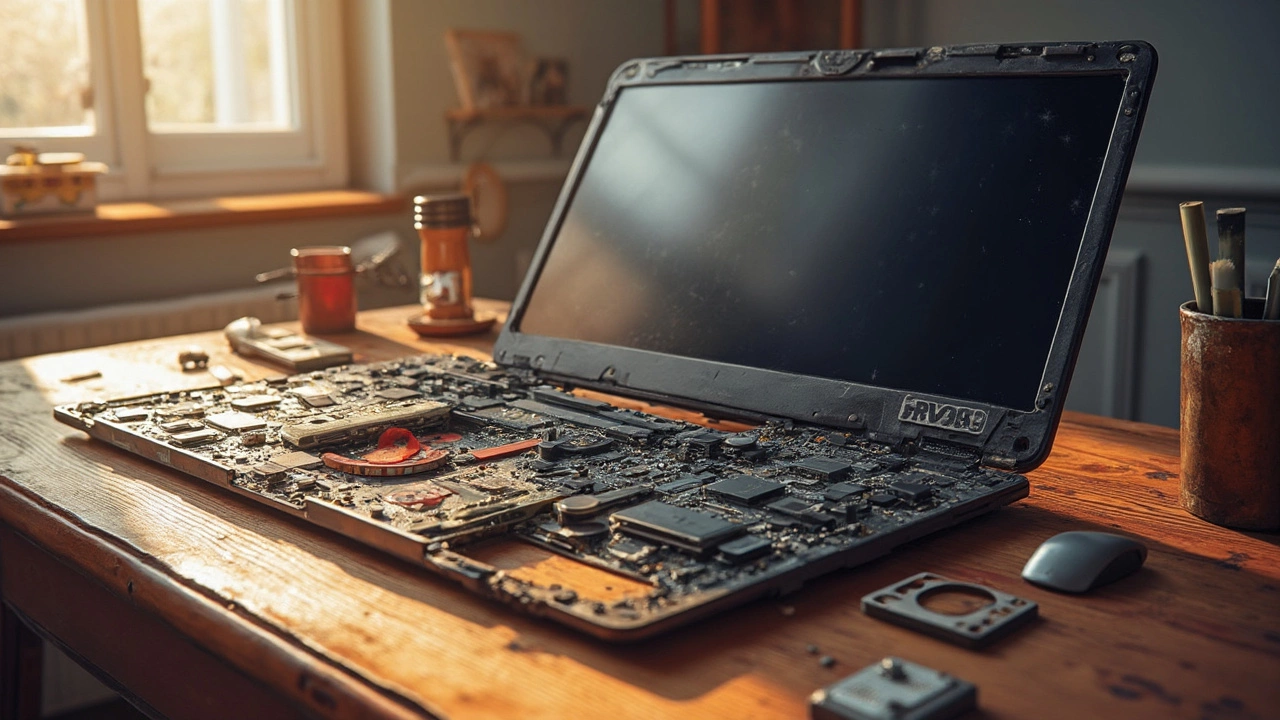
Fixing a laptop can often be a costly affair, with some components surprisingly pricey to replace. This article explores which part of a laptop typically incurs the highest repair costs and why. We dive into details like the high expense of screen and motherboard repairs, offering insights into why these parts hit the wallet hardest. Gain practical advice on maintaining your laptop to avoid these hefty bills in the first place, and discover some curious facts about common laptop repairs.
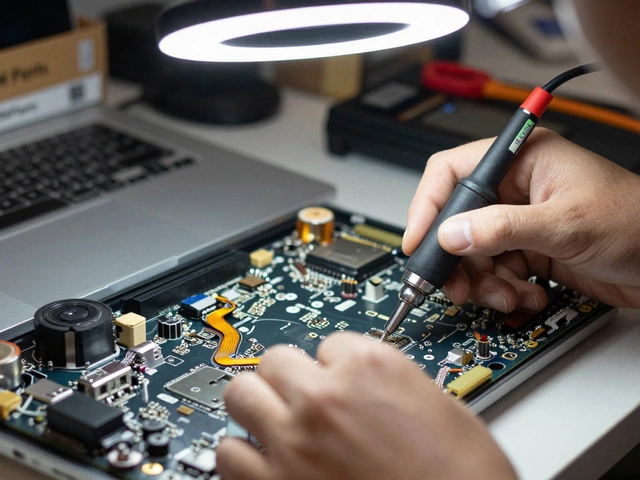
Discover why laptop repair costs have skyrocketed. From genuine parts pricing to skilled labor rates, we break down the real expenses behind every quote.
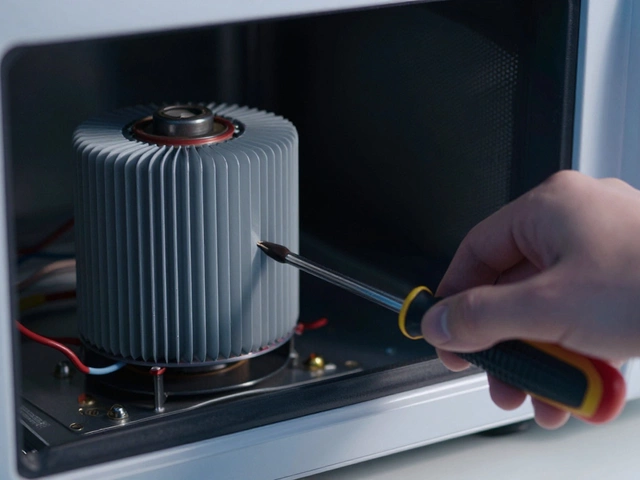
Fixing your own microwave might seem easy, but the high-voltage capacitor inside can deliver a lethal shock-even when unplugged. Here's why DIY repairs are dangerous and what you should do instead.

Annoyed by standing water at the bottom of your dishwasher? This article breaks down why your dishwasher isn't draining, what can cause it, and how to troubleshoot the most common issues. Learn about clogged filters, garbage disposal connections, and more. I'll also share some handy tips to help you prevent problems in the future. Whether you're a first-timer or have dealt with dishwasher headaches before, you’ll find practical advice here.
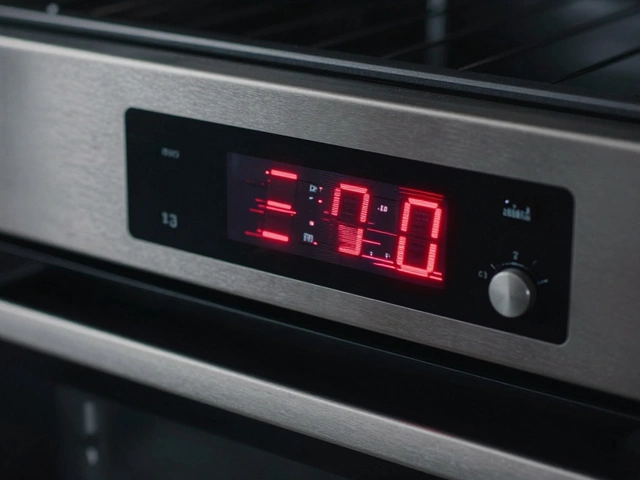
Learn how to identify a failing oven control board through specific signs like flickering displays, erratic heating, and error codes. Includes visual inspection tips, testing methods, and safety precautions for accurate diagnosis.

Wondering how long it takes to swap out an old boiler for a new one? This article spells out exactly how much time you’ll need, what really affects the timeline, and offers practical tips to speed things up. Get the full breakdown, including what you can do before installation day and how to avoid surprises. If you want your heat and hot water back fast, this guide is for you. Find out what to expect from your boiler replacement and how to stay one step ahead.