A clogged kitchen extractor fan can turn cooking into a pain—grease smells hang around, steam fogs everything up, and even the light above your hob gets dimmer. But before you start Googling replacement fans, most blockages are surprisingly easy to fix yourself with a little common sense and the right approach.
First, if your fan's making more noise or moving less air than usual, that's your first hint something’s up. Most often, it’s just built-up grease, dust, or a stray bit of kitchen roll sucked up during clean-up. Grab a screwdriver, a bowl for screws (nobody wants to lose those), a soft brush, and maybe an old toothbrush. Unplug the unit—trust me, you don’t want a surprise whirr.
Undo the cover or grill. It’s usually just a couple of screws. You might get a face-full of fluff if you haven’t checked it for months—a grim reminder of why this job matters. Use the brush or vacuum to shift the worst of the debris. If you spot greasy clumps, hot soapy water and that toothbrush will do wonders—just make sure everything’s bone dry before reassembling.
- Spotting the Signs of a Blocked Kitchen Extractor Fan
- Tools You'll Need for the Job
- Step-by-Step Guide to Unblocking Your Fan
- What to Do When the Blockage Won't Budge
- Keeping Your Extractor Fan Clean and Clear
- When to Call in the Professionals
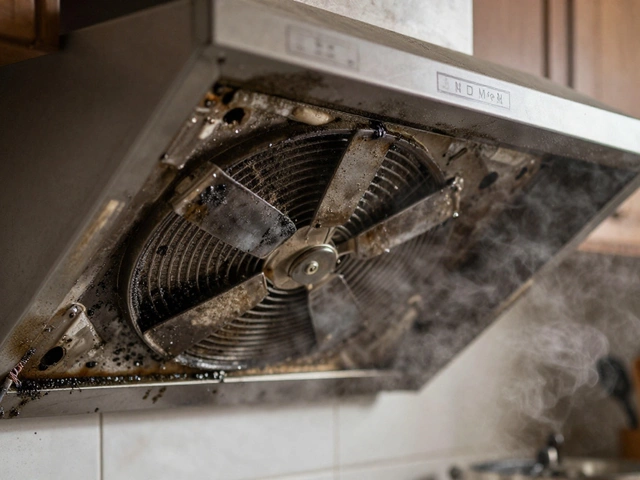
Spotting the Signs of a Blocked Kitchen Extractor Fan
If you’ve noticed your kitchen feels stuffier or smells linger for ages after cooking, your kitchen extractor fan could be clogged. Blockages don’t just hit the airflow—they mess with your whole cooking vibe. Here’s what to look out for:
- Weaker airflow: Pop your hand near the vent while it’s running. If there’s barely any pull, there’s probably grease or dust blocking the way.
- Louder noise than usual: If your fan suddenly sounds like a jet taking off, the blades might be struggling against built-up gunk or something’s rattling inside.
- Bad smells: A working extractor fan sucks away odors. If you get hit with yesterday’s fish or onions, that fan needs a look.
- Condensation on tiles or cupboards: Steam not clearing means the extractor isn’t shifting moist air, often due to a blockage.
- Visible grime: Check the grill or filter. Thick dust, grease, or cobwebs hanging off are classic clues.
Most fans should move about 60-120 cubic meters of air per hour in a home kitchen. If you suspect yours isn’t, here’s a quick cheat: tear off a small piece of tissue, hold it up to the vent. If it flops or falls, your fan’s probably not pulling its weight.
These signs often creep up slowly, so you get used to the bad airflow. But regular cleaning and noticing changes early will save you from expensive extractor fan repair or a stinky, muggy kitchen.
Tools You'll Need for the Job
You’d be surprised how straightforward most extractor fan repair jobs really are—no need for a toolbox from a James Bond movie. For unclogging and cleaning a kitchen extractor fan, you just need the right basics. Here’s what you’ll want before you start messing with your fan:
- Screwdriver (usually a Phillips, but check your model first)
- Old toothbrush or small cleaning brush (great for getting into tight spots)
- Soft cloth or paper towels (for wiping grease—microfibre works best)
- Bowl or cup for screws (makes lost screws much less likely)
- Hot soapy water (essential for greasy buildup on covers and filters)
- Vacuum cleaner with nozzle (sucks out dust for a quick win)
- Rubber gloves (saves your skin from old, gunky grime)
- Sturdy step stool (if your fan is up high—don’t stand on a rickety chair)
If you’re dealing with a stubborn blockage or you want to do a deep clean, some folks like to grab a can of compressed air or a degreasing spray. Most of this stuff you’ve probably already got lurking in a cupboard.
Fun fact: The average kitchen extractor pulls in about 200 cubic meters of air an hour—any bit of muck in the way can really kill its performance fast. A monthly clean with these tools can keep your kitchen fan cleaning routine easy and save energy in the long run.
| Item | Purpose |
|---|---|
| Screwdriver | Opening the fan cover |
| Toothbrush | Scrubbing grime from smaller parts |
| Vacuum cleaner | Removing loose dust and dirt |
| Bowl for screws | Keeping screws and small parts safe |
Before doing anything, always unplug the fan from the wall to avoid accidents. It sounds obvious, but it’s easy to forget in the rush. With these tools ready to go, tackling a fan not working in your kitchen becomes less of a headache—and you can get back to frying bacon without setting off the smoke alarm.
Step-by-Step Guide to Unblocking Your Fan
You don’t need to be an engineer to tackle a blocked kitchen extractor fan, but a little patience and some basic tools go a long way. Here’s how to sort it out safely and without fuss:
- Turn off the power. Don’t just flick the fan off—go to the socket or circuit breaker. Safety’s non-negotiable when you’re poking around electrical stuff.
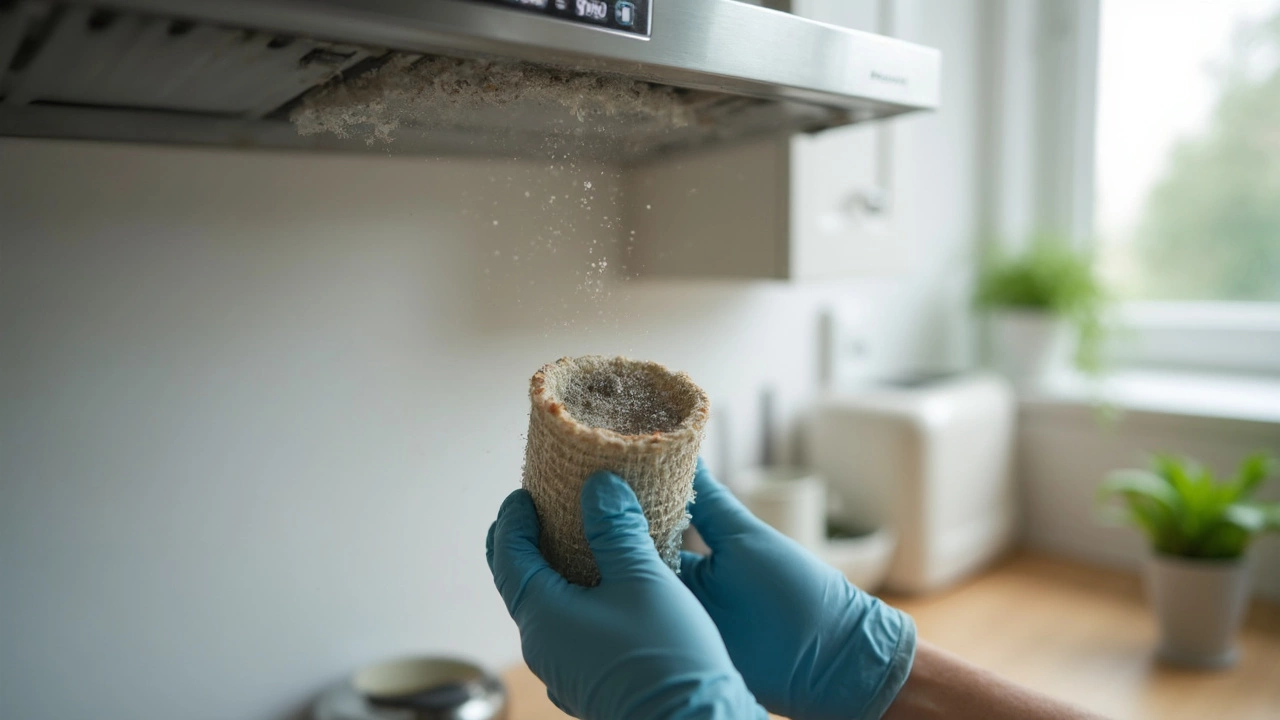
- Remove the cover or filter. Most covers either unclip or have two screws holding them in place. Place the screws in a bowl so they don’t roll away.
- Inspect for visible blockages. You’ll often spot matted dust, grease, or even bits of food clogging the filter or the grill.
- Clean the filter and cover. Most metal mesh filters can be soaked in hot, soapy water. For heavy grease, a splash of vinegar or dish soap cuts through the gunk. Rinse well and let them dry completely.
- Brush and vacuum inside the unit. Use a soft brush or vacuum cleaner with a hose attachment. Be thorough—grease loves hiding behind fan blades and in corners.
- Check the fan blades. If they’re stuck or slow, give them a careful wipe. Avoid bending the blades; they’re usually flimsy.
- Wipe out hidden spots. An old toothbrush can reach around the motor housing. Get every sticky bit out for a real fresh start.
- Re-assemble and test. Put the unit back together and restore power. If the airflow’s back and the noise has dropped, you nailed it!
If you want to keep things running well, know that extractor maintenance isn’t just about performance. Research from a 2023 appliance survey found regular cleaning—about every three months—cuts fan breakdowns by up to 60%.
| Step | What You’ll Need | Extra Tip |
|---|---|---|
| Remove cover/filter | Screwdriver/bowl | Take a photo to help with reassembly |
| Clean parts | Soap, hot water, vinegar, brush | Let everything dry before reattaching |
| Vacuum inside | Vacuum with hose, toothbrush | Gently clean around the motor |
If your fan not working woes are fixed after this, that’s mission accomplished for less than the cost of a takeaway. Not bad, hey?
What to Do When the Blockage Won't Budge
Sometimes, you’ll hit a stubborn patch—maybe a sticky lump of grease deep inside the kitchen extractor fan duct or a compacted wad of dust that just won’t come loose. Don’t panic, but don’t force it either; you don’t want to bend any fan blades or damage the motor. Here’s a plan for when the usual cleaning tricks just aren’t cutting it.
- Switch up your tools. If a soft brush isn’t moving the gunk, try a plastic spatula or a narrow paint scraper, but avoid metal tools—they can dent or scratch parts. Flexible pipe cleaning brushes can really help when you’re trying to reach deeper areas.
- Soften the clog first. Grease and food bits get rock-hard over time. Spray warm (not boiling) soapy water on the stubborn area—wait 10 minutes so it can loosen. For extra greasy fans, white vinegar’s great at breaking down stuck-on sludge.
- Use a handheld vacuum. If dust is thick and dry, sometimes a quick blast with a vacuum nozzle can suck it out in seconds. Go easy—don’t jam the nozzle into the fan casing, as this could push debris further in.
- Check the ducting. Sometimes the blockage isn’t in the fan but further along the extract duct. Remove accessible ductwork sections if you can, and feel inside—kitchen foil ducts are notorious for collecting clogs around the bends.
A survey by Which? in 2023 found that nearly 40% of extractor fan problems were caused by blockages in the duct or external vent, not the actual fan unit. So, don’t just stop at the grill: if your extract fan leads outside, pop your head out and check for a vent cover packed with leaves or cobwebs. These clogs can totally choke airflow.
If you keep running into brick walls, and the fan not working issue persists, resist the urge to use harsh chemicals or poke around with coat hangers—those can do real harm. At this stage, it might make sense to call in a pro before you risk cracking something expensive.
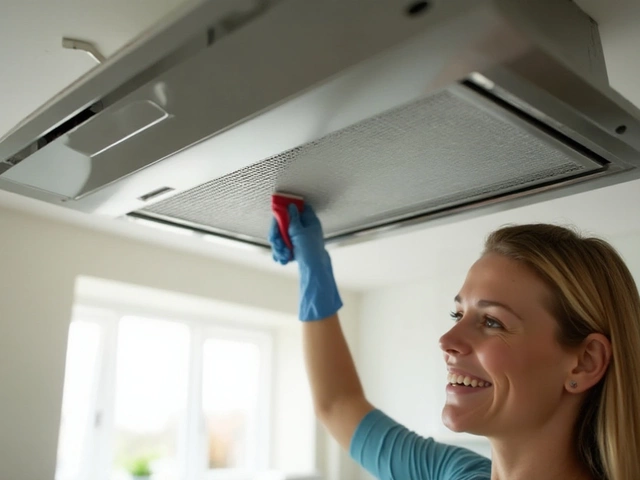
Keeping Your Extractor Fan Clean and Clear
If you want your kitchen to stay fresh (and your kitchen extractor fan working properly), routine cleaning is non-negotiable. Grease, steam, and dust aren't just little annoyances – over time, they build up and block airflow, making the fan pretty much useless. Studies show that a neglected extractor can lose up to 40% of its efficiency after just a year of grime and grease. Yikes.
Here's the good news: regular upkeep is simple, and you don't need loads of special gear. Aim to check your extractor fan every couple of months. If you fry a lot, you might want to do it even more often. Wiping down the outer cover every week makes the deep clean go much smoother. Most blockages start right at the vent cover or filter, so tackling them early saves you hassle.
- Take out and wash the filter (if it's metal, hot soapy water or dishwasher does the trick).
- Wipe the blades gently with a damp cloth or kitchen roll. Avoid getting water in the motor.
- Vacuum out loose dust from around the fan housing.
- Put everything back together only when it's completely dry—that's crucial to avoid any funny smells or motor problems.
This little maintenance routine means your fan works better, lasts longer, and makes the kitchen much nicer to be in. Look out for any weird sounds or smells—it usually means there's some fresh muck caught in the works. And remember, a clean extractor helps keep your entire kitchen cleaner. Don’t skip this step; it’ll spare you a headache later on.
| Cleaning Task | How Often |
|---|---|
| Wipe cover and housing | Weekly |
| Clean or replace filter | Every 2-3 months |
| Deep clean fan blades | Every 6 months |
Stick to this regular schedule and your extractor fan won’t just keep smells in check; it'll actually stay quieter and run more reliably—saving you money and hassle in the long run.
When to Call in the Professionals
Sometimes a blocked kitchen extractor fan just refuses to cooperate, no matter how hard you scrub or poke around. Here’s when it’s smarter to step back and get an expert involved:
- Electrical problems: If your fan isn’t turning on at all, or it randomly switches off, it could be an internal wiring issue—definitely not a DIY project unless you’re a qualified electrician.
- Strange noises: Clicking, grinding or screeching noises usually mean something’s wrong inside the motor or bearings. Trying to force the fan can do more harm than good.
- Persistent smells or smoke: If you always notice a burning or plastic smell, even after cleaning, don’t risk it. That’s often a sign of overheating or melted wiring, which needs professional repair.
- Electrical shocks or sparks: Notice a spark, tingling sensation, or a small jolt when touching the extractor? Switch it off straight away. This is seriously risky and needs expert attention—stat.
- Fan blades aren’t spinning even when powered: This can mean a bad motor, damaged fan belt, or a bigger internal fault needing replacement parts or special tools.
Statistically, around 30% of extractor fan repair jobs in UK homes end up needing a pro for some part of the work, mostly due to worn-out motors or old wiring. If your fan is more than 10 years old, it’s often cheaper (and less stressful) to get a new one installed by a qualified fitter. Plus, most pros offer a guarantee on their repair, so you won't be stuck in the same mess next month.
| Problem | DIY Fix | Call a Pro |
|---|---|---|
| General Cleaning | Yes | No |
| Motor Replacement | No | Yes |
| Wiring Issues | No | Yes |
| Grease Blockage | Yes | No |
| Fan Blade Damage | No | Yes |
If you’re ever in doubt, or if your extractor fan repair feels out of your league, call a trusted appliance technician. Your safety and peace of mind are worth more than a quick-fix shortcut gone wrong.