Electric Hob Troubleshooting Assistant
Is there visible water or liquid spilled on the control panel?
Select your main issue:
You know that sinking feeling when you put dinner pots on and... nothing happens. The control panel is black, the touch buttons won't respond, or suddenly a single burner flashes while the rest stay cold. Before you call a technician or buy a whole new unit, pause and try a proper reset. Most modern Electric Hob units have a built-in protection system that trips during voltage spikes or overheating events.
This guide explains exactly how to reboot these systems safely. We'll skip the technical jargon and give you actionable steps that work on ceramic, induction, and radiant glass tops. We will also distinguish between a temporary glitch and a sign that your appliance has actually failed internally.
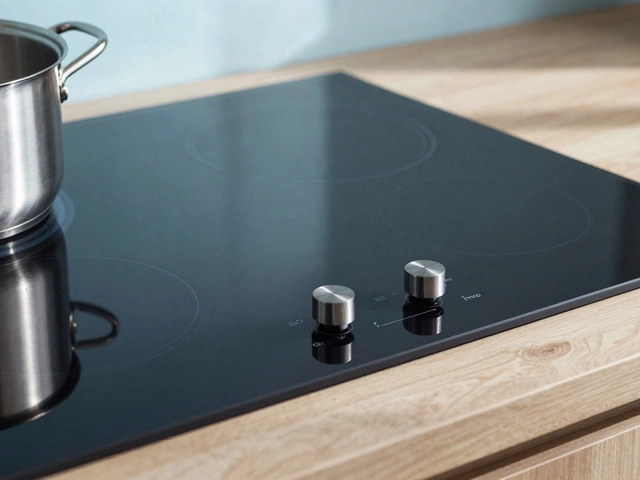
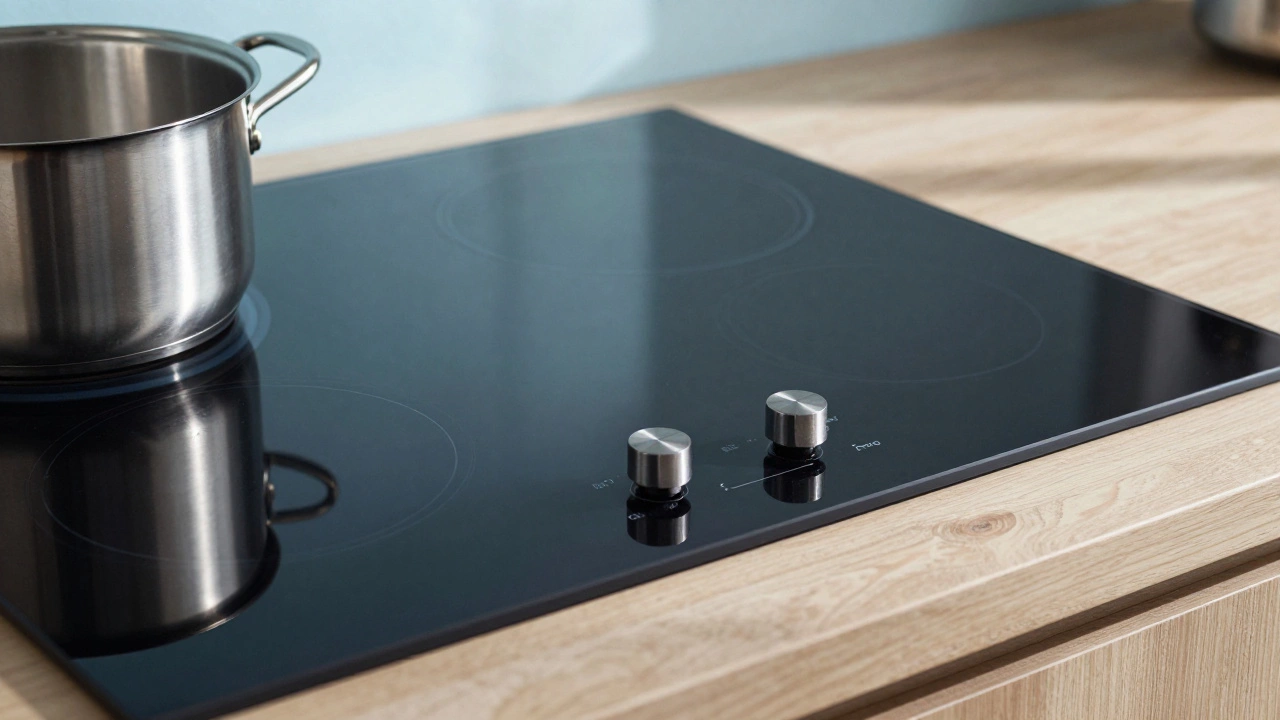
The Universal Power Cut Method
The most effective way to clear electronic memory on a Ceramic Hob is a complete power cycle. This forces the internal processor to forget any stuck commands or erroneous data states.
- Turn all zone knobs or touch switches to the 'Off' position.
- Locate the circuit breaker for your kitchen appliances in your main distribution board.
- Switch the specific breaker labeled for the cooktop or oven/hob combo to the 'Off' position.
- Wait at least ten seconds. In some models, capacitors inside the electronics retain a charge longer than you think.
- Flip the switch back to 'On'.
- Press any button to wake the interface; you should hear a chime or see LEDs light up normally.
If your home uses plugs instead of hardwired connections, simply unplug the device from the wall socket and wait. This method clears roughly 90% of common glitches, including frozen displays and unresponsive zones. However, never do this while water is present on the surface. Dry your hands thoroughly before touching metal parts near the socket.
Dealing with Residual Heat Indicators
A frequent source of confusion happens after you finish cooking. You turn the knob down, but the Residual Heat Indicator is a safety symbol (usually H) lighting up next to active zonesH Symbol stays lit for minutes, sometimes hours. This isn't a fault requiring a reset. It means the heating element is still hot enough to burn skin or damage food.
Glass-ceramic surfaces hold thermal energy very well. If you try to reset the machine because of this, you might be ignoring a real fire hazard. Wait until the indicator extinguishes naturally. On older radiated hobs, this takes time. On digital induction models, the sensor calculates cooling time and removes the warning automatically.
Button Combinations for Brand-Specific Locks
Some manufacturers program specific key sequences to unlock control panels that appear 'stuck'. These are often accidental activations of child safety features rather than mechanical failures.
| Model Type | Action Required |
|---|---|
| Induction Glass Cooktops | Hold 'Child Lock' icon for 3-5 seconds until it beeps. |
| Digital Knob Controls | Rotate master wheel counter-clockwise fully, then press 'Clear'. |
| Touch Slider Models | Swipe finger across entire panel width horizontally once. |
Check your manual specifically for "Control Lockout." Some high-end ranges require a double-tap on the center power button while holding the shift key. If you don't have the manual handy, look for a small padlock icon printed on the panel surface itself.
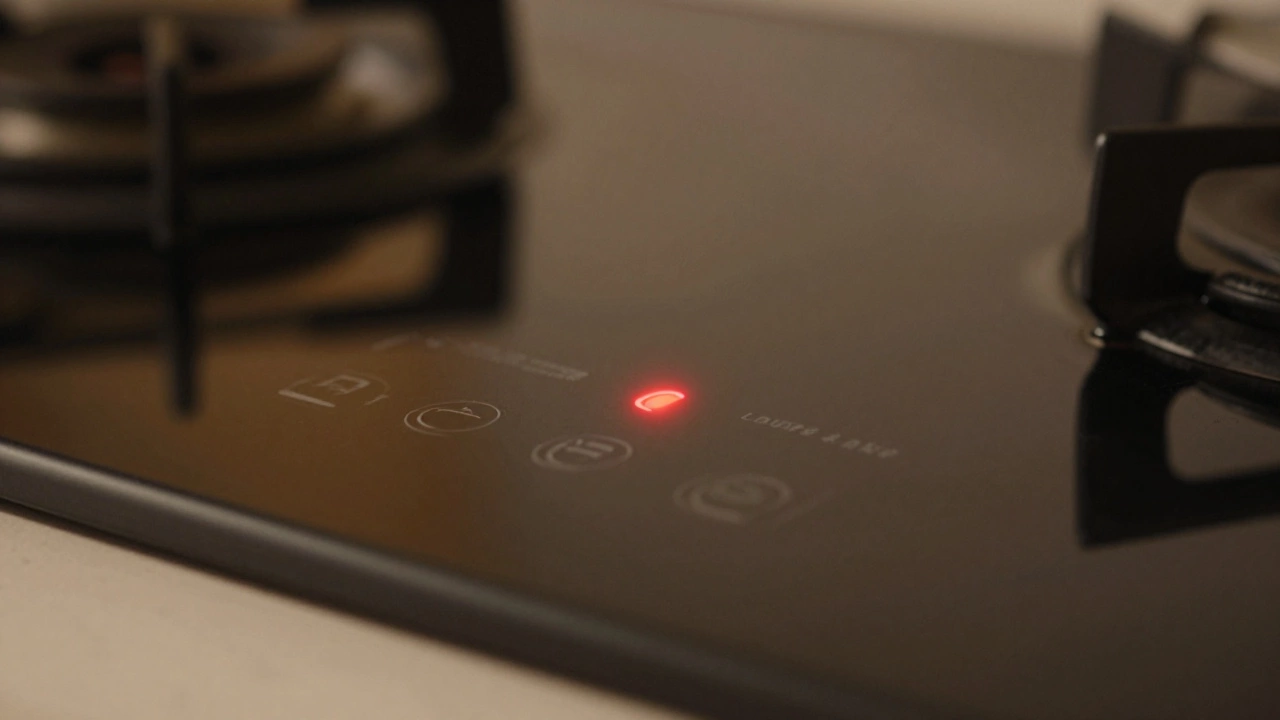
Interpreting Error Codes and Flashing Lights
Modern hobs communicate directly with you via numbers. Seeing "E-1", "F-E4", or "Err" isn't always bad news, but it signals where the problem lies.
An E-code usually points to a connection issue. For example, "E-1" often means the hob cannot read its own temperature sensor, known as the Thermistor. This component monitors heat and stops power if temperatures spike. If a wire gets loose behind the glass, the thermistor fails to send a signal back to the motherboard, triggering a safety shutdown.
Here is what to do when you see specific flashing patterns:
- Single Light Flashes: Usually indicates a pot has been left unattended for too long. Let the surface cool completely, then restart.
- Rapid Blinking: Often a voltage instability from your household grid. Try unplugging other heavy appliances like kettles or microwaves before trying again.
- Persistent Symbols: If the 'Lock' symbol appears despite resetting, check for moisture trapped under the keypad area.
Water spilled onto the control bar is the leading cause of false error codes. Liquids create bridges between contact points. Clean the surface with a damp cloth, wait for it to dry completely, and attempt another power cut cycle.
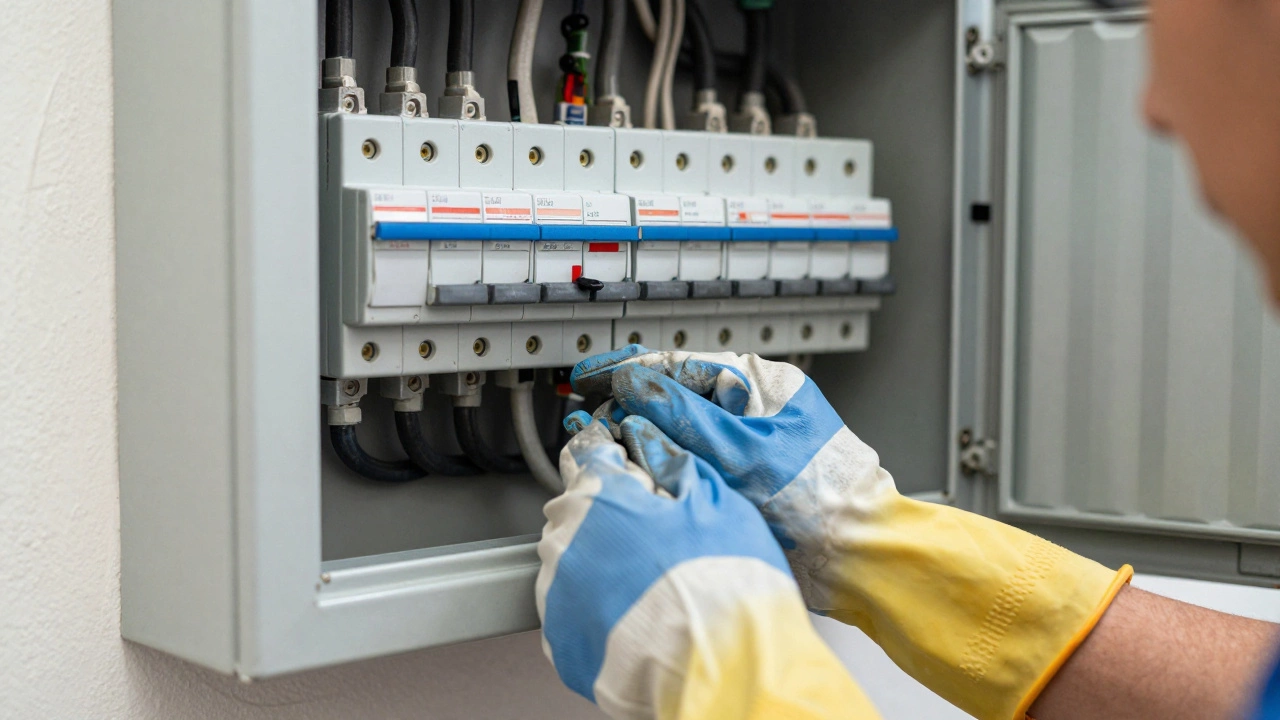
When the Fuse Box Trips Repeatedly
If you try to turn on the hob and immediately trip the main Circuit Breaker, stop and investigate the electrical supply. This differs from a simple control lockout. It suggests a short circuit exists within the wiring harness or the heating elements themselves.
Never force the breaker back up if it clicks back down instantly. That protects your home from electrical fires. Instead, isolate the variable. Unplug the device (if applicable) and flip the breaker again. If the breaker holds when the hob is disconnected, the fault is definitely in the appliance.
Common internal causes include:
- Carbonized debris inside the burner assembly causing shorts.
- Worn-out silicone gaskets leaking steam into live terminals.
- Failed relays that keep power flowing even when the knob is off.
These require professional disassembly. You can verify continuity using a multimeter only if you know how to handle 240-volt circuits safely. Otherwise, calling an electrician is safer than risking a house fire.
Safety First During Maintenance
Treating an appliance as 'dead' without verifying is dangerous. Even after a full reset, hidden capacitance can remain.
Always wear insulated gloves if you remove protective covers. Never use water spray directly on open sockets or vents. If you are resetting a hardwired oven-hob combination, ensure the cabinet doors aren't pressing against the control panel cables while you work inside the chassis. Physical pressure on wires can mimic malfunction symptoms, leading to unnecessary service calls.
Furthermore, verify the floor isn't wet. Electricity and liquids mix poorly, especially when working with heavy currents required for cooking equipment.
Prevention Strategies for Longevity
Resetting shouldn't be a weekly habit. Frequent reboots suggest a deeper issue, often related to installation or environmental factors.
Ensure adequate air gaps exist around the unit's edges. Dust accumulation acts as insulation, trapping heat inside the casing. Overheating triggers thermal cutoffs more aggressively than normal operation. Vacuum around the appliance monthly.
Also, avoid cleaning products containing ammonia or bleach on the control strip. These chemicals corrode conductive tracks over time, leading to erratic signals that force unnecessary resets.
Frequently Asked Questions
Why won't my electric hob turn on after a reset?
This typically indicates a failure in the main control board or a broken connection cable. While many issues resolve with a power cut, persistent black screens suggest component degradation needing replacement parts.
Can I reset an induction hob while boiling water?
No. Always ensure the surface is cool and dry before powering down. Spilled water mixed with electricity poses severe shock risks. Wait for the water to cool, wipe it away, then proceed with the reset sequence.
What does the 'H' symbol on my hob mean?
The 'H' stands for Hot Surface. It warns you that the glass is retaining significant heat. It is a safety feature, not an error code. It will disappear automatically once the temperature drops below safe limits.
How long should I wait after cutting power to reset?
A minimum of 10 seconds is required for basic clearing. For stubborn electronic ghosts, waiting a full two minutes allows capacitors to discharge fully, ensuring a clean boot cycle.
Is it safe to do this myself?
Yes, provided you are only interacting with switches or breakers designed for public use. Do not open the back panels or internal chassis unless you possess training in electrical safety standards.