

If your showers feel lukewarm or you notice a strange taste in your water, a build‑up of sediment could be the cause. Flushing the water heater removes that gunk, improves efficiency, and can add years to the unit’s life. The good news? You don’t need a plumber for a basic flush – just a few tools and a little time.
Most experts recommend a full flush every 12 months, especially if you have hard water. In areas with very hard water, twice a year can prevent heavy scaling. Look out for warning signs: noisy heating, slower hot water recovery, or a cloudy water tank. When these appear, flush sooner rather than later.
1. Gather supplies. You’ll need a garden hose, a bucket, a wrench, and a pair of gloves. Turn off the power or gas to the heater – electric units need the breaker off, gas models need the pilot off.
2. Shut off the water supply. Locate the cold‑water inlet valve (usually at the top) and turn it clockwise until it stops. Open a hot‑water faucet somewhere in the house to relieve pressure.
3. Connect the hose. Attach the hose to the drain valve at the bottom of the tank. Run the other end to a floor drain or outside where the water can flow safely.
4. Drain the tank. Open the drain valve and let the water run until it looks clear. You may need to open the pressure‑relief valve on the side of the tank to let air in and speed up draining.
5. Flush the sediment. Once the tank is empty, briefly turn the cold‑water supply back on while the drain valve remains open. This stirs up any remaining debris and flushes it out. Let it run for a minute or two, then close the supply.
6. Refill and restart. Close the drain valve, remove the hose, and turn the cold‑water supply back on. Open a hot faucet until steady water flows – this purges any air. Finally, restore power or relight the pilot and let the heater heat up.
That’s it. A full flush only takes about 30‑45 minutes, but the payoff is quieter operation, lower energy bills, and longer life for your heater.
Want to keep track? Mark your calendar the day you finish and set a reminder for next year. If you notice persistent problems after flushing, it could be a sign of a failing element or a larger issue – that’s when calling a professional makes sense.
Regular flushing also helps maintain warranty coverage for many brands, so keep the receipts and note the service date. A little effort now saves you from costly repairs down the line.
Bottom line: flushing your water heater is one of the cheapest maintenance tasks you can do yourself. It keeps hot water clean, cuts energy waste, and extends the lifespan of a key household appliance. Grab that hose and give your heater a fresh start today.
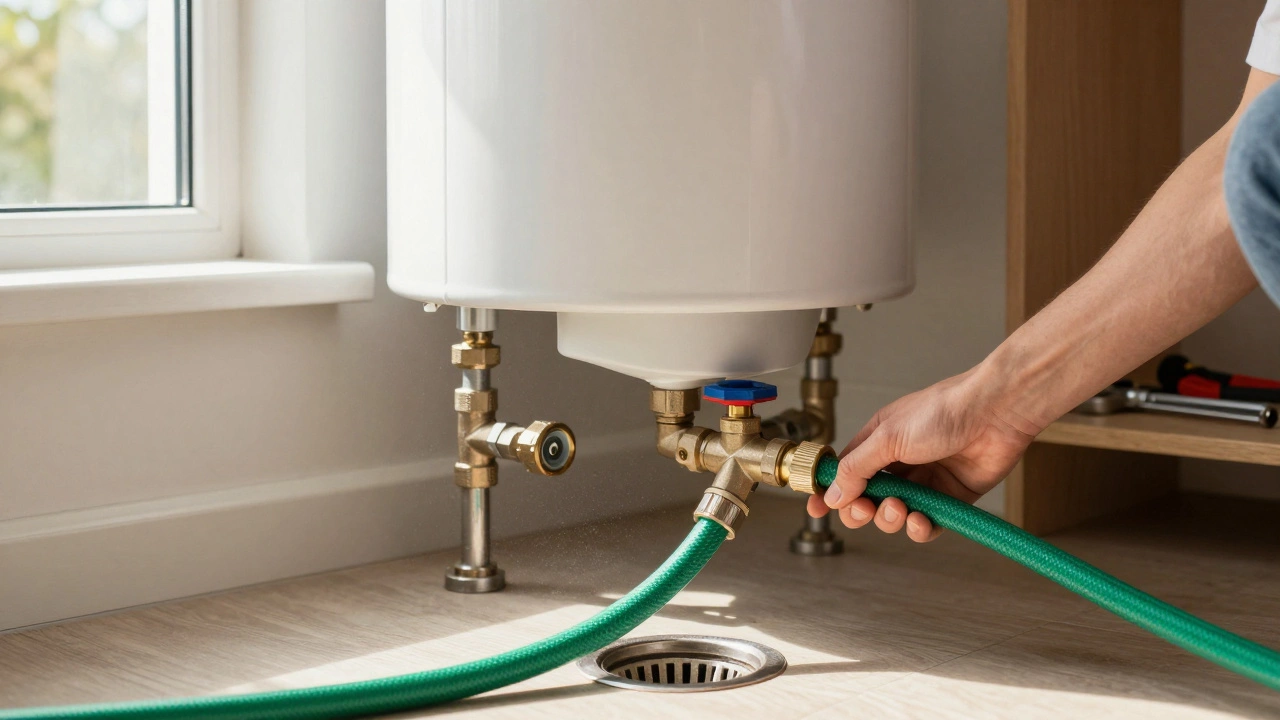
Learn essential water heater maintenance tasks like flushing sediment, checking the anode rod, and testing safety valves to extend lifespan and improve efficiency.
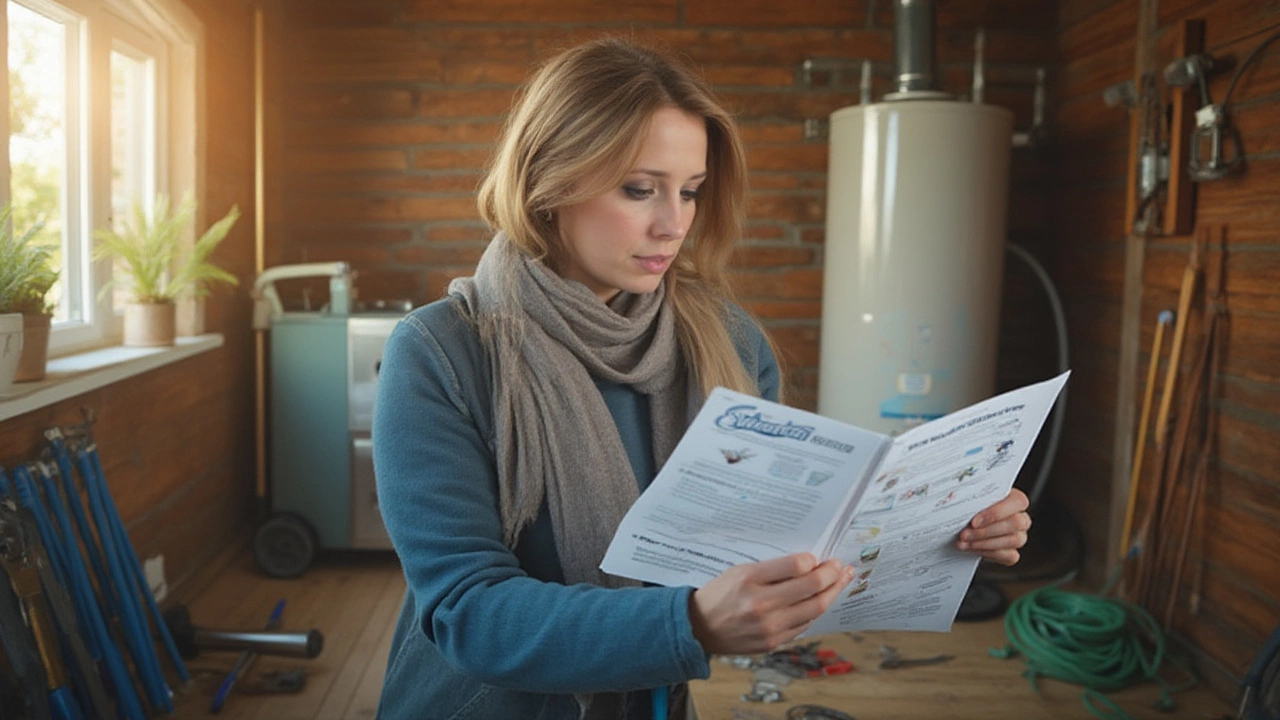
Wondering if you can flush your water heater yourself? Learn the step-by-step process, tools you'll need, and expert tips to extend your water heater's life.

Annoyed by standing water at the bottom of your dishwasher? This article breaks down why your dishwasher isn't draining, what can cause it, and how to troubleshoot the most common issues. Learn about clogged filters, garbage disposal connections, and more. I'll also share some handy tips to help you prevent problems in the future. Whether you're a first-timer or have dealt with dishwasher headaches before, you’ll find practical advice here.

Replacing the anode rod in a water heater can extend its lifespan and prevent costly repairs. This article breaks down the cost of replacement, including materials and labor, and discusses why it's a crucial part of water heater maintenance. Discover how often anode rods should be checked and what signs indicate it's time for a replacement. Whether you DIY or hire a pro, understanding these factors can save you money and stress.
Deciding whether to repair or replace your oven? We break down the 2026 UK costs, the 50% rule, and hidden expenses to help you choose the most cost-effective option for your kitchen.
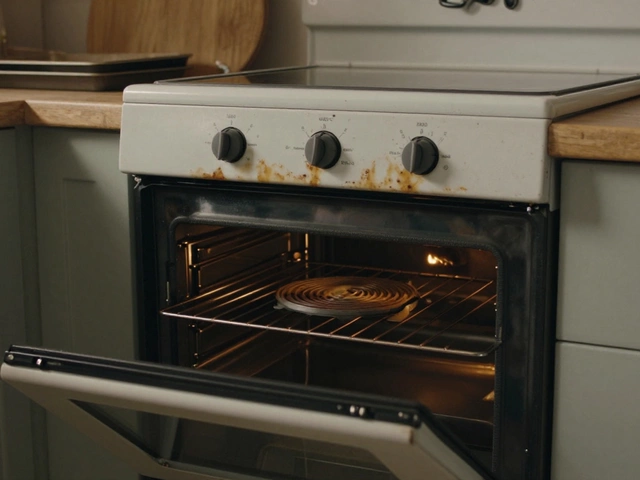
Deciding whether to fix or replace a 20-year-old oven? Learn real repair costs, energy savings, safety risks, and when it’s smarter to buy new. Practical advice for UK homeowners.
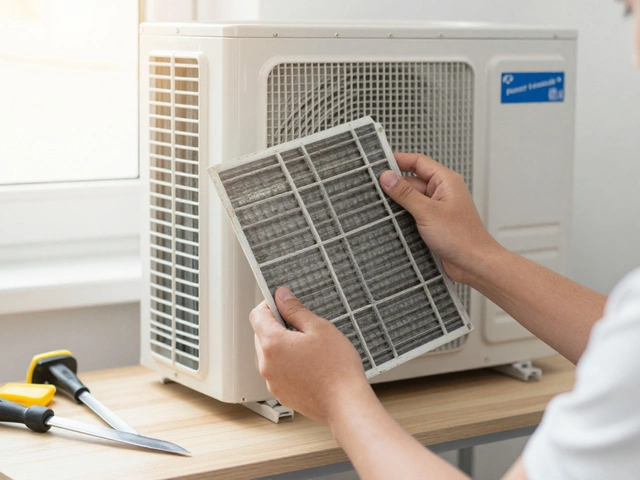
You can fix some heat pump issues yourself - like dirty filters or tripped breakers - but refrigerant leaks, compressor failures, and electrical problems require a professional. Know the limits before you try a DIY repair.