

Ever wonder why your hot water suddenly feels rusty or why the tank makes strange noises? Most of the time it’s the anode rod giving up. The anode rod is a cheap metal stick that stops corrosion inside your water heater. When it wears out, the whole tank can start rusting, which means costly repairs or a full replacement.
The anode rod is made of zinc, aluminum, or magnesium. It sits right in the tank and attracts the corrosive chemicals that would otherwise attack the steel lining. Think of it as a sacrifice lamb – it corrodes so the tank doesn’t. As long as the rod stays solid, the heater lasts longer and runs more efficiently.
Most manufacturers suggest checking the rod every 2‑3 years, but if you have hard water or a high‑mineral supply, you might need to look sooner. A quick visual check can tell you a lot: if the rod is less than half the original diameter or covered in heavy rust, it’s time for a swap.
Ready to replace it yourself? You’ll need a few basic tools: a garden hose, a socket wrench (usually 1½‑inch), a pipe wrench for stubborn fittings, and a new anode rod that matches your heater’s make and size. Follow these steps and you’ll have fresh protection in under an hour.
1. Turn off power and water. For electric heaters, switch off the breaker. For gas units, set the thermostat to “off.” Then shut off the cold‑water supply and open a hot faucet to relieve pressure.
2. Drain a few gallons. Connect a hose to the drain valve at the bottom of the tank and let a few gallons flow out. This reduces the weight of the water and makes the rod easier to pull.
3. Locate the anode rod. It’s usually on the top of the tank, covered by a hex‑shaped plug. Remove any insulation or plastic caps to expose the fitting.
4. Unscrew the old rod. Use the socket wrench to turn the rod counter‑clockwise. If it’s rusted in, apply a little penetrating oil and let it sit for a few minutes before trying again.
5. Install the new rod. Wrap Teflon tape around the threads of the new rod to ensure a leak‑free seal. Screw it in clockwise until snug, then give it an extra quarter turn – no need to over‑tighten.
6. Refill and test. Close the drain valve, remove the hose, and turn the cold‑water supply back on. Open a hot faucet and let water run until it flows steadily, indicating the tank is full. Finally, restore power or relight the gas burner.
That’s it! By swapping the anode rod yourself, you’ve extended the life of your water heater and saved a handful of pounds. If anything feels too tough – a stuck rod, a leaking connection, or you’re unsure about gas units – call a local pro. A quick call can prevent damage and keep your hot water flowing.
Regularly checking the anode rod is a smart habit. It costs less than a new heater, takes minutes, and gives you peace of mind that your hot water stays clean and reliable.
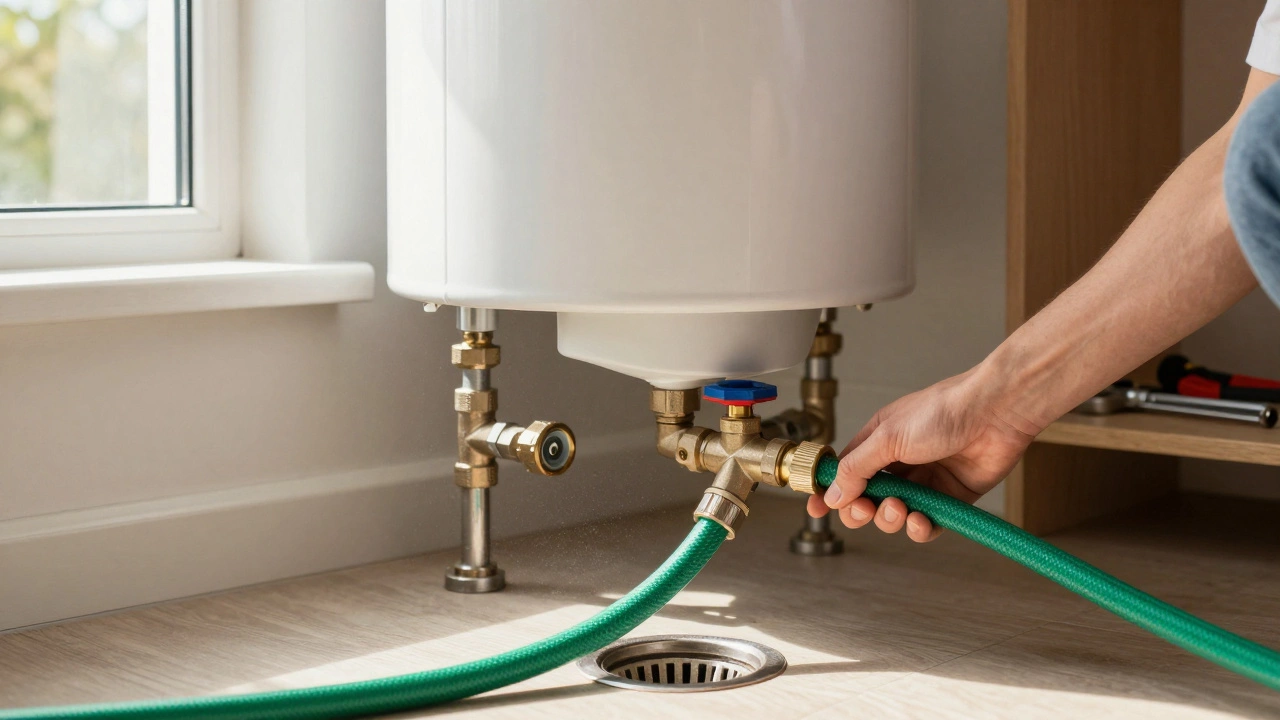
Learn essential water heater maintenance tasks like flushing sediment, checking the anode rod, and testing safety valves to extend lifespan and improve efficiency.
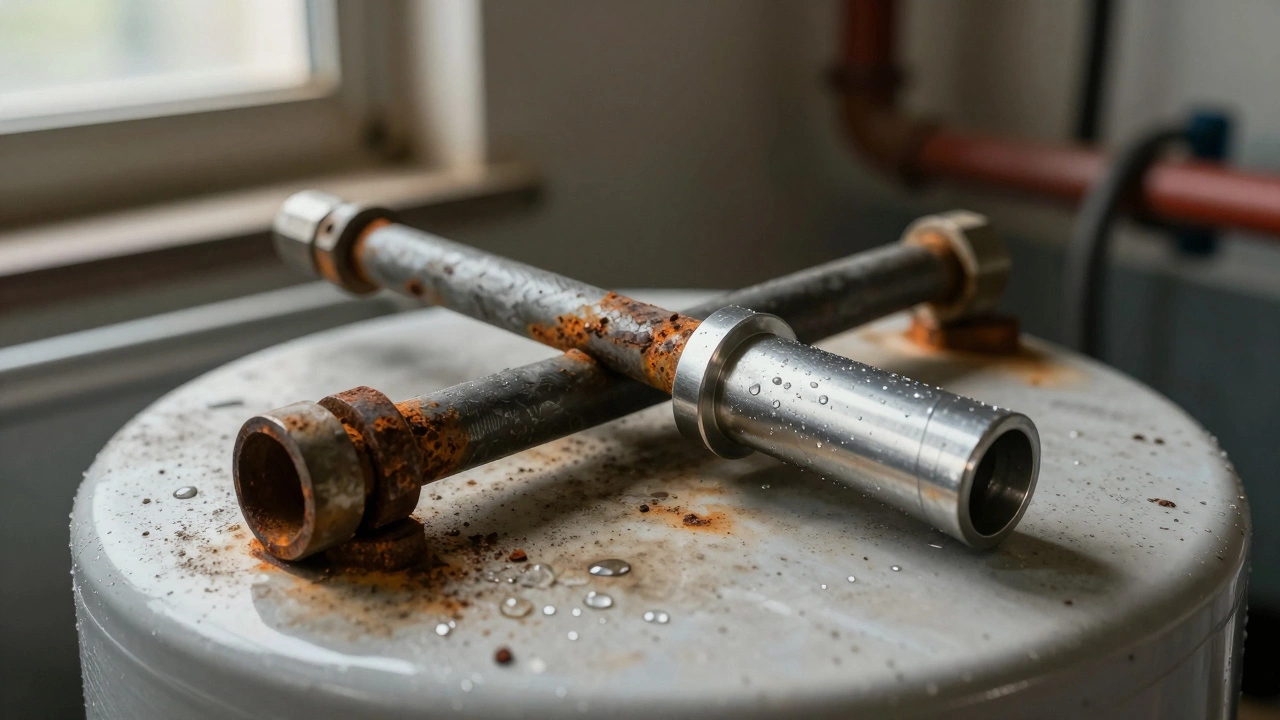
Replace your water heater's anode rod every 1-2 years in hard water areas to prevent tank corrosion. A simple £20 part can save you hundreds in repairs.

Replacing the anode rod in a water heater can extend its lifespan and prevent costly repairs. This article breaks down the cost of replacement, including materials and labor, and discusses why it's a crucial part of water heater maintenance. Discover how often anode rods should be checked and what signs indicate it's time for a replacement. Whether you DIY or hire a pro, understanding these factors can save you money and stress.

Thinking about swapping out your electric oven? This article covers how tough the job really is, where people usually get stuck, and what you actually need to know. We break down what tools you really need, what pitfalls you can avoid, and when you should probably call someone who’s done it before. Get ready for straight talk—no tech jargon, just real advice for regular folks. Whether you DIY or call a pro, you’ll walk away ready to make a smart decision.
Repairing an extractor fan can seem daunting, but with the right guidance and tools, it's a task that can be tackled with confidence. This article walks you through the essential steps of diagnosing common issues, the tools needed for basic repairs, and tips for maintaining your fan in top condition. Whether in a kitchen or bathroom, keeping your extractor fan functional ensures optimal ventilation and air quality. Learn when a repair is possible and when it might be time to seek professional help.

Wondering if your oven can hit the 20-year mark? This article digs into what really decides how long an electric oven lasts, from the make to how you treat it. Get real tips to keep yours running strong, spot early signs of trouble, and find out when repair is smarter than replacement. No fluff—just straight answers for anyone looking to save money and avoid surprise oven breakdowns. This is your guide to squeezing every last year out of your electric oven.
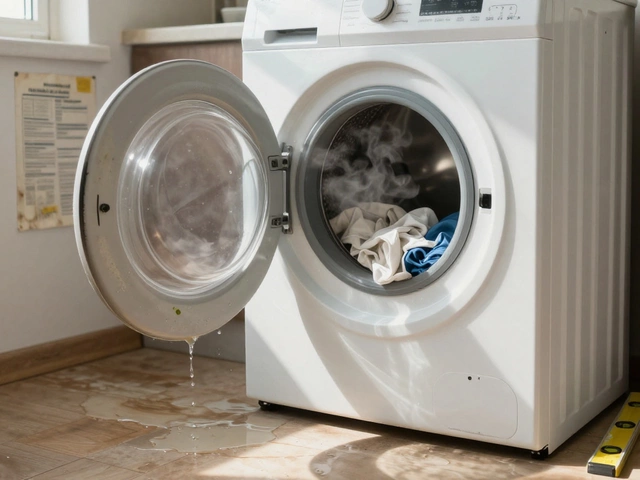
Most washing machines last 8-12 years, but signs like loud noises, leaks, or error codes mean it's time to consider repair or replacement. Learn how to extend its life and when it's better to buy new.
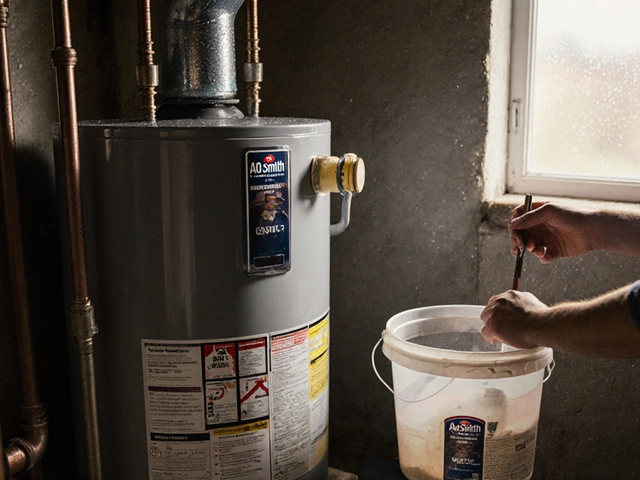
AO Smith, Bradford White, and Rheem are the most durable water heater brands, often lasting 12-15 years with proper maintenance. Learn what really affects lifespan and how to make your heater last longer.