Water Heater Maintenance Tracker
Flush Tank (Remove Sediment)
AnnuallyRemoves mineral buildup that causes popping noises and reduces efficiency.
Test T&P Valve
AnnuallyEnsures the pressure relief valve opens correctly to prevent tank explosions.
Check Thermostat
Every 2 YearsVerify temperature is set to 120°F for safety and energy savings.
Inspect Anode Rod
Every 3-5 YearsThe sacrificial shield preventing rust. Replace if thinner than half its diameter.
Visual Leak Check
MonthlyLook for puddles under the tank or weeping pipes at connections.
System Health Score
Enter dates to calculate score
Status Legend:
- Up to Date
- Due Soon (within 30 days)
- Overdue
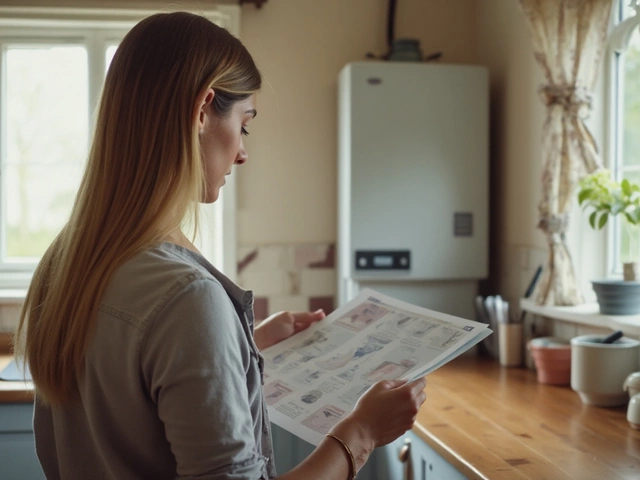
Hot water is one of those things you don't think about until it disappears. You step into the shower, expecting warmth, and instead get a shock of icy cold. Or worse, your hot water runs out after thirty seconds because the tank is full of sediment rather than liquid. Most people treat their water heater as a set-and-forget appliance. They install it, turn it on, and ignore it for a decade. This approach usually leads to premature failure, higher energy bills, and unexpected leaks that ruin floors.
Maintenance isn't just about keeping the unit running; it's about safety and efficiency. A neglected unit works harder, burns more gas or electricity, and poses risks like carbon monoxide leaks or tank explosions if pressure builds up unchecked. The good news? You don't need to be a plumber to handle most of the routine care. With a few tools and an afternoon, you can extend the life of your unit by several years. Here is exactly what needs attention, how often, and why it matters.
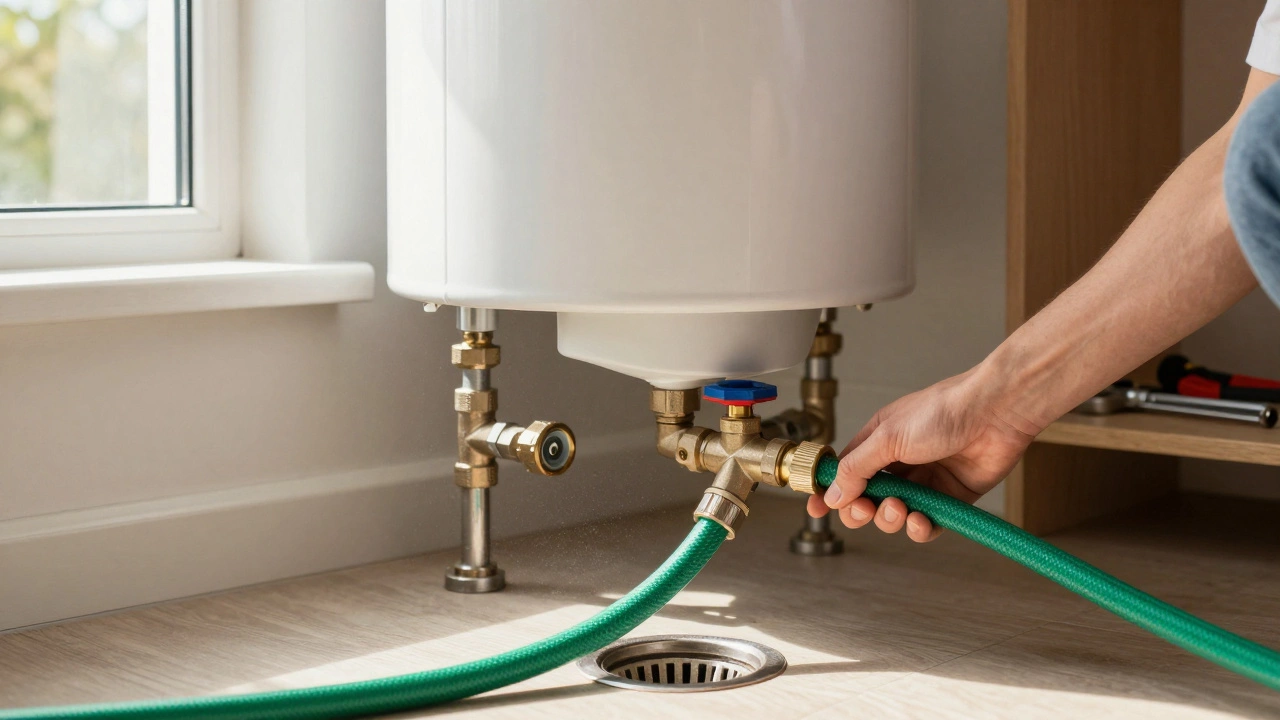
Flushing the Tank: Removing Sediment Buildup
The single most important task you can perform is flushing the tank. Over time, minerals in your water-especially calcium and magnesium in hard water areas-settle at the bottom of the tank. This creates a layer of sediment. When the heating element or burner turns on, this sediment gets superheated. It causes popping noises, reduces heating efficiency, and eventually cracks the glass lining inside the tank.
You should flush your tank once a year. If you have very hard water, consider doing it twice a year. Here is how to do it safely:
- Turn off the power. For electric units, switch off the circuit breaker. For gas units, turn the dial to "Pilot" or "Off."
- Cold water supply. Locate the cold water inlet valve (usually blue) and turn it clockwise to shut off the flow.
- Connect a hose. Attach a standard garden hose to the drain valve at the bottom of the tank. Run the other end to a floor drain, utility sink, or outside.
- Open a hot tap. Go to the nearest faucet and turn on the hot water. This prevents a vacuum from forming in the pipes, allowing the tank to drain freely.
- Open the drain valve. Let the water run until it flows clear. If it comes out brown or cloudy, keep draining. You might need to close and reopen the valve a few times to dislodge stubborn sediment.
- Refill and restore. Close the drain valve, open the cold water supply, and wait for the tank to fill (you'll hear water rushing through the pipes). Once full, turn the power back on.
If you skip this step, the sediment acts as an insulator between the heat source and the water. Your unit has to work longer to heat the same amount of water, driving up your utility bills. In extreme cases, the overheating of the sediment can cause the tank to fail catastrophically.
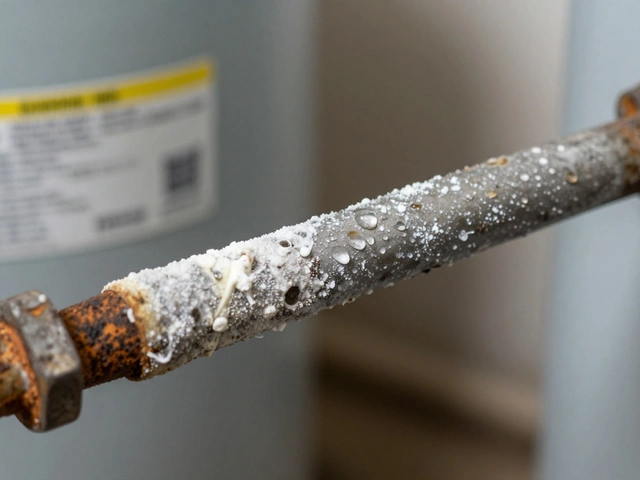
Checking the Anode Rod: The Sacrificial Shield
Inside your tank is a metal rod called the anode rod. Its job is simple but critical: it sacrifices itself to save the steel tank. Water is naturally corrosive. Without the anode rod, the water would eat away at the steel walls of the tank, leading to rust and leaks within a few years. The rod is made of magnesium or aluminum, which corrodes faster than steel. As long as the rod is intact, the tank remains protected.
You should inspect the anode rod every three to five years. To do this, you need to drain some water from the tank to lower the level below the rod's access point (usually near the top). Unscrew the hexagonal head with a socket wrench. Pull the rod out and look at it.
- Good condition: The rod is still thick and metallic, perhaps covered in some white calcium deposits that can be chipped away.
- Replace now: The rod is heavily corroded, thinner than half its original diameter, or hanging in pieces.
If the rod is gone, replace it immediately. You can buy universal anode rods at most hardware stores. Some newer rods are powered by a small electrical current, which can last even longer than traditional sacrificial rods. Ignoring a depleted anode rod is the fastest way to guarantee a leaky tank within two years.
Testing the Temperature and Pressure Relief Valve
Safety devices aren't meant to be ignored. The temperature and pressure relief valve (T&P valve) is a mechanical fuse for your water heater. If the water gets too hot or the pressure gets too high, the valve opens to release steam and water, preventing the tank from exploding. It’s located on the top or side of the tank, with a discharge pipe running down to the floor.
Test this valve once a year. Place a bucket under the discharge pipe. Lift the lever on the valve quickly and let it snap back. You should hear a rush of water and see it flow into the bucket. If nothing happens, the valve is stuck and needs replacement. Do not use tape or wire to secure the lever in the closed position; this defeats its purpose. A faulty T&P valve is a serious safety hazard, especially in older homes where plumbing pressure can fluctuate wildly.
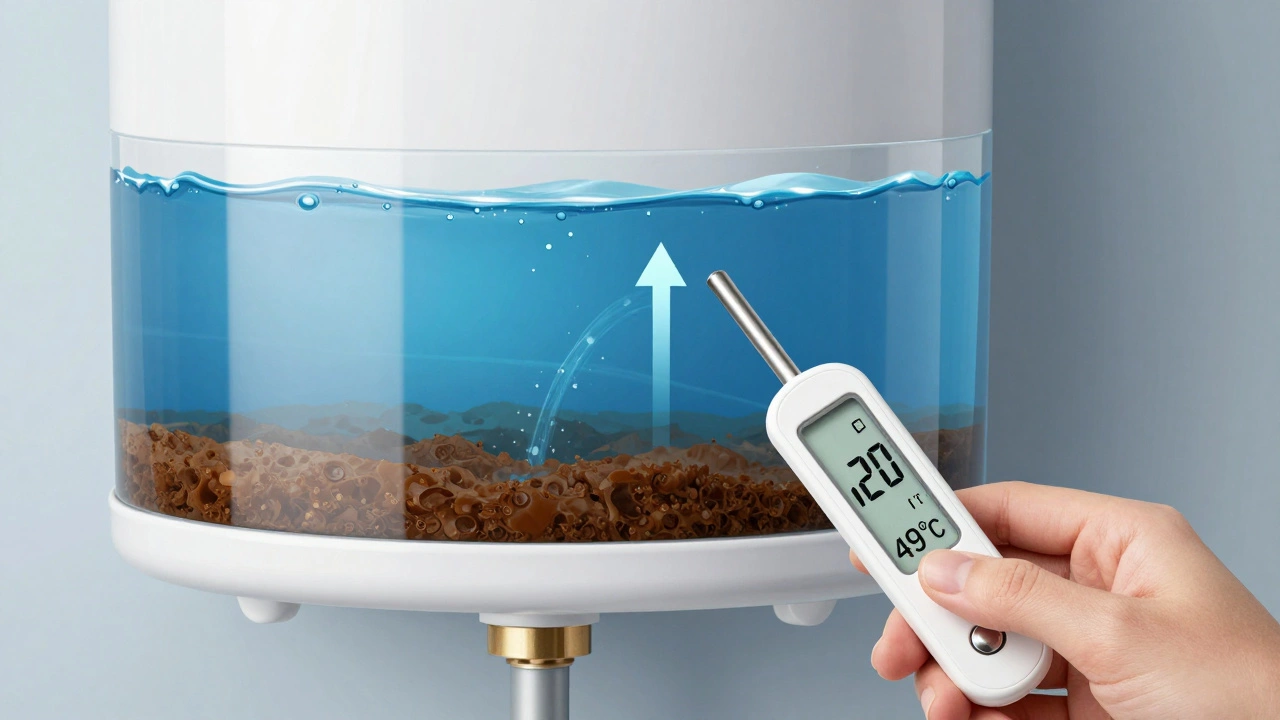
Adjusting the Thermostat
Most manufacturers set the default temperature on new water heaters to around 140°F (60°C). This is hotter than necessary for most households and increases the risk of scalding, particularly for children and elderly family members. The Department of Energy recommends setting the thermostat to 120°F (49°C). At this temperature, you still get plenty of hot water for showers and dishes, but you reduce energy consumption and slow down mineral buildup.
To adjust the temperature, remove the insulation blanket over the thermostat dials. Use a screwdriver to turn the dial to the desired setting. Wait a few hours for the water to stabilize, then check the temperature at the faucet with a thermometer. If it’s too low, nudge it up slightly. Remember, higher temperatures mean faster corrosion and more scale formation, so stick to 120°F unless you have a specific medical reason for higher heat.
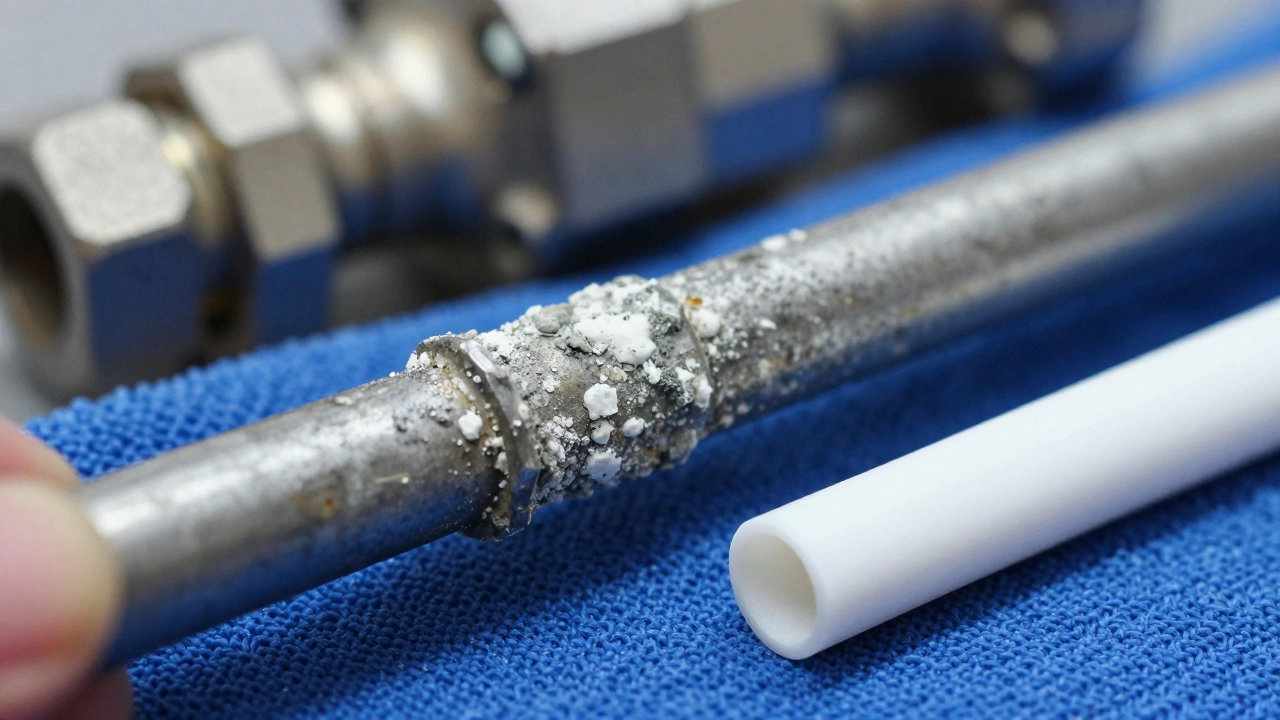
Inspecting for Leaks and Corrosion
While you’re under the hood checking valves and thermostats, take a moment to look at the connections. Check the cold water inlet and hot water outlet pipes for signs of weeping or dripping. Look at the base of the tank for any moisture. A small puddle under the tank could indicate a leaking drain valve, a failing T&P valve, or worse, a crack in the tank itself.
Also, inspect the flue pipe on gas models. If you see soot or rust stains around the exhaust vent, it could signal incomplete combustion or a blockage. Carbon monoxide is odorless and deadly, so any sign of improper venting requires immediate professional attention. Don’t wait for a smell; trust your eyes.
| Task | Frequency | Difficulty | Tools Needed |
|---|---|---|---|
| Flush Tank | Annually | Medium | Garden hose, wrench |
| Test T&P Valve | Annually | Easy | Bucket |
| Check Thermostat | Every 2 Years | Easy | Screwdriver, thermometer |
| Inspect Anode Rod | Every 3-5 Years | Hard | Socket wrench, replacement rod |
| Visual Leak Check | Monthly | Easy | Eyes only |
When to Call a Professional
Some tasks are better left to experts. If you notice a burning smell, hear loud banging noises that persist after flushing, or see significant rust in your hot water, call a licensed plumber. These symptoms often indicate internal component failure, such as a cracked heating element or a compromised tank lining. Additionally, if your home uses natural gas, annual inspections of the burner assembly and gas lines should be performed by a certified technician to ensure safe combustion and proper ventilation.
Ignoring these warning signs can lead to costly repairs or complete unit replacement. A professional inspection costs a fraction of what a new water heater installation does. Think of maintenance as insurance. It’s a small investment that pays off in longevity, efficiency, and peace of mind.
How often should I flush my water heater?
You should flush your water heater at least once a year. If you live in an area with hard water, consider flushing it twice a year to prevent excessive sediment buildup that can damage the tank and reduce efficiency.
What is the ideal temperature for a water heater?
The Department of Energy recommends setting your water heater to 120°F (49°C). This temperature is safe for most households, reduces the risk of scalding, and helps minimize mineral buildup while saving energy.
Why is my water heater making popping noises?
Popping noises are usually caused by sediment buildup at the bottom of the tank. As water trapped under the sediment boils, it creates steam bubbles that pop when they escape. Flushing the tank typically resolves this issue.
Do I need to replace the anode rod myself?
Replacing an anode rod is a moderately difficult DIY task. It requires draining part of the tank and using a socket wrench. If you are uncomfortable with plumbing tasks or if the rod is severely corroded and stuck, it is best to hire a professional plumber.
How do I know if my water heater is leaking?
Check for puddles or moisture around the base of the tank. Also inspect the connections at the top where the water pipes enter and exit. If you see continuous dripping or rust stains on the tank surface, contact a plumber immediately as the tank may be failing.