If you’ve ever stood under a cold shower because the water heater quit early, you know how annoying it can be. The good news? A lot of the problems that cut a heater’s life short are preventable. By doing a few easy tasks every year, you can add years to your unit and avoid costly replacements.
First, understand what wears a heater out. Temperature and pressure stress the tank, especially if you run the thermostat too high. A setting of 120°F (49°C) is usually enough for most homes and puts less strain on the heating elements.
Second, mineral buildup is a silent destroyer. Hard water leaves limescale on the heating element and inside the tank, reducing efficiency and forcing the heater to work harder. Over time, that extra workload shortens the lifespan.
Third, the anode rod – a metal stick inside the tank – protects the interior from corrosion. When the rod erodes, the tank itself starts to rust. Replacing the anode every 2‑4 years (or checking its condition annually) can keep the tank from turning into a rusty bucket.
1. Flush the tank once a year. Turn off the power or gas, attach a garden hose to the drain valve, and let the water run until it’s clear. This removes sediment that builds up at the bottom and helps the heater run more efficiently.
2. Check the temperature setting. Many people crank the thermostat up to get hot water faster, but that just burns out the heating element sooner. Keep it at 120°F unless you have a specific need for hotter water.
3. Inspect the anode rod. Look for signs of heavy corrosion or a completely consumed rod. If it looks thin or crumbly, swap it out. It’s a cheap part and a big win for longevity.
4. Listen for the reset button. If the heater trips its high‑temperature limit and you have to press the reset button often, it could be a sign of overheating or a failing thermostat. Re‑setting it repeatedly isn’t a fix – call a pro to diagnose the root cause.
5. Keep the area around the heater clear. Dust, debris, and flammable items near the unit can cause overheating or even a fire hazard. A tidy space ensures proper ventilation and safe operation.
These steps take less than an hour but can add 5‑10 years to a typical 8‑12 year water heater. If your heater is already showing signs of age – like noisy rumbling, rusty water, or frequent resets – you might need a professional inspection. Sometimes a simple part replacement solves the problem; other times, it’s smarter to plan for a new, more efficient model.
Bottom line: regular care beats emergency repairs. A quick flush, a temperature tweak, and an anode check are all you need to keep the hot water flowing and your wallet happy. Schedule your maintenance today and enjoy reliable hot water for years to come.
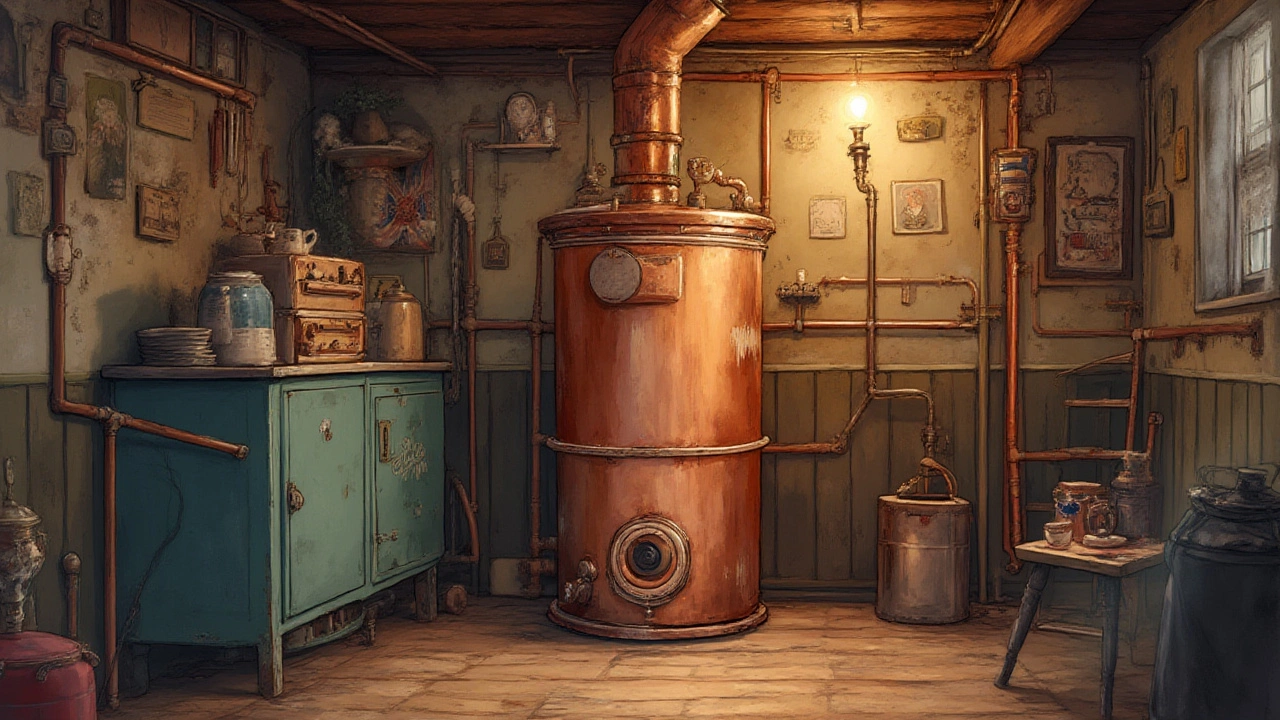
Is it possible for a hot water heater to last 30 years? Here’s a detailed look at what determines water heater longevity, what rare cases look like, and how you can extend your heater’s life with smart habits.

Thinking about swapping out your electric oven? This article covers how tough the job really is, where people usually get stuck, and what you actually need to know. We break down what tools you really need, what pitfalls you can avoid, and when you should probably call someone who’s done it before. Get ready for straight talk—no tech jargon, just real advice for regular folks. Whether you DIY or call a pro, you’ll walk away ready to make a smart decision.
An appliance is a device designed to perform a specific household task like cooking, cleaning, or cooling. It’s not just anything that plugs in - it must replace manual labor and be used regularly at home. Understanding this helps you find the right repair service and know what’s covered under warranties.

Curious if you can fix your dishwasher without calling a pro? This article breaks down the most common dishwasher problems and explains which repairs you can actually do yourself. We’ll cover how complicated these appliances really are, how to figure out what’s wrong, the tools you’ll need, and which jobs might leave you better off calling an expert. Get practical tips, interesting facts, and a clear picture of what you’re actually signing up for before grabbing that toolbox.
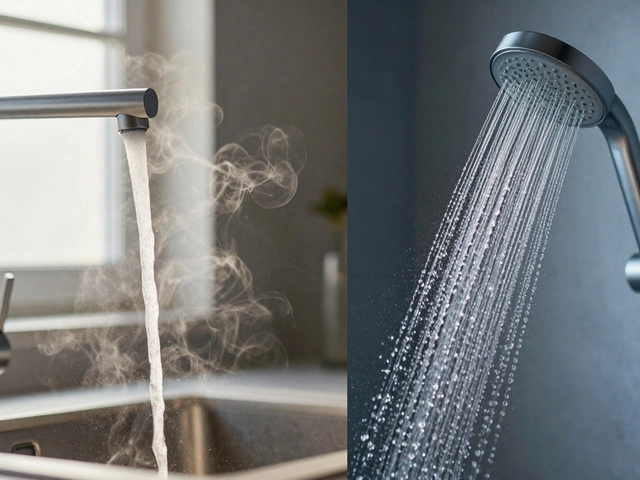
Shower cold but other taps hot? Learn how to diagnose and fix the problem, from failing mixing valves and diverters to air locks and sediment buildup.
Wondering if you can swap out an extractor fan without calling in a pro? This article breaks down what it really takes to replace an extractor fan yourself, from the easy steps to watch-outs that could trip you up. Learn which tools you’ll need, how to stay safe with electricity, and where to draw the line and call an expert. Get helpful tips and facts straight from a practical perspective. Perfect for anyone ready to tackle a home repair without risking their safety or their ceiling.