

Got a noisy, weak, or broken kitchen fan? You don’t have to wait for a technician. Swapping out an extractor fan is a task most homeowners can finish in an afternoon with a few tools. Below you’ll find the basics: when to replace, what you’ll need, and the step‑by‑step process.
First, check the obvious signs. If the fan sounds like a rattling can, barely moves air, or shows visible wear on the blades, it’s probably overdue. Also, look for moisture or rust on the housing – that can shorten the motor’s life. A fan that trips the circuit breaker every time you turn it on is another red flag. Finally, if you’ve had the same model for more than 8‑10 years, it’s a good idea to upgrade to a newer, more efficient unit.
Before you start, gather these items: a screwdriver (usually Phillips), a drill with a small bit for any screws, a ladder or sturdy step stool, a new extractor fan that matches the size of the old one, and safety gear – gloves and safety glasses. Turn off the power at the consumer unit; you don’t want any surprise shocks while working.
Most kitchen fans are mounted under the cabinet or on the wall. Locate the mounting screws and any wiring connectors. Typically there are two wires: live (brown) and neutral (blue). If your fan has a separate ground wire, keep that handy too.
1. Remove the old fan. Unscrew the mounting brackets and gently pull the fan away from the vent. Disconnect the wiring – you may need to loosen a terminal screw or press a release clip.
2. Clean the area. Dust often builds up around the vent and can reduce airflow. Use a vacuum or a damp cloth to wipe away grime before installing the new unit.
3. Fit the new fan. Attach the new fan’s mounting brackets to the same spots you removed the old ones. If the new fan is larger, you may need to enlarge the vent opening – a small hole saw does the trick.
4. Connect the wiring. Match the live and neutral wires to the new fan’s terminals. Tighten the screws so the connections are firm, then add the ground wire if present.
5. Secure and test. Screw the fan into place, make sure it sits flush, and turn the power back on. Switch the fan on – you should hear a smoother, stronger hum and feel a steady airflow.
If the fan runs but the airflow feels weak, double‑check the vent for blockages or make sure the fan blades spin freely. Most issues are resolved by cleaning the ductwork.
Now that you’ve installed a fresh fan, keep it running well by wiping the exterior monthly and cleaning the internal filter every few weeks. A simple brush or vacuum can clear grease build‑up. Running the fan for a few minutes after cooking helps prevent moisture and odors from lingering.
When the fan does need a future replacement, you’ll already know the right size and type for your kitchen, making the next swap even quicker.
Replacing a kitchen extractor fan isn’t a job for a specialist if you follow these steps. With a little preparation, the right tools, and a bit of patience, you’ll have fresh air back in your cooking space without the hassle or extra cost.

Wondering if you can change your kitchen extractor fan yourself? This guide covers steps, safety, tools, common mistakes, and installation tips for a smooth DIY experience.
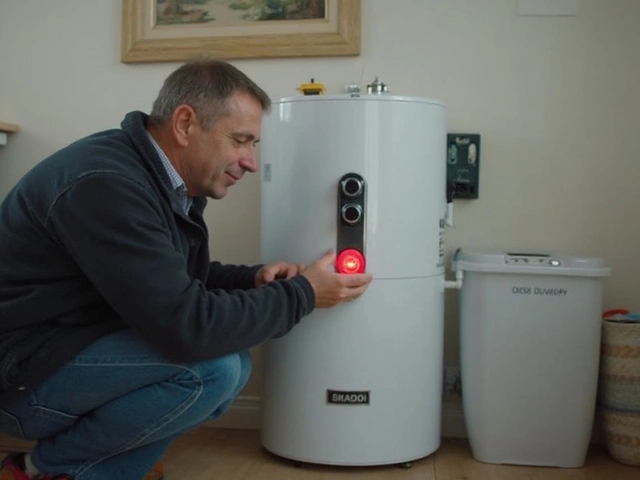
Ever wondered why you end up pushing that red reset button on your water heater over and over? This article digs into exactly what the reset button does, why it keeps tripping, and what can go wrong if you keep hitting it. Get clear answers about hidden water heater issues and learn simple steps to protect your system—and your wallet. We’ll walk you through warning signs, smart troubleshooting tips, and when it’s time to call a pro. No tech jargon, just straight talk for anyone tired of cold showers.
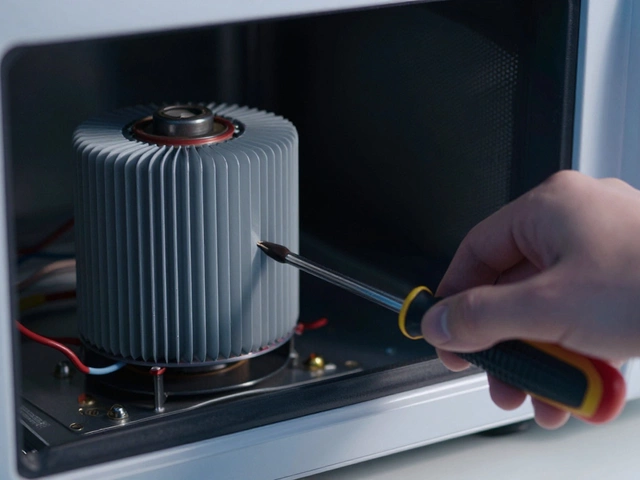
Fixing your own microwave might seem easy, but the high-voltage capacitor inside can deliver a lethal shock-even when unplugged. Here's why DIY repairs are dangerous and what you should do instead.
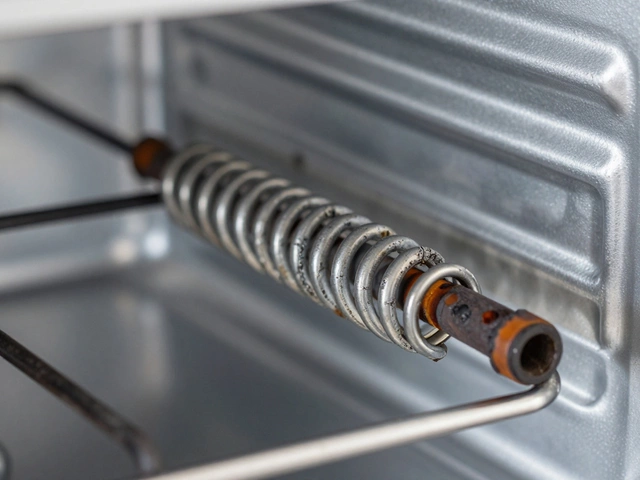
Find out exactly how much it costs to replace an oven heating element in the UK in 2026. Compare DIY vs professional repair prices, learn signs of failure, and decide if repair is worth it.
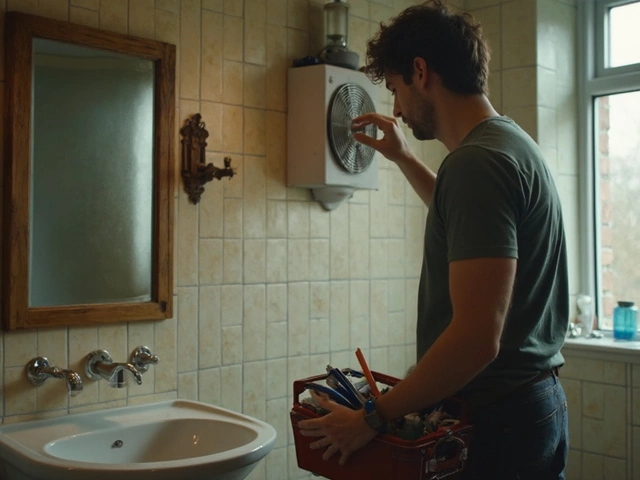
Thinking about swapping out your old extractor fan? This guide digs into how easy (or not) it really is to replace an extractor fan in your bathroom or kitchen. Get the lowdown on what tools you'll need, common surprises people miss, and what makes some fans trickier than others. If you're not sure when to call in a pro, we've got your back there, too. Get ready for a clear, no-nonsense breakdown.

Repairing a glass hob is an essential task for maintaining a functional and modern kitchen. The cost of fixing a glass hob can vary greatly depending on the damage's severity and the required repair type. This article delves into the various factors influencing repair costs, from crack treatment to replacement solutions. It also provides tips for maintenance to prolong the lifespan of your hob and prevent future damage.