

Got a new oven and a fresh kitchen layout? Installing it yourself can save money and give you a sense of pride – as long as you do it safely. In this guide we’ll walk through the tools you need, the preparation steps, the actual fit‑in, and the moments when you should stop and call an electrician.
First, gather the basics. You’ll need a drill with a set of bits, a screwdriver (both flat‑head and Phillips), a tape measure, a level, and a stud finder. If you’re connecting a wired oven, a voltage tester and a wire stripper are a must. For a gas oven, you’ll need a flexible gas hose, pipe sealant, and a leak‑detecting solution. Don’t forget safety gear – gloves and safety glasses keep your hands and eyes out of trouble.
Check your kitchen’s dimensions. Measure the width, height, and depth of the oven and compare them to the cavity you’ve prepared. Most ovens need a few extra centimeters for ventilation, so leave that space. If you’re upgrading from an older model, note where the old wiring or gas line was located – you’ll either reuse it or replace it with new, code‑compliant parts.
1. Turn off power and gas. Locate the circuit breaker for the kitchen and flip the switch to off. For gas, shut the valve at the supply line. Double‑check with a voltage tester that the outlet is dead before you touch anything.
2. Remove the old unit. If you’re swapping an existing oven, unscrew the mounting brackets, disconnect the wiring or gas hose, and pull the old unit out. Have a helper hold the oven – it’s heavier than it looks.
3. Prepare the cavity. Use the level to ensure the floor is even. If the floor isn’t level, shim the oven’s legs with small wood pieces until it sits straight. Clean the cavity of dust and debris – a clean fit means better airflow.
4. Connect electricity or gas. For electric ovens, match the three‑wire plug to the wall outlet. Tighten terminal screws securely and make sure no bare wires are exposed. For gas ovens, attach the flexible hose to the supply line, tighten the fittings with a wrench, and apply a thin layer of pipe sealant. Run a soapy‑water test to check for leaks – bubbles mean you have a leak that needs tightening.
5. Slide the oven into place. Carefully guide the oven into the cavity, keeping the cords or hose at the back. Once it’s seated, use the built‑in leveling legs or screw‑in shims to make sure it sits flat. A level oven prevents uneven heating and reduces wear on the door hinges.
6. Secure the unit. Most ovens come with mounting brackets that attach to the wall studs. Drill pilot holes, align the brackets, and screw them in tightly. This step stops the oven from sliding forward when you open the door.
7. Test everything. Turn the breaker back on and, if you have a gas oven, open the gas valve. Run the oven on a low temperature for about 10 minutes – listen for any abnormal noises and check that the heating elements fire up correctly. For electric models, make sure the clock, lights, and timers work.
If anything feels off – sparks, smells, or the oven won’t heat – shut it down immediately and call a licensed electrician or gas engineer. It’s better to be safe than to risk a fire or carbon‑monoxide issue.
Once the oven passes all checks, you’re ready to start cooking. Keep a copy of the user manual handy; it contains the exact clearance requirements and troubleshooting tips specific to your model.
Feeling unsure about any step? Bognor Regis Appliance Repair Experts are just a call away. We can handle the wiring, gas connection, or any unexpected hiccup, so you can enjoy your new oven without worry.

Thinking about swapping out your electric oven? This article covers how tough the job really is, where people usually get stuck, and what you actually need to know. We break down what tools you really need, what pitfalls you can avoid, and when you should probably call someone who’s done it before. Get ready for straight talk—no tech jargon, just real advice for regular folks. Whether you DIY or call a pro, you’ll walk away ready to make a smart decision.

Thinking about installing a new electric oven? It's not always as simple as plugging it in. Discover the ins and outs of electric oven installation with tips on wiring, safety precautions, and when to call a professional. Learn what to check before attempting to plug in a new unit and how to ensure everything's set up correctly for safe and efficient use.
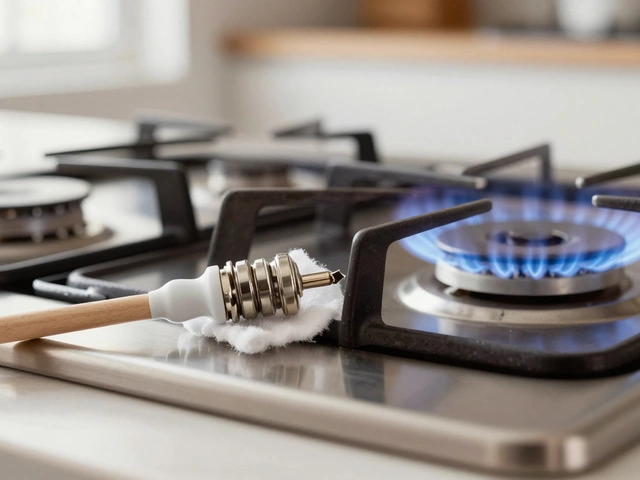
Discover if your broken hob can be fixed. Learn DIY tips for gas, electric, and induction cooktops, when to call a pro, and how to save money on repairs.
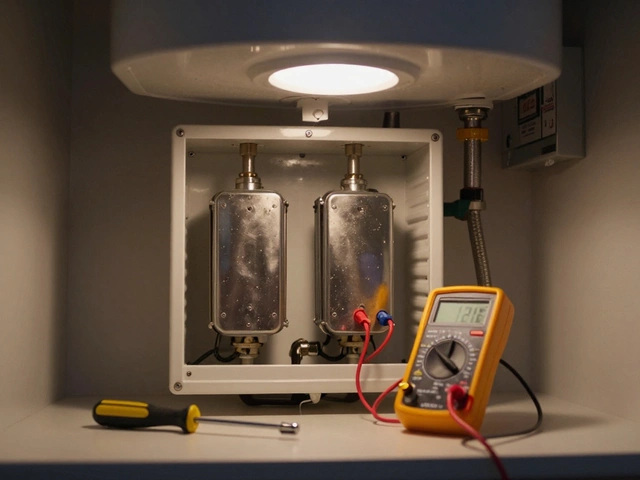
Fix a water heater producing cold water by checking the power, testing heating elements, adjusting the thermostat, flushing sediment, and replacing faulty parts like the dip tube or thermocouple. Most issues are simple DIY fixes.
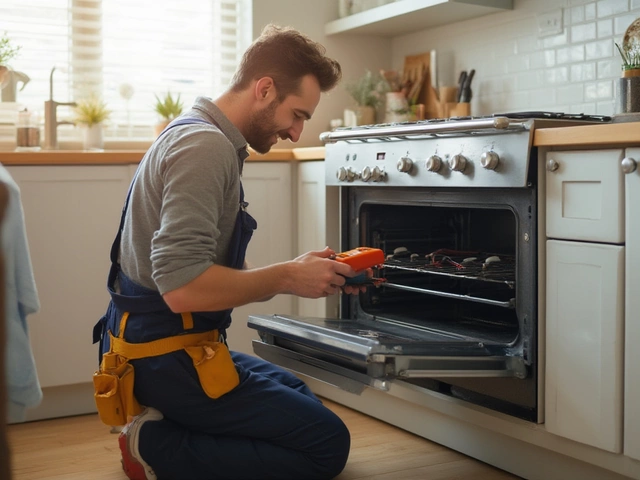
Wondering if an electrician can fix your electric oven? Get the facts, tips, and expert advice you need on diagnosing and repairing broken ovens.
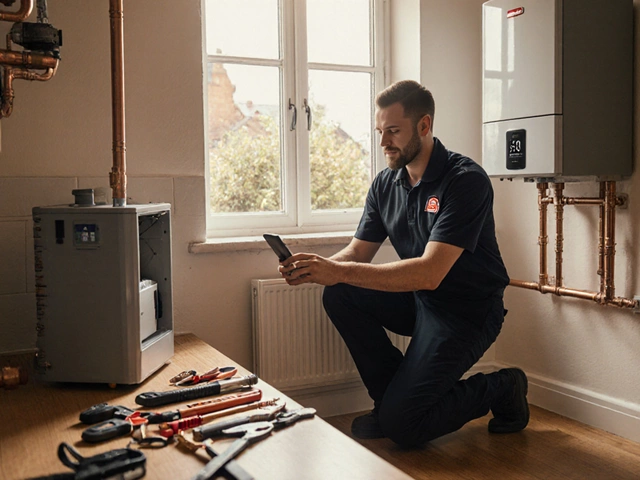
Replacing a boiler in 2025 costs between £2,000 and £4,500 on average. Learn what affects the price, when to replace vs repair, and how to save with government grants. Make an informed decision for your home.
Find out when fixing a 15‑year‑old oven makes sense, compare repair costs with buying new, and learn safety, energy and environmental factors to help you decide.