Got a laptop screen that’s cracked, shows weird lines, or flickers like a cheap TV? You’re not alone. Most people think they need a brand‑new laptop, but a lot of screen woes can be solved at home or with a cheap professional fix. Below you’ll find the tools, safety steps, and a straight‑forward repair guide that will get your display back to normal without breaking the bank.
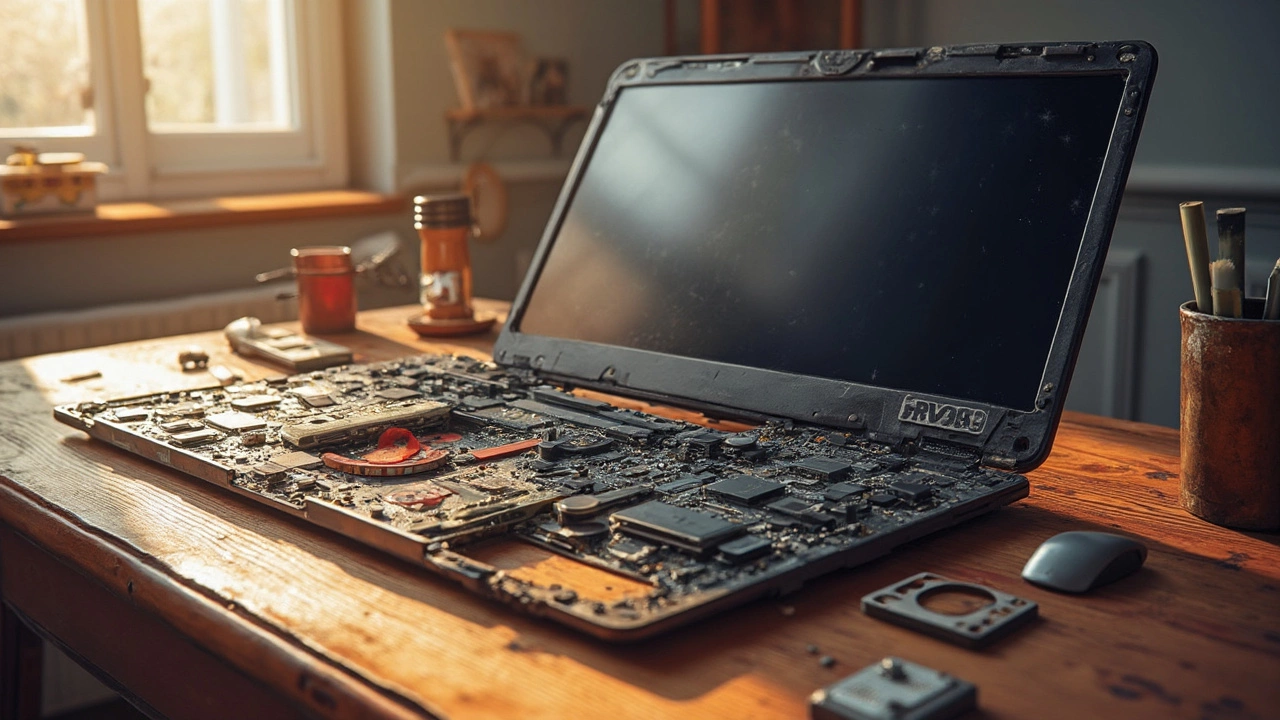
Before you pop the screen off, gather these basics: a small Phillips #00 screwdriver, a plastic spudger or pry bar, a microfiber cloth, replacement LCD panel (make sure it matches your model), anti‑static wrist strap, and a clean, flat workspace. Safety isn’t optional – unplug the laptop, remove the battery if it’s removable, and ground yourself with the wrist strap. A static discharge can ruin the new panel as easily as a broken screw can ruin the chassis.
1. Remove the bezel. Most modern laptops have a thin rubber or plastic bezel around the screen. Use the spudger to gently lift the edge, working your way around until it pops off. If there are tiny screws hidden under rubber pads, peel them back and unscrew.
2. Unscrew the panel. Look for four to six tiny screws on the back of the LCD. Keep them in a small container so you don’t lose them. Do not force any screw; if it resists, double‑check you’re using the right size driver.
3. Disconnect the video cable. Once the screws are out, the screen will tilt forward. You’ll see a flat‑flex cable (FFC) or a small connector with a latch. Pull the latch up (or gently wiggle the FFC) and pull the connector out. Use the spudger if it’s stubborn.
4. Swap the panel. Align the new LCD with the mounting points, re‑attach the video cable, and secure it with the latch. Place the panel back, screw it in, and snap the bezel back on.
5. Test before you fully re‑assemble. Plug the power back in, turn the laptop on, and check the picture. If you see the same flicker or dead pixels, the issue may be with the inverter, backlight, or motherboard, not the panel.
6. Finish up. Once the display works, tighten all screws, replace any rubber pads, and snap the bezel back into place. Dispose of the old screen responsibly – many electronics retailers accept it for recycling.
If at any point you feel unsure, remember that a professional repair shop can replace the screen for under £100 in most cases. It’s worth calling them if you lack the right tools or if the laptop is still under warranty.
Screen problems are one of the most common repair requests we see, and the good news is they’re usually quick fixes. With the right preparation, you can save time, money, and the hassle of buying a whole new laptop. Just follow the steps, stay safe, and enjoy a crystal‑clear display again.
Fixing a laptop can often be a costly affair, with some components surprisingly pricey to replace. This article explores which part of a laptop typically incurs the highest repair costs and why. We dive into details like the high expense of screen and motherboard repairs, offering insights into why these parts hit the wallet hardest. Gain practical advice on maintaining your laptop to avoid these hefty bills in the first place, and discover some curious facts about common laptop repairs.

Discover the most common hot water heater problems, including sediment buildup, pilot light failures, and leaks. Learn how to diagnose issues, perform maintenance, and extend your unit's lifespan.

Wondering whether plumbers can fix your boiler? This article breaks down exactly what plumbers do, where their work overlaps with heating engineers, and when you need a specialist. You’ll get practical advice for dealing with boiler issues, tips for finding the right tradesperson, and a look at why gas safety credentials matter so much. There’s even a checklist for what to ask before hiring someone for your boiler job. Skip the confusion and figure out who to call, fast.

Neglecting boiler maintenance can lead to a series of unfortunate events, from reduced heating efficiency to costly breakdowns. A neglected boiler could become a safety hazard, potentially increasing the risk of carbon monoxide poisoning. Regular servicing can enhance your boiler’s longevity, ensuring a warm home environment during cold spells. Discover why these routine check-ups are more crucial than many realize and learn how they can save you from avoidable expenses.

Can a plumber fit an extractor fan? While they can install the unit, only a qualified electrician can legally and safely handle the wiring. Learn what you need to know before hiring anyone.

Wondering if your hot water heater is about to quit? This article breaks down the most common signs that your water heater needs to be replaced, from strange noises to rusty water. Find out how long these tanks usually last, what to look for during regular maintenance, and how to handle sudden issues. You'll get practical tips to keep your heater running smoothly and avoid a cold shower surprise. If you've ever worried about flooding, energy bills, or weird knocking, this is for you.