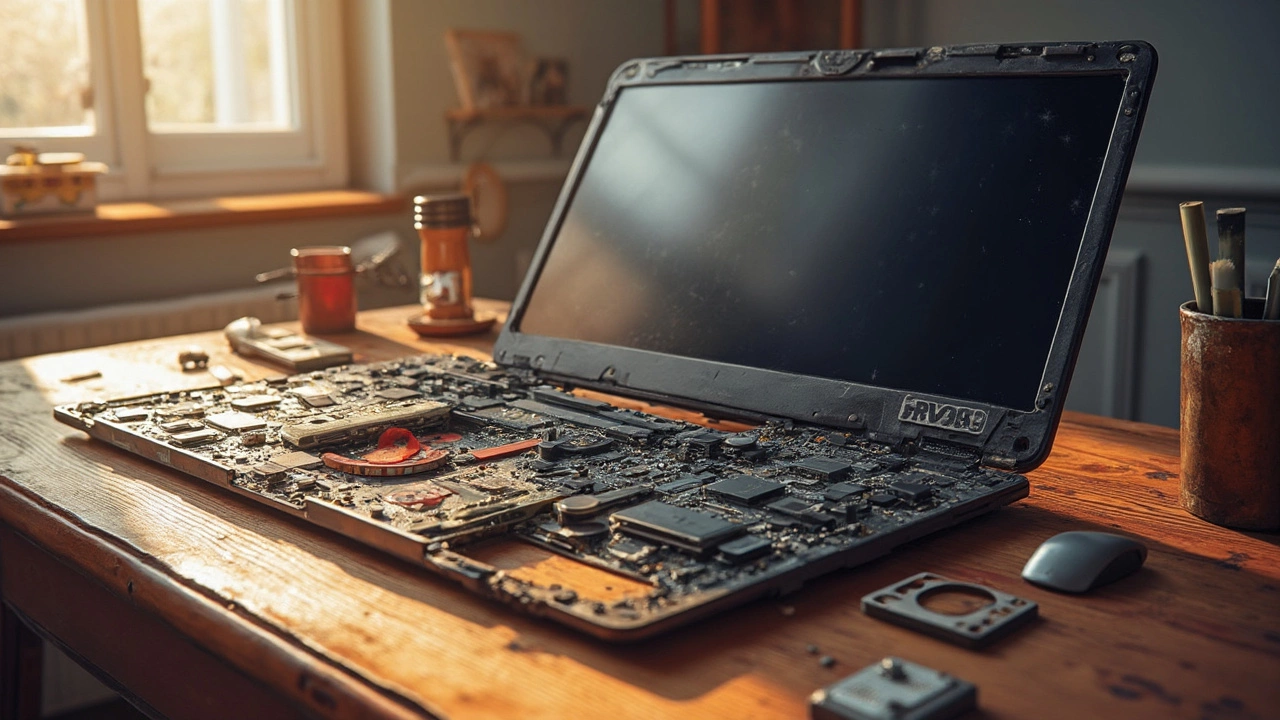
Got a laptop screen that’s cracked, shows weird lines, or flickers like a cheap TV? You’re not alone. Most people think they need a brand‑new laptop, but a lot of screen woes can be solved at home or with a cheap professional fix. Below you’ll find the tools, safety steps, and a straight‑forward repair guide that will get your display back to normal without breaking the bank.
Before you pop the screen off, gather these basics: a small Phillips #00 screwdriver, a plastic spudger or pry bar, a microfiber cloth, replacement LCD panel (make sure it matches your model), anti‑static wrist strap, and a clean, flat workspace. Safety isn’t optional – unplug the laptop, remove the battery if it’s removable, and ground yourself with the wrist strap. A static discharge can ruin the new panel as easily as a broken screw can ruin the chassis.
1. Remove the bezel. Most modern laptops have a thin rubber or plastic bezel around the screen. Use the spudger to gently lift the edge, working your way around until it pops off. If there are tiny screws hidden under rubber pads, peel them back and unscrew.
2. Unscrew the panel. Look for four to six tiny screws on the back of the LCD. Keep them in a small container so you don’t lose them. Do not force any screw; if it resists, double‑check you’re using the right size driver.
3. Disconnect the video cable. Once the screws are out, the screen will tilt forward. You’ll see a flat‑flex cable (FFC) or a small connector with a latch. Pull the latch up (or gently wiggle the FFC) and pull the connector out. Use the spudger if it’s stubborn.
4. Swap the panel. Align the new LCD with the mounting points, re‑attach the video cable, and secure it with the latch. Place the panel back, screw it in, and snap the bezel back on.
5. Test before you fully re‑assemble. Plug the power back in, turn the laptop on, and check the picture. If you see the same flicker or dead pixels, the issue may be with the inverter, backlight, or motherboard, not the panel.
6. Finish up. Once the display works, tighten all screws, replace any rubber pads, and snap the bezel back into place. Dispose of the old screen responsibly – many electronics retailers accept it for recycling.
If at any point you feel unsure, remember that a professional repair shop can replace the screen for under £100 in most cases. It’s worth calling them if you lack the right tools or if the laptop is still under warranty.
Screen problems are one of the most common repair requests we see, and the good news is they’re usually quick fixes. With the right preparation, you can save time, money, and the hassle of buying a whole new laptop. Just follow the steps, stay safe, and enjoy a crystal‑clear display again.
Fixing a laptop can often be a costly affair, with some components surprisingly pricey to replace. This article explores which part of a laptop typically incurs the highest repair costs and why. We dive into details like the high expense of screen and motherboard repairs, offering insights into why these parts hit the wallet hardest. Gain practical advice on maintaining your laptop to avoid these hefty bills in the first place, and discover some curious facts about common laptop repairs.

Electric stoves are a staple in many kitchens, but how long can you expect them to last? This article delves into the average lifespan of an electric stove and what factors can influence its longevity. Discover maintenance tips that can help extend its life and recognize signs when repairs or replacements might be necessary. This guide aims to empower you with insights into prolonging the efficiency of your kitchen's electric stove.

Considering replacing your electric oven on your own? Before you jump into action, it's crucial to understand the steps involved and the potential challenges you might face. From ensuring safety precautions to understanding the basic wiring, this article delves into what you need to know. We'll discuss not only the tools and skills required but also when it's better to call in a professional. By the end, you'll have a clearer picture of whether you should tackle this task yourself or seek expert help.
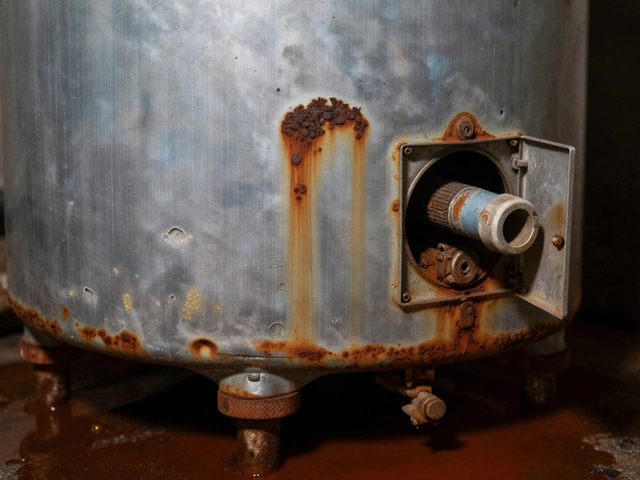
Water heaters commonly fail due to heating element burnout, thermostat issues, corrosion, and sediment buildup. Learn the top causes and how to spot them early to avoid costly repairs or sudden breakdowns.
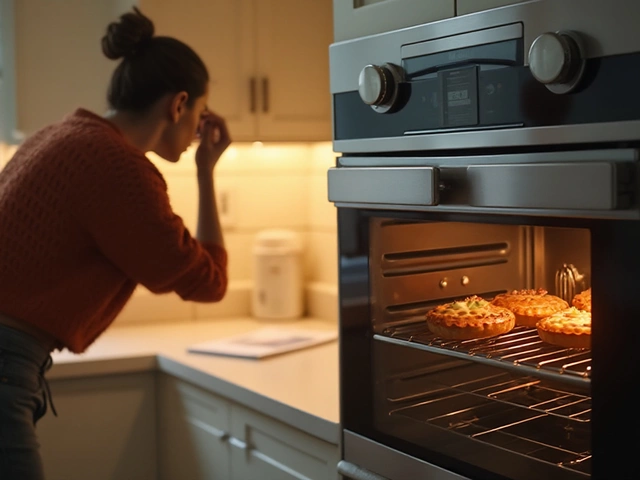
When your electric oven unexpectedly stops working, it can throw your kitchen routine into chaos. Understanding the potential reasons behind this issue can help you fix it quickly. Whether it's a power supply problem, faulty elements, or user error, this guide will walk you through common causes and solutions to get your oven back in working order. Discover useful tips to identify and address troubles with your electric oven efficiently.

Pressure cookers can usually be repaired, and fixing them at home can save both time and money. This article covers how to spot common problems, which parts can be replaced, and when to leave repair jobs to the pros. You'll also find smart tips to keep your pressure cooker running safely. Even if you're not a 'handy' person, a lot of repairs are easier than you’d think. Don't toss out that pressure cooker until you know what can actually be fixed.