

Got a new electric oven and want to get it working fast? You don’t need a PhD in wiring – just a bit of patience, the right tools, and a safe approach. This guide walks you through everything you need, from prepping the space to connecting the power.
First, gather the basics: a screwdriver set, a drill, a voltage tester, a level, and a pair of safety gloves. You’ll also need a suitable power outlet – most electric ovens need a dedicated 240‑V circuit with a proper plug. Check the oven’s manual for exact voltage and amperage specs.
Before you start, turn off the circuit at the breaker. Use the voltage tester to double‑check that no power is flowing to the outlet. If you’re unsure about the wiring, it’s worth a quick call to an electrician – a mistake here can be dangerous.Clear the area around the installation spot. Measure the oven’s width, height, and depth, then compare it to the cut‑out in your countertop or wall. You want a few centimetres of clearance on each side for ventilation.
1. Place the oven: Carefully slide the oven into its space. Use a level to make sure it sits flat; an uneven oven can heat unevenly and strain the door hinges.
2. Secure the unit: Most ovens come with brackets or screws to anchor them to the cabinet. Follow the manufacturer’s guide and tighten the fasteners without over‑tightening – you don’t want to crack the frame.
3. Connect the power: If the oven has a cord with a plug, simply plug it into the dedicated outlet. For hard‑wired models, strip the wires, connect the live (L), neutral (N), and earth (E) to the corresponding terminals, and tighten the screws. Double‑check each connection with the voltage tester.
4. Test the oven: Turn the breaker back on and set the oven to a low temperature for a quick test run. Listen for any unusual noises and make sure the heating elements glow as they should.
5. Finish up: Once the oven runs smoothly, replace any trim or panels you removed. Clean the interior with a soft cloth and dry it thoroughly before you start cooking.
That’s it – you’ve installed an electric oven without the hassle. If anything feels off – flickering lights, tripped breakers, or strange smells – shut off the power immediately and call a qualified electrician. Safety always comes first.
Enjoy baking, roasting, and cooking with your new oven. With the right preparation and a clear set of steps, installing an electric oven can be a straightforward weekend project.

Considering replacing your electric oven on your own? Before you jump into action, it's crucial to understand the steps involved and the potential challenges you might face. From ensuring safety precautions to understanding the basic wiring, this article delves into what you need to know. We'll discuss not only the tools and skills required but also when it's better to call in a professional. By the end, you'll have a clearer picture of whether you should tackle this task yourself or seek expert help.
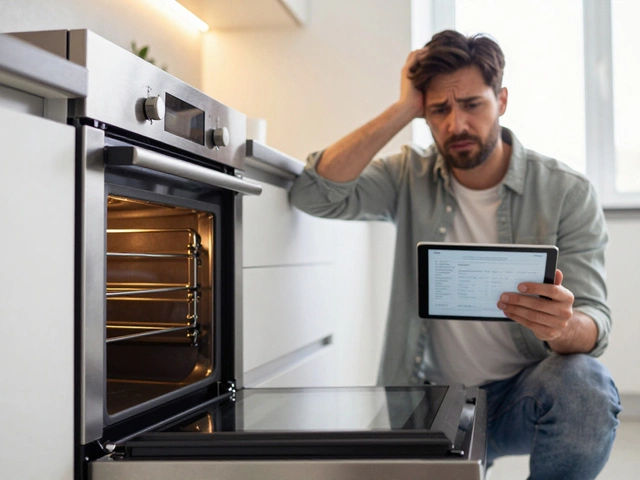
Find out exactly how much it costs to fix an oven that won't heat in the UK in 2026. We break down labour, parts, and hidden fees to help you decide between repair and replacement.
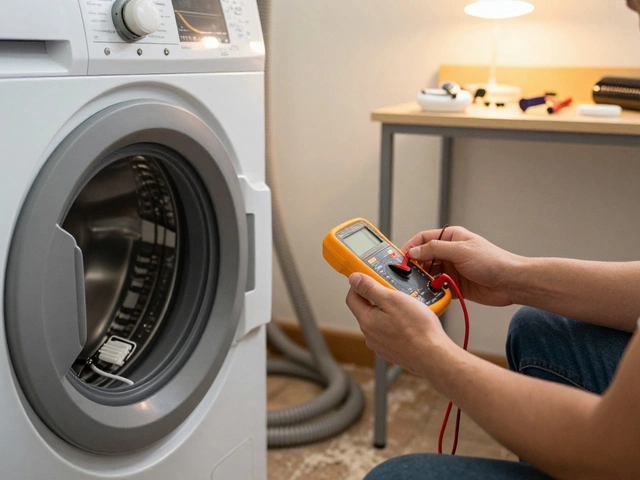
Learn how to fix common dryer problems yourself-no experience needed. Save money and avoid service calls with simple repairs like replacing belts, fuses, and cleaning vents.

A puzzling situation arises when your shower lacks hot water while the sink heats perfectly fine. This article dives into possible reasons like different pipe routes, shower valve issues, and water heater capacity. It also offers practical solutions, such as checking the temperature settings and flushing the water heater to remove sediment. Understanding common plumbing malfunctions can lead to quick fixes without calling a professional.
Discover when to worry about your boiler, warning signs to watch, and smart tips for safe use. Get practical advice to avoid major boiler headaches.
Choosing a reliable washing machine can be a daunting task given the numerous options available. This article provides insights into brands known for fewer repair issues and shares tips to maintain and extend the washer's lifespan. With technological advancements and design improvements, knowing how to select a durable washer can save time and money. Learn about the top performing washer brands based on recent studies and consumer reports. Also, discover interesting ways to keep your machine running smoothly.