If your extractor fan sounds louder than usual, smells musty, or just isn’t pulling air, it’s probably time for a quick check‑up. A clean fan not only removes cooking fumes and bathroom moisture, it also saves energy and prevents nasty smells from building up.
Dust, grease and hair love to collect on fan blades and the motor housing. When the buildup gets thick, the motor works harder, runs hotter and can fail early. A fan that’s struggling uses more electricity, so you’ll see a spike in your bills. Plus, a blocked fan can cause condensation to form on walls and ceilings, leading to mould problems.
Most manufacturers recommend a deep clean at least once a year, but high‑use kitchens may need it every six months. The bathroom fan, sitting in a damp environment, often needs a wipe‑down about the same time. Ignoring these schedules means you’ll end up paying for a replacement far sooner than necessary.
Before you call anyone, gather a screwdriver, a dust mask, a soft brush and a spray bottle of warm soapy water. Turn off the power at the circuit breaker – safety first.
1. **Remove the cover**: Most covers snap or screw off. Pop it off gently and set it aside.
2. **Clean the blades**: Use the brush to sweep away loose dust. If grease is stubborn, dip the brush in the soapy water and scrub the blades. Wipe dry with a cloth.
3. **Check the motor housing**: A vacuum can pull out fine dust that settles inside. Avoid using water on the motor – just a dry vacuum or a soft brush works.
4. **Inspect the vent**: Follow the duct to the outside. Make sure there’s no blockage, bird nest or debris. A clear vent is essential for proper airflow.
5. **Re‑assemble**: Snap the cover back, restore power and test the fan. If it runs smoothly, you’ve saved a call‑out.
When the fan still feels weak after cleaning, it may be time for a replacement. Replacing a kitchen extractor fan is a straightforward job if you have basic tools. The steps mirror the cleaning process, but you’ll also need to disconnect the wiring and secure the new unit into the existing opening. Follow the instructions that come with the new fan, and double‑check that the wiring connections match the colour codes.
If you’re unsure about any wiring, or if the fan is hard‑wired into a ceiling joist, it’s best to call a qualified electrician. Trying to fix a faulty motor yourself can be risky, and a professional can also spot hidden issues like faulty grounding.
**When to call a pro**: • The motor hums but the fan doesn’t spin. • You smell burning or see sparks. • The fan is mounted in a hard‑to‑reach spot and you can’t access the wiring safely. In these cases, a trained extractor‑fan repair specialist will save you time and hassle.
Regular maintenance, a quick clean, and an occasional DIY replacement can keep your fan humming for years. Set a reminder in your calendar, keep a small cleaning kit in the kitchen cupboard, and you’ll never wonder why the air feels stale again.

Struggling with a kitchen extractor fan that's lost its power? This guide explains how to find and fix common blockages that cause bad smells and poor airflow. Learn step-by-step how to safely clean your fan and make it work like new, plus get handy maintenance tips to stop future clogs. We break down the process so you don't need tools or special skills. Get your kitchen back to normal without calling in an expert.

Exploring the value of repairing a freezer involves assessing various factors, such as the cost of repairs, the appliance's age, and the efficiency improvements of newer models. Understanding common freezer problems can help homeowners decide whether a repair is worthwhile. The decision should account for both economic and environmental perspectives, guiding when to repair or replace.
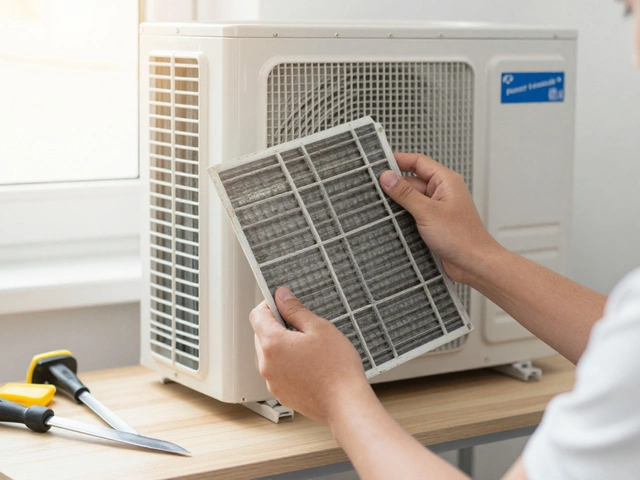
You can fix some heat pump issues yourself - like dirty filters or tripped breakers - but refrigerant leaks, compressor failures, and electrical problems require a professional. Know the limits before you try a DIY repair.

Thinking about repairing your cooker? This guide covers repair costs, when to fix or replace, and expert tips to help you decide what's best.

Wondering if your hot water heater is about to quit? This article breaks down the most common signs that your water heater needs to be replaced, from strange noises to rusty water. Find out how long these tanks usually last, what to look for during regular maintenance, and how to handle sudden issues. You'll get practical tips to keep your heater running smoothly and avoid a cold shower surprise. If you've ever worried about flooding, energy bills, or weird knocking, this is for you.
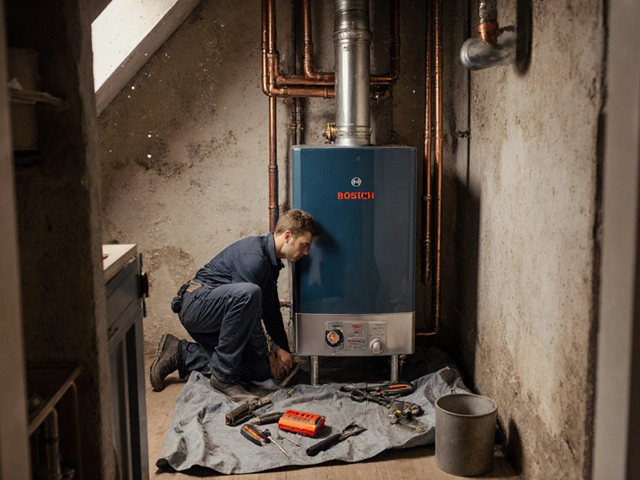
Replacing a boiler costs thousands because it's not just the unit-it's labour, safety checks, pipe upgrades, and compliance. Learn why this big investment is necessary and how to avoid overpaying.