Got a hob that won’t heat or a burner that flickers? You don’t always need a pricey call‑out. Most electric hob glitches are caused by a single faulty part or a loose connection, and with a few tools you can sort them out yourself.
Safety first. Always unplug the appliance or shut off the circuit breaker before you start. A stray live wire can give you a nasty shock, and a dead hob is safer to work on. Keep a flashlight handy – many hob panels are tucked under a thin glass that can hide screws and wiring.
Essential tools. A basic screwdriver set (flat‑head and Phillips), a multimeter, needle‑nose pliers, and a pair of gloves are enough for most jobs. If you need to replace an element, a replacement part that matches the model number is a must – check the label on the underside of the hob or the original manual.
Diagnosing the problem. Start by checking if any burners work at all. If all are dead, the issue is likely the main power board or a tripped breaker. If only one or two burners misbehave, focus on those zones. Use a multimeter to test continuity on the heating element: set the meter to ohms, touch the probes to the element’s terminals, and look for a reading between 10‑30 Ω. No reading means the element is burnt out.
Replacing a broken element. 1) Remove the hob’s top glass plate – it’s usually held by clips or a few screws. 2) Locate the faulty element; it’s a metal coil with two wires attached. 3) Unscrew the terminal screws, note the wire order, and pull the wires off. 4) Pull the old element out of its housing. 5) Insert the new element, re‑attach the wires to the same terminals, and tighten the screws. 6) Snap the glass back in place and test the burner.
Fixing a loose burner connection. Over time the terminals can loosen from vibration. Open the panel as above, find the loose screw on the burner’s terminal block, and tighten it. If the wire looks corroded, strip a tiny section back and twist a fresh connector on – a clean metal‑to‑metal contact restores heat fast.
Cleaning contact points. Burnt food or spilled liquids can create a thin film on the element’s contacts, causing intermittent heating. Gently brush the contacts with a soft brush and wipe with a damp cloth. Avoid abrasive pads – they can damage the metal.
Testing after the repair. Plug the hob back in or restore the breaker, then turn on the repaired burner. Let it run for a minute; you should feel steady heat across the surface. If it still flickers, double‑check your wiring and continuity. Sometimes a single faulty element can affect the whole circuit, so repeat the test on other burners.
If you find burnt wiring, a cracked glass panel, or the main control board is dead, stop and call an expert. Dealing with high‑voltage components without proper certification can be dangerous, and a licensed technician can safely replace a control board or address gas‑related issues if your hob is a hybrid model.
Wipe spills immediately – liquid can seep into the wiring and cause corrosion. Every six months, run each burner for a minute on high to burn off any residue. Check the screws on the glass panel and terminal blocks; a quick tighten prevents future loose connections. Finally, keep a spare element on hand if your model is common – swapping it out later will be a breeze.
With these DIY hob solutions you’ll spend less on call‑outs and keep your kitchen humming along. Just remember: safety first, the right tools, and a systematic approach will get most burners back in action.

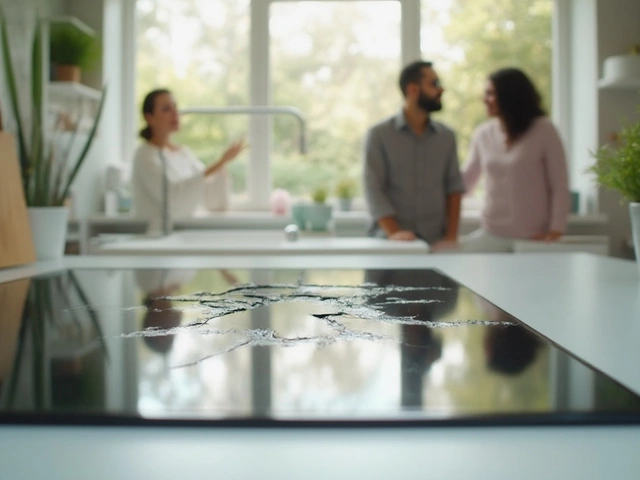
Cracked or damaged glass hobs make you panic, but not every problem spells doom for your stove. This article breaks down what issues can actually be fixed and when it's smarter to replace the glass. You’ll get real-life tips, possible repair options, and clear warnings for common mistakes. Safety comes first, but you’ll also find out when you can handle things yourself—or absolutely need a pro. Practical info, simple steps—you’ll get the full story on glass hob repair.
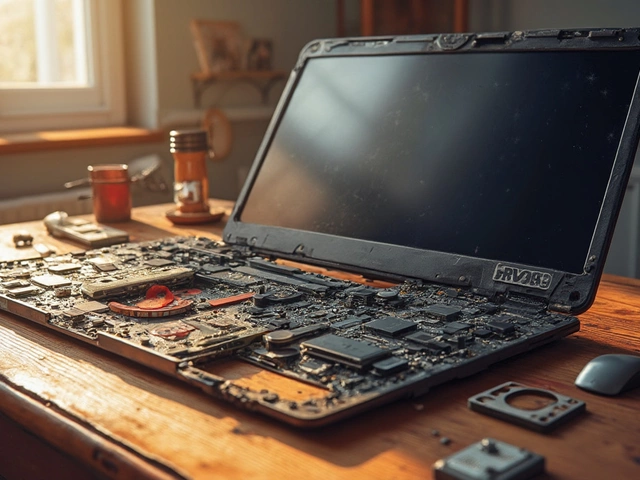
Fixing a laptop can often be a costly affair, with some components surprisingly pricey to replace. This article explores which part of a laptop typically incurs the highest repair costs and why. We dive into details like the high expense of screen and motherboard repairs, offering insights into why these parts hit the wallet hardest. Gain practical advice on maintaining your laptop to avoid these hefty bills in the first place, and discover some curious facts about common laptop repairs.

Deciding between repairing and replacing a freezer can be tricky. This article guides you through evaluating repair costs, expected lifespan, and energy efficiency before making a decision. It provides practical advice to help you make an economical choice, whether to fix or replace your freezer. Learn important factors to consider, like repair frequency and environmental impact, to ensure you spend wisely.
Cracks in electric hobs can show up suddenly and cause real headaches in the kitchen. This article looks at why electric hobs crack, from common mistakes to sneaky issues with installation. You'll get practical tips on how to prevent damage and handle minor cracks. Find out when you can fix a hob yourself and when it's smarter to call for professional help. Stay ahead of costly repairs and keep your cooking space safe.
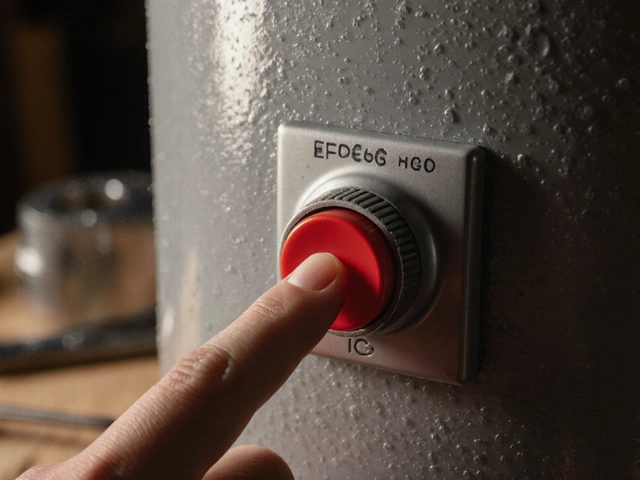
Learn how to properly reset your water heater's safety button - and why holding it down won't help. Find out what really causes it to trip and when to call a professional.

Navigating the decision between repairing or replacing a 10-year-old stove can be challenging. This article explores various factors including repair costs, the longevity of appliances, and energy efficiency to help homeowners make an informed decision. Additionally, it provides tips and insights on evaluating stove performance and when professional help is warranted. Readers will gain a comprehensive understanding of the practical steps they can take if they find themselves in a similar situation.