Ever had a fan that just won't fan any more? It's a common issue that catches many by surprise. Most of the time, it's not something catastrophic but a small fixable problem.
First thing's first, check the electrical side. Is the fan even getting power? A loose wire or a tripped breaker might be the sneaky culprit. Don't worry, checking this is easier than deciphering the latest smartphone update.
If electricity isn't the problem, think mechanical. Fans have moving parts that wear down over time, like a favorite pair of shoes. Maybe the blades are stuck, or the motor is giving up after years of loyal service.
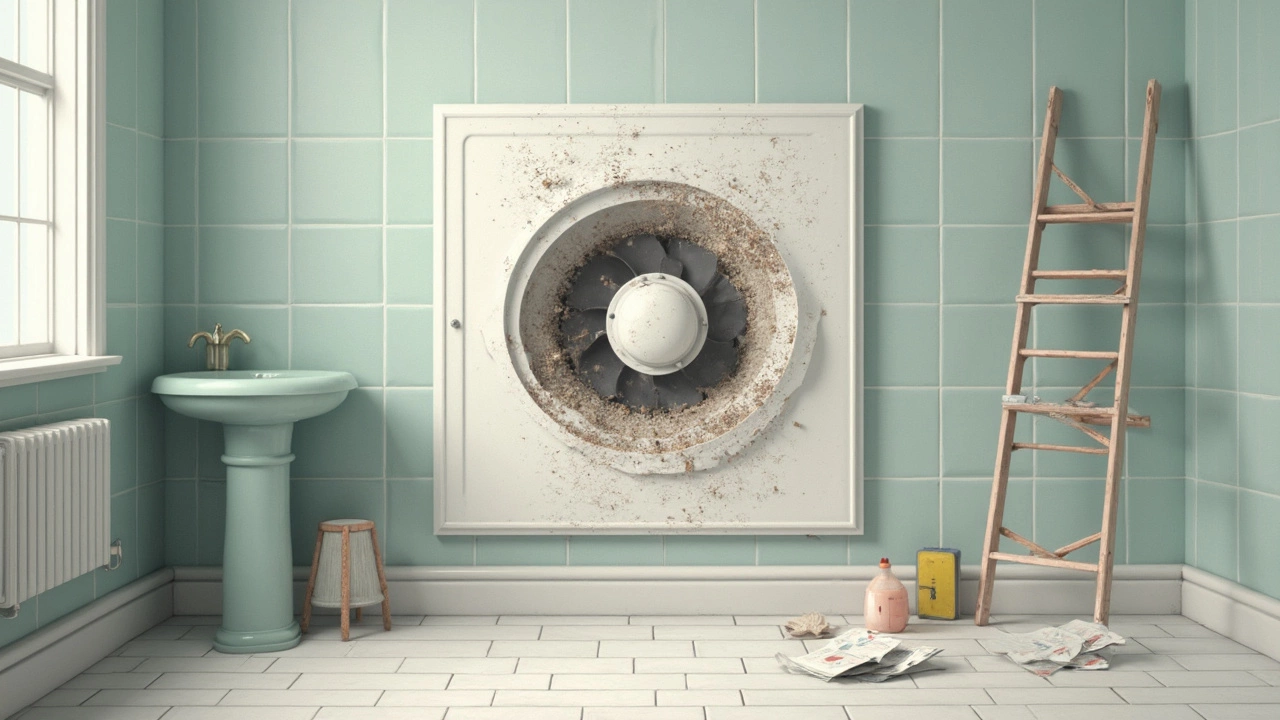
And let’s not forget maintenance. Dust loves a good snooze on fan blades, and a grimy fan isn’t exactly a sprinter. Give it a good clean—sometimes that’s all it needs.
- Common Electrical Problems
- Mechanical Malfunctions
- Maintenance and Cleaning
- Environmental Factors
- DIY or Call a Pro?
Common Electrical Problems
When it comes to extractor fan issues, electrical problems are often the first suspects. Start by ensuring your fan is receiving power. A lot of folks don't realize this step is as simple as double-checking the circuit breaker. A tripped breaker can cut off power to your fan faster than a rainstorm cancels a picnic.
Check the Wiring
Before you dive in with both hands, make sure to turn off the power from the mains. Safety first, right? Now examine the wiring. Sometimes wires get loose—it happens. Tighten any loose connections or replace damaged wires. And hey, don’t feel shy about calling an electrician if you’re uncomfortable with wiring—no one’ll judge.
Inspect the Switch
Another overlooked component is the fan switch. If the switch feels loose or wobbly, it might be time for a replacement. Here’s a pro tip: try installing a smart switch that’ll give you timing control over the fan. Technology can sometimes solve our oldest problems.
Assessing the Voltage
If your fan seems to be getting weaker by the day, it might be suffering from low voltage. Use a multimeter to check the voltage at the fan connection. The voltage should match what’s recommended on the fan’s label. Too low? It could be an issue upstream in your electrical system.
For those who love the numbers, here's a quick look at common fan voltages:
| Fan Type | Typical Voltage |
|---|---|
| Bathroom Fan | 120V |
| Kitchen Hood | 240V |
So next time your fan doesn't budge, remember, it might be an electrical hiccup. With some basic checks and a little bit of courage, you'll probably figure out if this is something you can handle solo, or if it's time to call in the pros.
Mechanical Malfunctions
Mechanical issues are like the sneaky ninjas of extractor fan issues—they can creep up unnoticed until your fan just quits. Let’s unravel some common hiccups that might hit the moving parts of your fan.
Blade Troubles
Extractor blades can bend, break, or get clogged with gunk. They’re like your fan’s arms—if they can't move freely, you're in for a heap of trouble. Give them a quick spin by hand (with the power off, please). If they’re scraping or not moving, you might need a blade adjustment or replacement.
Motor Matters
The motor is the heart of your fan. Without it, everything stops. Sometimes motors overheat or simply wear out. A buzzing noise or a fan that turns on but doesn't actually spin could point straight to motor woes. That's a sign you might need a replacement.
Bearing Breakdown
The bearings help the fan rotate smoothly. Ever seen an old merry-go-round? Bearings squeak and wear down over time just like that, causing the fan to wobble or grind. Replacing them isn’t too tough, though you might want a pro if you’re not up for a DIY project.
Mounting Mishaps
Lastly, check how your fan is mounted. A poorly mounted fan vibrates more, which isn't great for the mechanical parts. Make sure it's securely fastened and balanced to prolong its life and efficiency.
Regular Checks
Regularly checking these mechanical components can prevent a lot of common fan problems. A little upkeep can make all the difference between a smoothly-running fan and a mechanical crime scene.
Maintenance and Cleaning
Keeping your extractor fan in tip-top shape isn't just about saving a few bucks—it's about making sure your air stays fresh and your machine doesn't crank out an annoying hum or conk out when you need it most.
Why Clean Your Fan Regularly?
Extractor fans, much like the rest of our homes, gather dust and grime over time. If ignored, this build-up can lead to inefficiencies or even sudden stops. Cleaning should be a part of your regular routine, not just when performance starts plummeting.
Step-by-step Cleaning Guide
- Turn Off Power: Safety first, right? Make sure to switch off the power or unplug the unit before you start getting your hands in there.
- Remove Covers and Blades: For most extractor fans, you can easily pop off the cover and remove the blades. If it’s dusty or greasy, it’s time for some TLC.
- Clean the Blades and Housing: Use a damp cloth with a mild detergent. Avoid soaking any parts as water can damage the electrical components.
- Check for Obstructions: Look for anything that might be blocking airflow. Sometimes a small piece of debris can be the culprit behind a non-working fan.
- Reassemble and Test: Once everything’s looking spick and span, put it all back together and test it by turning the power back on.
How Often Should You Clean?
For fans in bathrooms or kitchens, aim for a cleanup every three to six months. High usage will obviously need more frequent attention, especially in areas prone to grease or moisture build-up.
| Location | Cleaning Frequency |
|---|---|
| Kitchen | Every 3 months |
| Bathroom | Every 6 months |
Quick Tips for Ongoing Maintenance
- Regular Inspections: Just like a quick oil check on your car, glance at your fan periodically.
- Use Protective Covers: Especially in the kitchen, these can help catch grease before it even reaches your fan.
- Listen for Unusual Sounds: Squeaks, rattles, or grinding might mean it’s time for some attention.
Incorporating these steps will keep your extractor fan issues at bay and ensure your home’s air remains clean and fresh.
How Your Environment Plays a Role
Your extractor fan isn't just battling odors or steam — it’s up against its environment too. Environmental factors can sneakily impact your fan's performance more than you might think.
Humidity and Moisture
If your fan's location is a humidity magnet, like a steamy bathroom, it may struggle. High moisture levels can mess with the motor and cause rust, turning parts creaky and inefficient.
Temperature Extremes
Very hot or cold places can tire out your fan quicker. Like us, fans don't appreciate being too hot or too cold, and this might just lead them to show signs of wear earlier than expected.
Dust and Debris
Fans installed in areas with lots of dust or construction debris have a tougher life. Dust can coat the blades, slowing them down, and finer particles can sneak into the motor gearage. It’s like trying to sprint in the snow.
Location, Location, Location
The actual location of your fan matters too. Is it placed near a source of contamination, like a continuous cooking station or a busy alley with pollution? These factors can complicate things.
Considering these environmental factors when troubleshooting can lead to a solution you hadn't thought of. Your fan's environment shapes how it performs and understanding this can save you heaps of frustration.
DIY or Call a Pro?
Faced with a faulty extractor fan can be daunting. You might wonder whether it's something you can handle yourself or if it's best left to the professionals. Let's dive into some of the common factors you should consider to make the right call.
When to Roll Up Your Sleeves
If it's something as simple as a power issue or a loose connection, try checking the circuit breaker or looking for any visible disconnections. A multimeter can be your best friend here.
Basic mechanical problems, like cleaning accumulated dust or minor lubrication in the fan motor, often just need a bit of elbow grease. As long as you can safely access the fan, such tasks usually don't require special skills.
- Cleaning: Dust the blades and clean any accessible vents.
- Reconnecting: Secure any loose wires, ensuring they’re connected to the correct terminals.
When to Call in the Experts
If you encounter persistent issues like strange noises, burning smells, or the fan stalling, it's time to ring the professionals. These can signal deeper electrical or mechanical problems that go beyond basic troubleshooting.
Additionally, if your home's wiring is old or complicated, or if you simply don't feel comfortable, it's safer and often more cost-effective to let a licensed electrician handle it.
Cost Considerations
Before making a decision, weigh the potential cost of a DIY mishap against the professional fee. A quick consult or repair might save you more in the long run.
Here's a rough idea of service costs:
| Service | Average Cost ($) |
|---|---|
| Basic Troubleshooting | 50-100 |
| Full Electrical Repair | 150-300 |
Remember, while the DIY route can be economical and satisfying, knowing your limits is key. Safety should always come first, no questions asked.