Bathroom Fan Maintenance & Health Checker
Fan Condition Assessment
Diagnostic ToolSelect the current condition of your bathroom fan to generate a maintenance plan.
Assessment Result
Waiting for analysis...
Recommended Maintenance Schedule:
- Filter Cleaning: Every 3 months
- Deep Clean (Blades/Motor): Every 6 months
- Duct Inspection: Annually
...
Ready to Analyze
Select your fan's condition details on the left to see your personalized maintenance plan.
Why Your Bathroom Fan Needs Attention
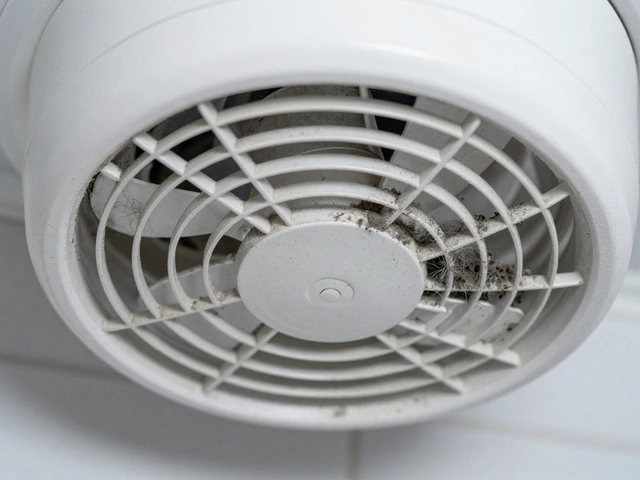
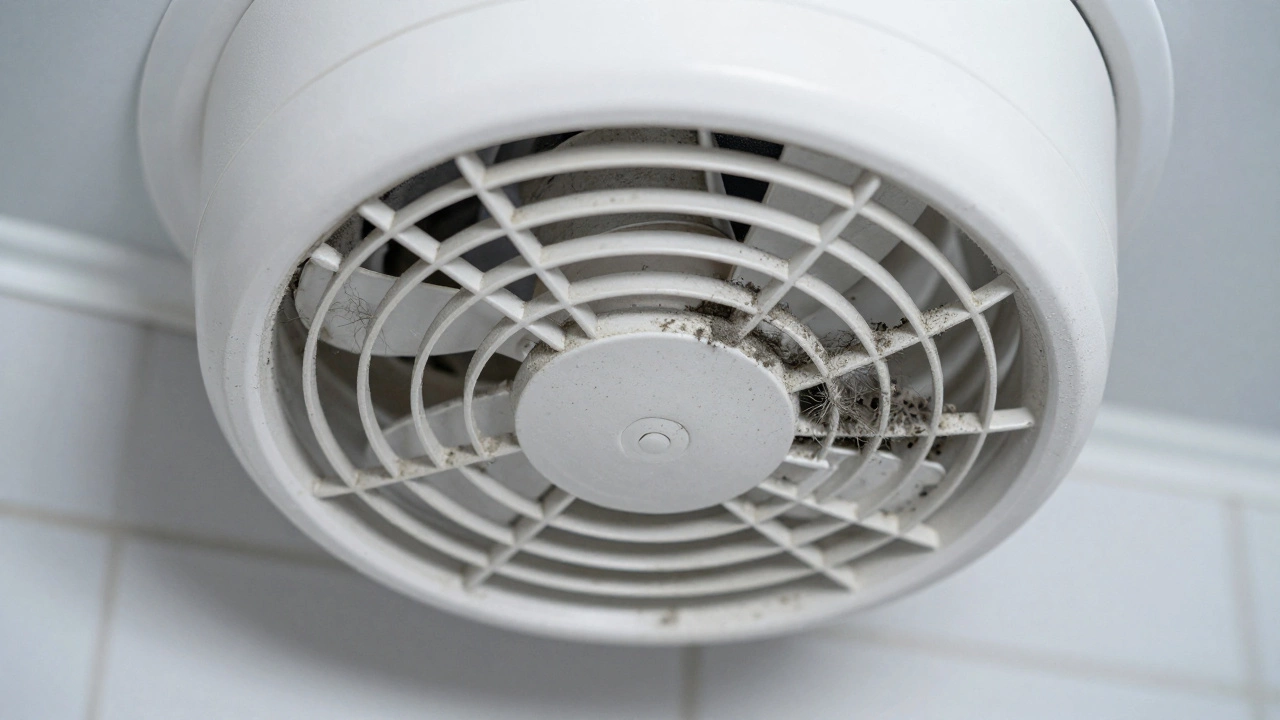
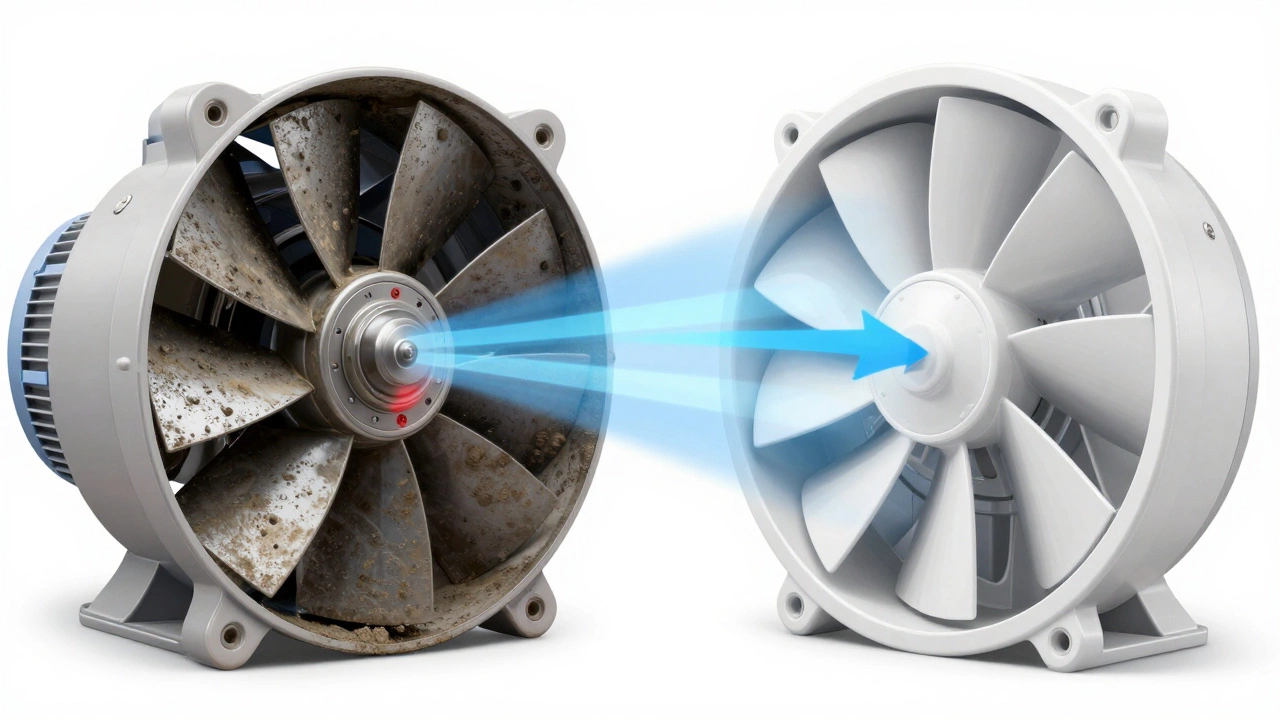
You’ve probably noticed it before the smell hits. The mirror fogs up slower than usual, or maybe the fan starts sounding like a dying jet engine when you turn on the shower. A bathroom extractor fan is a ventilation device that removes moist air and odors from bathrooms to prevent mold growth and maintain air quality. It’s one of those appliances we ignore until it fails. But here’s the thing: a dirty or poorly maintained fan doesn’t just sound annoying-it stops working properly. Moisture builds up. Mold grows. And before you know it, you’re staring at black spots on your ceiling.
Most people think fans last forever. They don’t. Without regular service, dust, grease, and hair clog the blades and motor housing. This reduces airflow by up to 40% within two years, according to building standards research. That means your bathroom stays humid longer, which invites condensation, mildew, and even structural damage over time. Servicing isn’t optional if you want to keep your home healthy and dry.
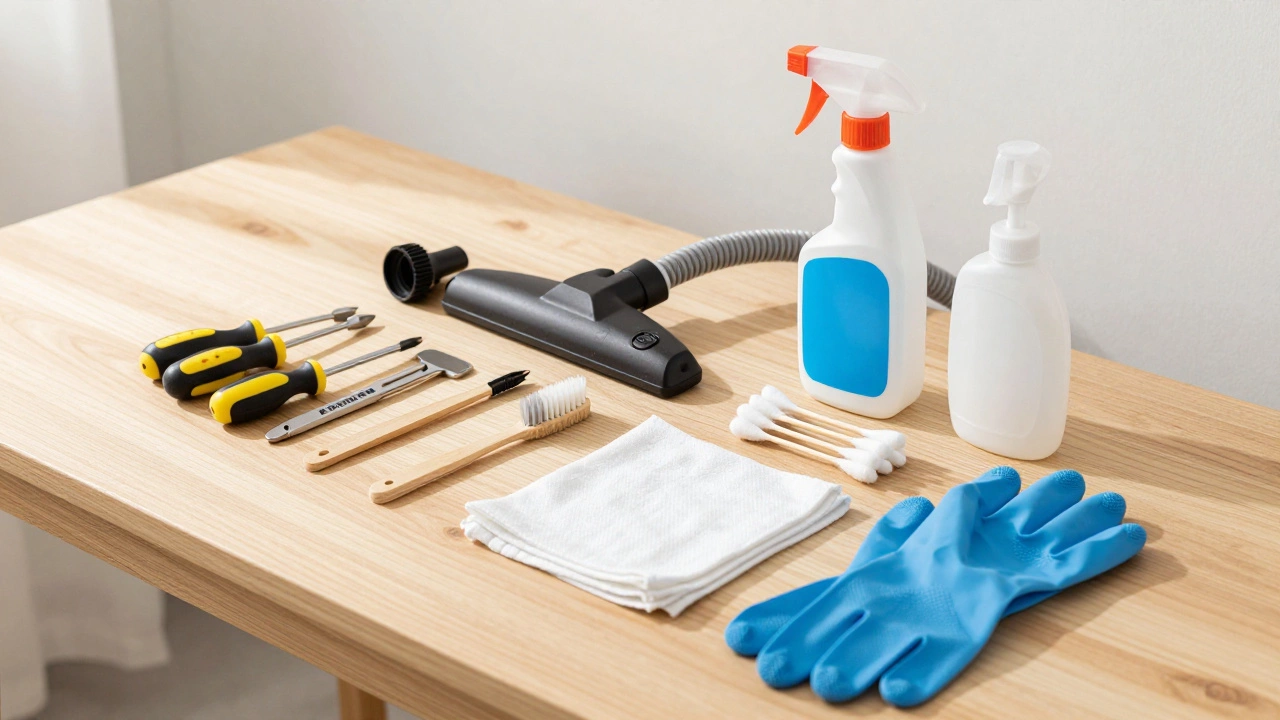
Tools You’ll Need Before Starting
Before you take apart anything, gather these basics:
- A screwdriver set (Phillips and flathead)
- A soft-bristle brush or old toothbrush
- A vacuum cleaner with a hose attachment
- Mild detergent and warm water in a spray bottle
- Cotton swabs for tight spaces
- A cloth or sponge for wiping surfaces
- Gloves (optional but recommended)
If your fan has a timer or humidity sensor, you might also need a multimeter later to test electrical components-but only after power is disconnected. Safety first. Always switch off the circuit breaker before touching any wiring. Don’t rely on the light switch alone. Electricity doesn’t care how careful you think you are.
Step-by-Step Cleaning Process
Start by removing the outer grille. Most models use clips or screws around the edges. Gently pry it off without forcing it-plastic can crack under pressure. Once removed, hold it under running water and scrub both sides with soapy water. Use the toothbrush to reach between slats where grime hides. Rinse thoroughly and let it air-dry completely before reinstalling. Wet parts cause rust and short circuits.
Next, access the internal fan blade assembly. Some units require unscrewing the central cap; others have a twist-lock mechanism. Refer to your model’s manual if unsure. If no manual exists, search online using the brand name and model number printed on the casing. Take photos during disassembly so you remember how everything fits back together.
With the blade exposed, use the vacuum hose to suck out loose debris from behind the impeller. Then wipe down each blade with a damp cloth soaked in mild detergent. Avoid soaking the motor housing. Water inside the bearings causes premature failure. For stubborn buildup, dip cotton swabs in vinegar solution-they dissolve mineral deposits better than plain water.
Don’t forget the ductwork connection. Detach the flexible pipe leading outside if possible. Inspect for kinks, blockages, or bird nests. Clear obstructions with a long brush or compressed air. Reattach securely with metal clamps to prevent leaks. Leaky ducts reduce efficiency and allow moisture to escape into walls.
Checking Electrical Components
After cleaning, inspect wires for fraying or discoloration. Burnt insulation indicates overheating-a sign of impending motor burnout. Replace damaged sections immediately. If you’re not comfortable handling live circuits, call a qualified electrician. Working with mains voltage carries serious risk.
Test the capacitor if your fan uses one. Capacitors store energy to help start the motor. A weak capacitor makes the fan struggle to spin up, causing humming noises. Multimeters measure capacitance values. Compare readings against manufacturer specs listed in technical documentation. Values below 80% of rated capacity suggest replacement is needed.
Lubricate moving parts sparingly. Apply a few drops of silicone-based lubricant to bearing points-not oil, which attracts more dirt. Over-lubrication creates sludge that gums up mechanisms. Less is more here.
Reassembly and Testing
Put everything back together carefully. Ensure all connections are snug but not overtightened. Misaligned blades create vibration and noise. Turn the power back on and run the fan for five minutes. Listen for unusual sounds. Watch for smooth rotation. Check airflow direction-air should pull inward toward the unit, not blow outward.
If performance feels weak despite thorough cleaning, consider upgrading to a higher-CFM (cubic feet per minute) model. Older fans often lack sufficient power for modern bathroom sizes. Look for Energy Star-rated replacements that offer improved efficiency and quieter operation.
| Problem | Likely Cause | Solution |
|---|---|---|
| Noisy operation | Dust accumulation or worn bearings | Clean blades; apply lubricant |
| Weak suction | Clogged filter or blocked duct | Clear vents; check external vent |
| Won't turn on | Tripped breaker or faulty switch | Reset panel; test continuity |
| Burning smell | Overheated motor or bad wiring | Disconnect power; inspect internals |
When to Call a Professional
Some jobs aren’t worth risking yourself. If the motor hums but won’t spin, the issue could be internal mechanical failure requiring specialized tools. Same goes for recurring tripping breakers-that suggests deeper electrical faults beyond simple fixes.
Also consult pros when dealing with integrated systems like heat recovery ventilators (HRVs). These complex setups involve multiple sensors and controls best left to certified technicians. Attempting DIY repairs voids warranties and may violate local codes.
Maintenance Schedule Recommendations
Set reminders every six months for basic upkeep. In high-humidity areas or homes with pets, do quarterly checks. Annual deep cleans ensure longevity. Keep records of service dates and parts replaced. Tracking history helps predict future needs and avoids surprise breakdowns.
Replace filters monthly if equipped. Many newer models include washable mesh screens instead of disposable ones. Wash them gently and dry fully before reinsertion. Neglecting filters kills airflow faster than anything else.
How often should I clean my bathroom extractor fan?
At least twice a year for average households. Increase frequency to quarterly if you live in humid climates, have pets, or notice reduced performance sooner.
Can I use bleach to clean my extractor fan?
Avoid bleach unless absolutely necessary. It corrodes metal components and damages plastic housings. Stick to mild detergents or vinegar solutions for safer results.
What does a buzzing noise mean?
Buzzing usually signals loose mounting hardware, unbalanced blades, or failing capacitors. Tighten screws, rebalance impellers, or replace defective electronics accordingly.
Is it safe to clean while powered?
Never attempt cleaning without cutting power at the source. Even switched-off devices retain residual charge capable of delivering shocks. Always verify de-energization with a tester.
Should I upgrade an old fan?
Yes-if yours predates 2010, likely inefficient. Modern units consume less electricity, operate quieter, and feature smart timers/humidity sensors enhancing convenience and effectiveness.