When an electric oven is a kitchen appliance that uses electric heating elements to bake or roast food suddenly stops working, the heat disappears, the timer freezes, or the whole unit just won’t turn on. Most homeowners think the problem is either a complicated electrical fault or a broken motor, but the truth is that a handful of everyday issues are responsible for the majority of sudden failures. Below you’ll find a clear roadmap to diagnose the cause, test the key parts, and decide whether a DIY fix will do or if you need a qualified electric oven repair professional.
Quick Takeaways
- Check the plug, circuit breaker, and fuse before opening the oven.
- A blown thermal fuse or faulty heating element accounts for 70% of sudden power loss.
- Use a multimeter to test continuity on the heating element, thermostat, and control board.
- If the oven displays error codes, consult the manual for the exact fault description.
- Call a certified electrician or oven technician when the control board or wiring shows signs of damage.
Typical Reasons an Electric Oven Stops Working
Most sudden failures fall into three buckets: power supply problems, component failures, and safety cut‑outs. Understanding each bucket helps you target the right test.
1. Power Supply Issues
Even a perfectly healthy oven can’t heat if it isn’t receiving electricity. The most common culprits are:
- Tripped circuit breaker - UK homes use a 13 A fused spur for ovens. A short circuit or overload will pop the breaker.
- Blown fuse in the plug - Older ovens may still use a replaceable fuse rather than a breaker.
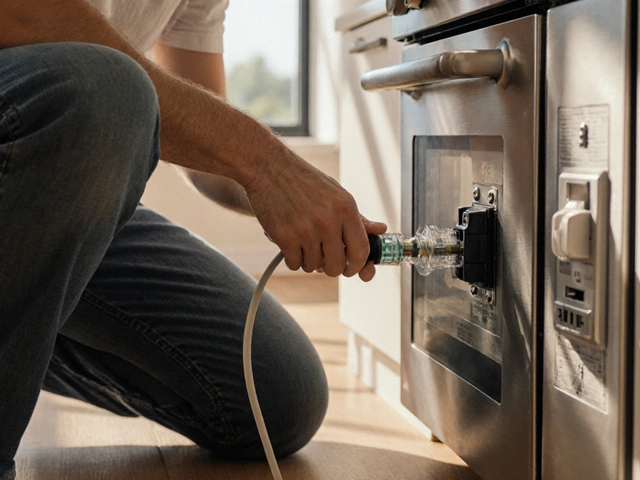
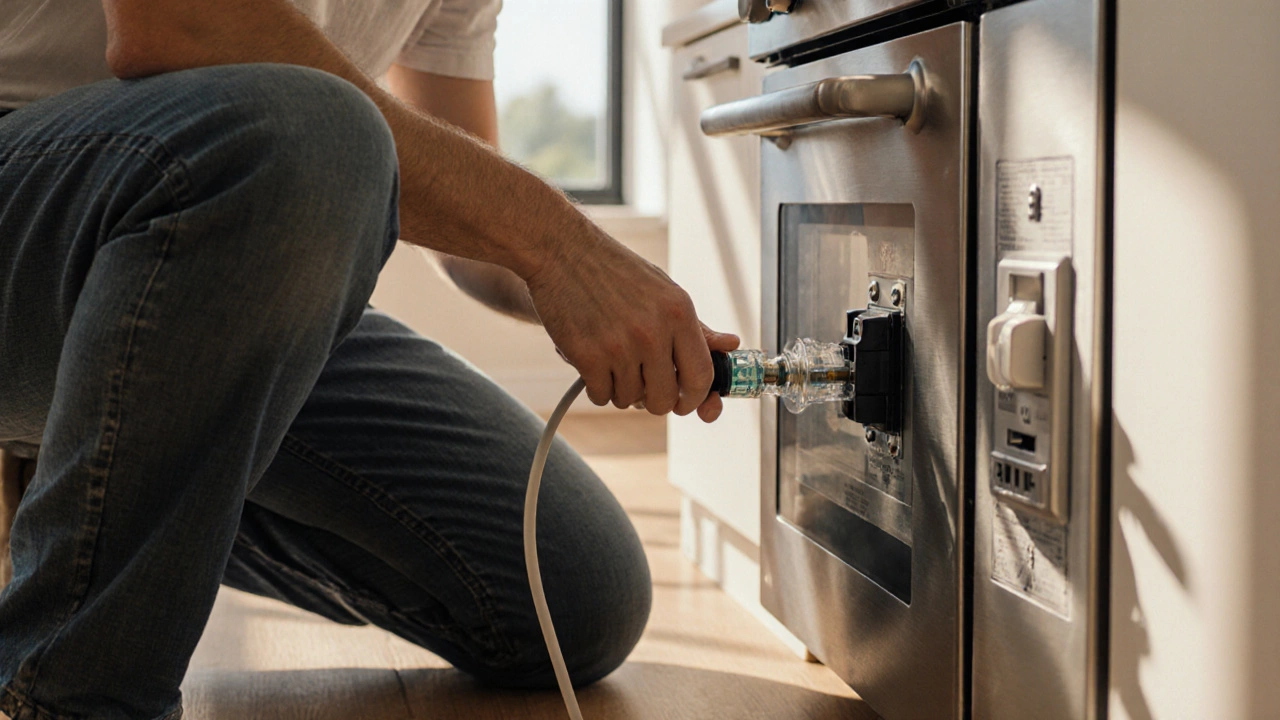
- Loose or damaged power cord - Frayed insulation or a broken pin can interrupt the flow.
2. Component Failures
When power reaches the oven, several key parts must work together:
- Heating element is the metal coil that converts electricity into heat - A break in the coil stops heat generation.
- Thermostat or temperature sensor - If it reads a false temperature, the oven may shut off prematurely.
- Control board - Modern ovens use a printed circuit board (PCB) to manage timers, display, and safety features.
- Thermal fuse - This safety device melts if the oven overheats, cutting power to the heating element.
3. Safety Cut‑Outs
Most ovens have built‑in protections that stop operation when something dangerous is detected. These include door‑latch switches, over‑temperature cut‑outs, and ground‑fault circuit interrupters (GFCI). When a safety device trips, the oven seems dead until the fault is cleared.
Step‑by‑Step Diagnostic Checklist
- Verify the outlet. Plug another appliance (like a kettle) into the same socket. If it works, the outlet is fine.
- Inspect the circuit breaker. Locate the consumer unit, find the oven’s 13 A breaker, and ensure it’s in the ‘on’ position. Reset it if it’s tripped.
- Examine the fuse. Remove the oven’s plug, look at the glass fuse, and replace it if the metal filament is broken.
- Check the power cord. Look for cuts, exposed wires, or a loose connection at the back of the oven. Replace the cord if damaged.
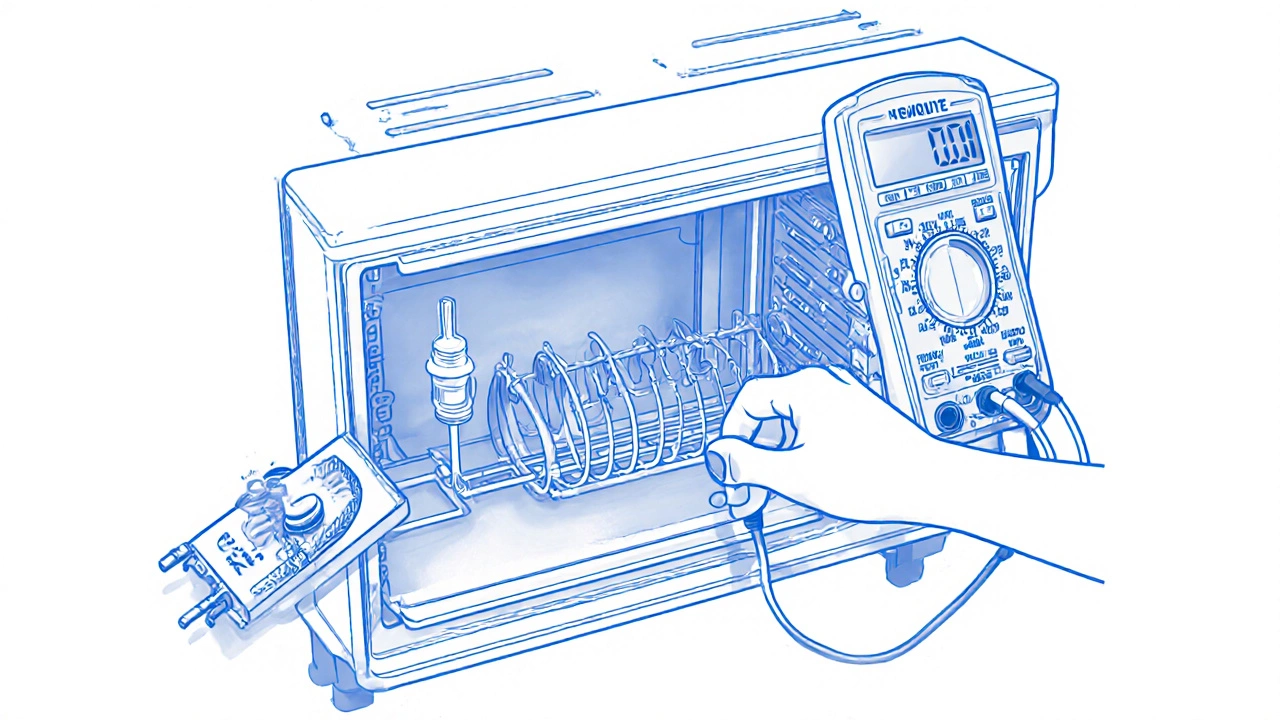
- Test the heating element. With the oven unplugged, disconnect the element wires and use a multimeter set to continuity. A reading of ‘0 Ω’ (or a beep) means the element is intact; infinite resistance indicates a break.
- Inspect the thermal fuse. It’s usually a small white or brown glass tube near the element. Remove it and test for continuity. If it’s open, replace it - it’s cheap and a common failure point.
- Evaluate the thermostat or sensor. Locate the temperature sensor (a thin metal rod inside the oven cavity). Test its resistance at room temperature (around 1 kΩ). Compare to the manufacturer’s spec; a large deviation suggests a faulty sensor.
- Look at the control board. Check for burnt marks, swollen capacitors, or loose connectors. If you see physical damage, the board likely needs professional replacement.
- Reset error codes. If the digital display shows a code (e.g., “E1” or “F2”), refer to the user manual. Often a simple reset (hold the “Start” button for 5 seconds) clears transient faults.
How to Test Specific Parts with a Multimeter
Using a multimeter is the quickest way to confirm whether a component is electrically healthy.
- Continuity test - Set the meter to the continuity symbol (often a sound wave). Touch the probes to the two terminals of the part. A beep means a continuous path.
- Resistance test - Switch to the Ω range. Measure resistance across the heating element leads; typical values are 20-40 Ω for a 2 kW element.
- Voltage test - With the oven plugged in and set to “Bake,” measure the voltage at the element terminals. You should see the full line voltage (230 V in the UK). No voltage indicates a broken feed or control board issue.
When to Call a Professional
If after these checks the oven still refuses to heat, or if you encounter any of the following conditions, it’s time to contact a qualified technician:
- Evidence of burnt wiring, scorched insulation, or a melted control board.
- Repeated tripping of the circuit breaker despite a healthy oven.
- Faulty door‑latch or safety interlock that won’t reset.
- Lack of confidence or experience working with high‑voltage appliances.
In the UK, ensure the electrician is registered with a competent person scheme (e.g., NICEIC) and that any work complies with BS 7671 wiring regulations.

Preventive Maintenance Tips
Regular care can stop most sudden failures before they happen.
- Keep the oven interior clean. Grease buildup can overheat the element and blow the thermal fuse.
- Inspect the door seal quarterly; a cracked gasket can cause heat loss and trigger safety sensors.
- Run a “self‑clean” cycle only when the oven is empty and the door latch is functioning.
- Check the power cord and plug annually for wear.
- Replace the thermal fuse proactively every 5-7 years if you notice frequent temperature spikes.
Frequently Asked Questions
Why does my oven beep but never heat?
A beep usually means the control board has detected a fault. Most often the thermal fuse has blown or the heating element is open. Test both with a multimeter, replace the faulty part, and the oven should resume normal operation.
Can I replace the heating element myself?
Yes, if you’re comfortable working with a live appliance. Unplug the oven, remove the rear panel, disconnect the element wires, and swap in the exact replacement model. Always double‑check the voltage rating (typically 230 V, 2 kW) before purchasing.
What does an error code “E1” mean?
Most manufacturers label “E1” as a temperature sensor fault. The sensor is either shorted or open. Test its resistance; if it’s out of spec, replace it. Reset the oven after the swap.
Is a tripped breaker a sign of a serious problem?
Not always. A breaker can trip due to a short in the oven’s cord or a momentary overload when the element engages. If the breaker trips repeatedly after you’ve checked the cord and element, the issue likely lies in the control board or internal wiring, which needs professional inspection.
How often should I service my electric oven?
A full service every 3-4 years keeps the heating element, thermostat, and safety devices in good shape. Annual visual inspections and cleaning are enough for most households.
By following this guide you can pinpoint why your electric oven quit on you, replace the simple parts yourself, and know exactly when to call in a qualified technician. A little troubleshooting goes a long way toward getting that oven back to baking your favourite Sunday roasts.