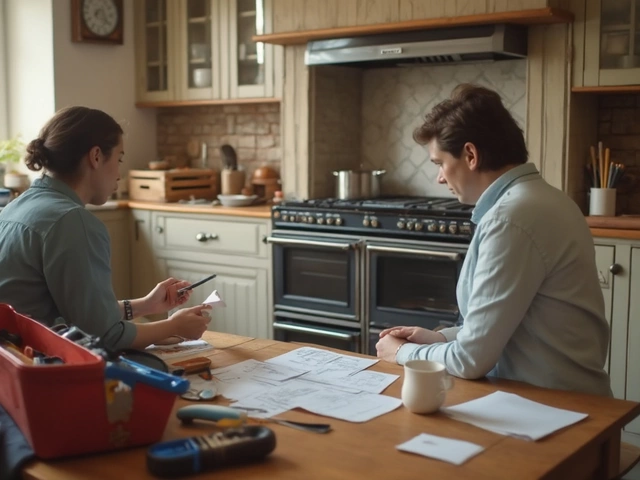
There's nothing quite as maddening as a silent electric oven when you're gearing up to bake a homemade pizza or roast a weekend chicken. Suddenly, the reliable appliance you counted on seems to have staged a quiet rebellion. But don't let that throw you into a tizzy. Before you start dialing repair services in frantic haste, let's roll up our sleeves and delve into some troubleshooting basics.
An electric oven has many components that must operate in harmony, and sometimes, one piece out of sync can disrupt the whole symphony. Whether it's something as simple as a tripped breaker or as intricate as a faulty heating element, there's a roadmap you can follow to solve it. So, let's embark on this repair journey, where I'll guide you through the steps to identify the hiccups and, hopefully, fix them without a hitch.
- Checking the Power Supply
- Inspecting Heating Elements
- Calibrating the Thermostat
- Looking into Additional Troubles
Checking the Power Supply
Troubleshooting your electric oven can start as simply as verifying its power supply. Sometimes the simplest causes are the most overlooked—if the oven does not have electricity flowing to it, it can become nothing more than an expensive cabinet. You would be amazed at how frequently the answer lies in the visible but ignored. The power outlet where your beloved oven is plugged could be your key starting point. A loose plug or a faulty socket could easily be what’s cutting off your oven's source of juice. Take a moment to check the outlet by unplugging and trying another appliance that you know works. Should the test appliance fail to power, perhaps the outlet itself requires attention.
Another microscopic culprit could be lurking within the electrical panel of your home. The circuit breaker designed to protect your oven from electrical faults might have tripped. This can happen when the circuit is overloaded, and resetting it may be your golden ticket. Find your home’s electrical panel and identify the breaker that corresponds to your oven. If it’s tripped, simply flip it off and then back on. Be mindful of persistent tripping, though, as it can signal a larger electrical issue possibly beyond a home remedy.
"The National Electrical Code requires that major appliances, including ovens, be on a dedicated circuit," advises Maria Cornejo, a veteran electrician with over 25 years of industry expertise. "This helps prevent overloads and the potential hazards that come with it."
Sometimes, the hyperlink between working and not working lies in power surges. Unseen voltage fluctuations can cause a circuit to flicker and even switch off without your knowledge. While protective mechanisms like surge protectors are recommended, the unfortunate truth is that power circuits are not invincible. If you suspect a surge, a quality multimeter can test the integrity of the circuit's power supply.
Consider the recent recall data on electric ovens too. According to a study, about one in five electric oven malfunctions are related to power issues, primarily stemming from faulty wiring or circuits that could not handle the power draw. Oven repair professionals stress the value of routine checks and maintenance schedules to preempt such issues.
As you inspect these potential power conundrums, don’t forget the small but impactful parts like the circuit boards or fuses in the oven itself, which are easily replaced if found faulty, with a clear guide from your oven’s manual.
Inspecting Heating Elements
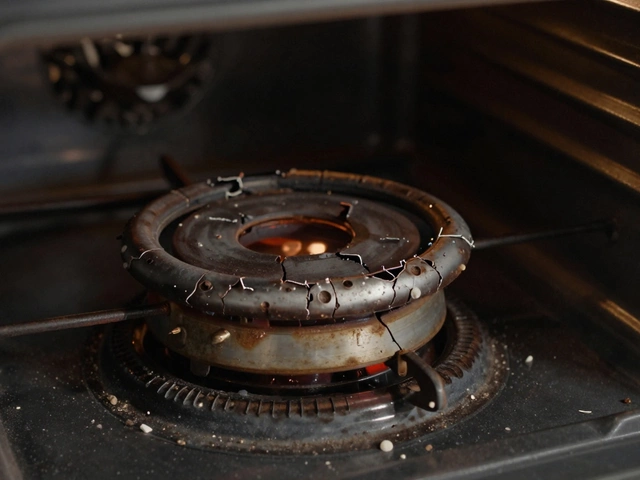
Your electric oven's heating elements are the heart of its operation, conducting the symphony of converting electrical energy into the delicious warmth that bakes your favorite dishes. When these elements go awry, it can mean the difference between a perfectly roasted chicken and a stubbornly cold kitchen appliance. Let's dive into the nitty-gritty of understanding and identifying issues with these essential components.
Begin your inspection with a keen eye and perhaps a flashlight to better illuminate the interior of your oven. Look for any visible signs of damage on the heating elements, such as blisters, breaks, or discoloration. These could be indicators that the element has shorted out or developed a fault. A broken element will no longer glow red when turned on, which is a clear sign it needs replacing. Remember, elements work silently and efficiently when in good condition, so any visible anomaly could be a red flag.
Next, it's time to check the connection points where the elements attach to the oven itself. Make sure the elements are securely and correctly plugged in. With a screwdriver, you can safely remove the back panel of the oven to access these connections, although it's crucial to power off your oven first to prevent electrical hazards. Loose or corroded connections can lead to poor performance and might be the culprit behind an underperforming oven. A multimeter can be invaluable here – this tool allows you to measure the resistance of the heating element to ensure the electrical circuit is complete and functioning.
If all seems well visually yet the problem persists, it might be time to get technical. Use the multimeter to test for continuity — essentially, whether electrical current can flow through the element. Set the multimeter to the ohms setting, and touch one probe to each terminal end of the oven element. A reading of infinity or zero could mean your element is defective and ought to be replaced. "In troubleshooting, the biggest enemy is the assumption that 'it looks fine,'" notes electric appliance expert Tom McClure.
If you encounter a problem, diagnosing in stages can often reveal surprises you didn't expect.
Replacing a faulty element isn't as intimidating as it sounds. With the current disconnected, unscrew the holding screws, gently pull the old element free, and connect the new one. Ensure the connections are snug before testing the oven again. Installing a new element can breathe life back into your appliance, reducing the downtime and saving you the cost of a full replacement. It's a direct approach that saves both time and money.
It’s worth noting that some ovens feature different types of heating elements, like bake and broil elements. Always ensure that replacements are specific to the type of element appropriate for your oven model. Many manufacturers provide detailed guides or customer helplines for those unexpected questions along your repair journey.

Calibrating the Thermostat
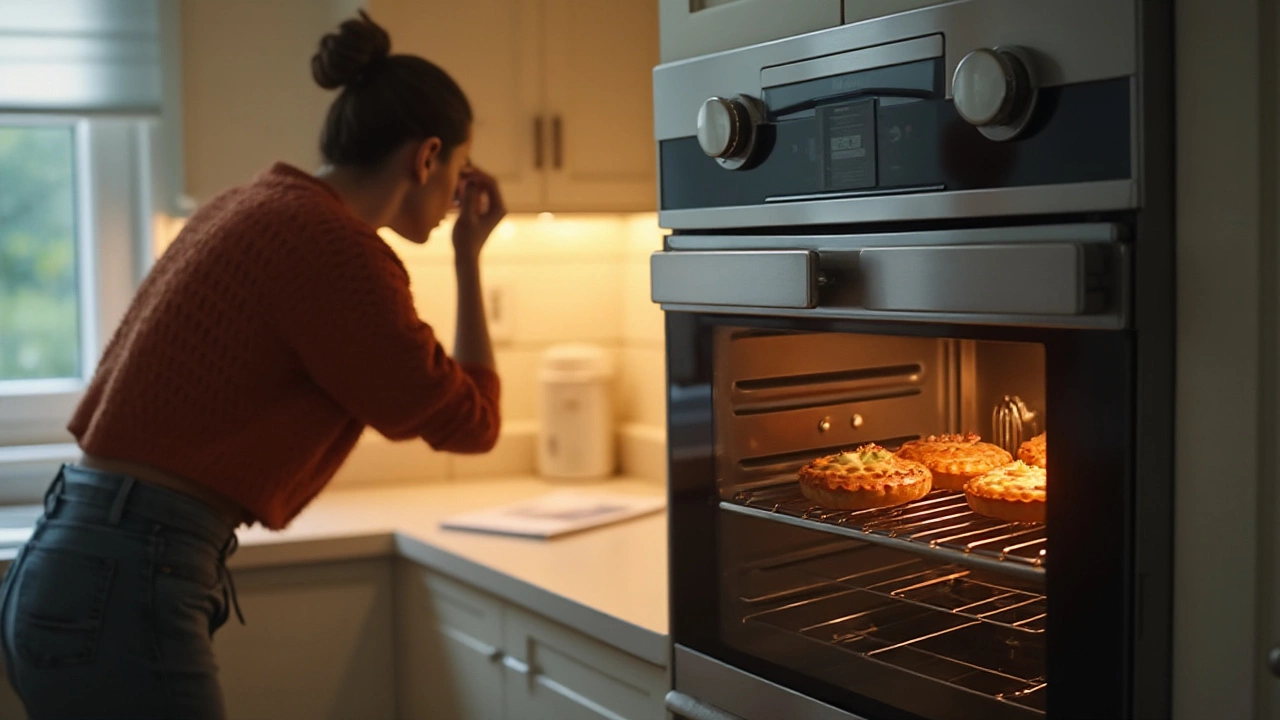
When an electric oven goes rogue, cooking your lasagna to a crisp or leaving your cookies half-baked, the issue could stem from a miscalibrated thermostat. It's this component’s job to regulate the oven's internal temperature, and any discrepancies here can spell disaster for dinner. Before jumping into recalibration, always check the user manual for any model-specific instructions, as ovens can vary significantly in design. A consistently off-temperature reading is a hint that your thermostat’s due for a tweak.
Begin by testing your oven's actual temperature using an oven thermometer. Place it in the center of the middle rack and preheat the oven to 350 degrees Fahrenheit. Allow it to stabilize for about 10-15 minutes and then check the thermometer. Repeat this step a couple of times to confirm any discrepancies. A variance of more than 25 degrees warrants a recalibration of your oven's thermostat.
Consult your oven's manual for detailed instructions on accessing and adjusting the thermostat settings. Usually, this involves removing the temperature control knob to reveal a calibration screw beneath. Carefully adjust this screw—turning to the right, typically, lowers the temperature, while turning left increases it. Make small adjustments, about a quarter turn, and then re-test with the thermometer.
It's an intriguing fact that many ovens are set out-of-box to be slightly cooler than indicated to avoid burning foods, so a small deviation is expected. Notably, Alton Brown, a well-respected culinary scientist, once mentioned, "Ovens lie. Get to know your oven’s particular stories and adjust your recipes accordingly." As with life, a little flexibility can often lead to a better outcome when it comes to baking.
After adjustment, retest with your oven thermometer to ensure accuracy. Patience here is key, as it may take several attempts to achieve the desired precision. Remember, cooking is an art as much as it is science, and each oven has its quirks. Properly calibrating your thermostat isn't just about precision; it's about ensuring consistency in your cooking results.

Looking into Additional Troubles
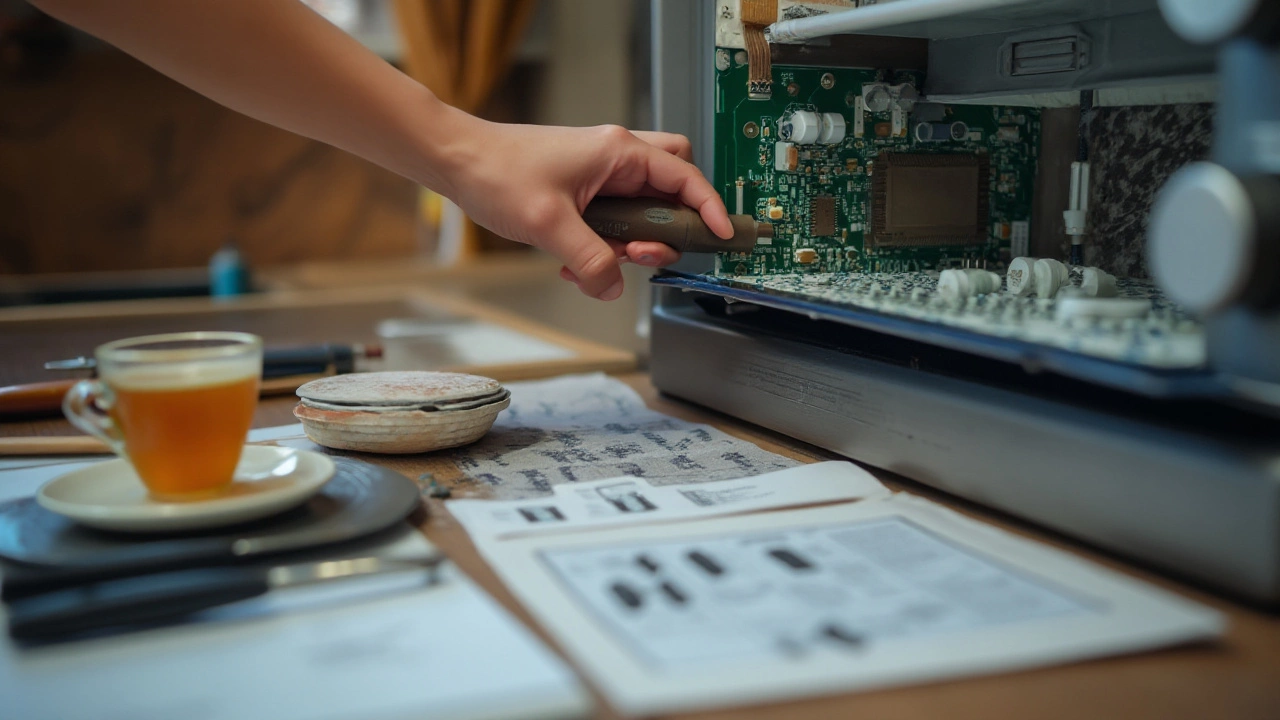
In the world of electric ovens, some issues aren't immediately apparent and can easily be overlooked, potentially leading to more significant problems down the road. One crucial area you may want to investigate is the oven's control board. Often, these digital drivers control the functions with precision, but a glitch or a power surge can lead to erratic behavior. You can spot signs of a faulty control board if the oven doesn't respond to settings correctly, or if it displays error codes you've never encountered.
Another culprit could be the oven door switch. This inconspicuous component acts as a safety feature, ensuring the oven remains off when the door is open. If the switch fails, the oven might refuse to turn on, thinking the door is ajar even when it's firmly closed. Inspecting this switch involves a bit of manual dexterity, as you might need to detach the front panel for a closer look, ensuring no wires are loose or damaged. Consider how you handle your oven door daily, as slamming or propping it open excessively might contribute to early wear and tear.
While it might sound mundane, one must not underestimate the role of connections and wiring. If an oven repair technician isn't on your speed dial, you can manually check the wires behind the unit for signs of damage. Look for burnt marks, frayed wires, or discoloration, as these are indications of underlying electrical issues. Remember, safety should be your priority. Always make sure your appliance is unplugged before diving into any diagnosis.
In some instances, the problem might be software-related, ironically in this age of smart appliances that make life easier yet more complicated when they malfunction. Some modern ovens possess self-diagnosis tools programmed to report what ails them. Checking your manual or manufacturer's website for information on accessing these diagnostics may provide insights. In their simplicity, these tools might save you from unnecessary calls to the repair service.
One whimsical but practical tip: sometimes, the cause of your woes could be something as simple as the oven settings accidentally adjusted by a curious member of the household, thinking tampering with the buttons is akin to playing an engaging video game. A sobering statistic to consider: households with children under the age of twelve report 40% more appliance malfunctions due to what experts call "technical curiosity." Keeping a closer watch on how the settings change, without you being aware, might reveal patterns when things seem off.
According to Home Appliance Experts, "A consistent approach to routine maintenance can extend the life of your oven by up to 40%, preventing these additional issues from halting your culinary ambitions." One can't stress enough the benefits of a preventative mindset.
These little undetected issues, often brushed off as nothing, can become larger troubles if left unchecked. Staying vigilant, conducting regular checks, and extending kindness to your appliances, much like a pat on its proverbial back, will keep them serving you deliciously well for years to come. Remember, owning appliances is a bit like a marriage — it requires care, understanding, and sometimes a little tinkering to iron out the kinks.