Stove Element Tester
Test your electric stove element resistance. Good elements show 20-120 ohms. Readings below 20 or above 120 indicate failure.
Enter a resistance value to diagnose your element.
If your electric stove isn’t heating up like it used to, or only one burner works while the others stay cold, you’re probably wondering: is my electric stove element bad? It’s a common problem-and usually not as expensive or complicated to fix as you might think. Most of the time, it’s just the heating element that’s worn out. You don’t need to call a technician right away. With a few simple checks, you can tell for yourself whether it’s time to replace the element or if something else is going on.
What a bad stove element looks like
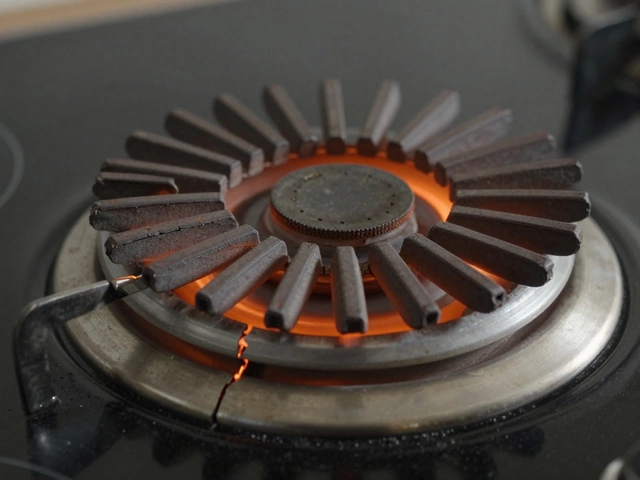
A functioning electric stove element should glow bright orange-red when turned on. If you flip the switch and see no glow at all-or only parts of it lighting up-it’s a strong sign the element is failing. Look closely: are there visible cracks, blisters, or bulges in the coil? Does the wire look broken or separated? Any of these are clear red flags. Even if the element looks okay from the outside, internal damage can still be present. The metal inside can thin out over time from repeated heating and cooling, eventually breaking the circuit.
Another telltale sign? Food takes way longer to cook. If your boil-over pot is still lukewarm after 15 minutes on high, or your pan isn’t getting hot enough to sear meat, the element isn’t delivering full power. This isn’t just slow cooking-it’s a power drop. Most electric stove elements are rated for 1,500 to 2,500 watts. When they degrade, they can lose 30% or more of their output without looking obviously broken.
Check the power first
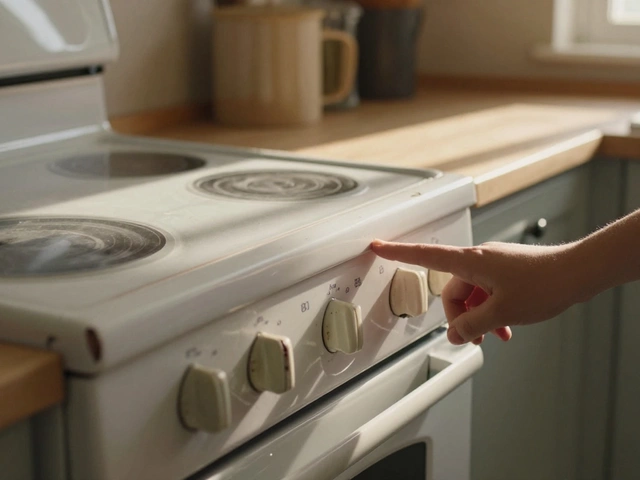
Before you assume the element is dead, rule out simpler issues. Start by checking if the stove is getting power. Is the circuit breaker tripped? Flip it off and back on. Check your fuse box if you have one. Sometimes, a single circuit powers only half the stove-so if one side works and the other doesn’t, it’s likely a breaker issue, not a bad element.
Also, make sure the control knob or digital setting is actually turned on. It sounds obvious, but people often forget to turn the burner on fully, or they accidentally leave it on a low setting. Try switching to a different burner. If that one works fine, the problem is isolated to the faulty element. If none of the burners work, the issue could be with the thermostat, the infinite switch, or the main power supply.
Use a multimeter to test the element
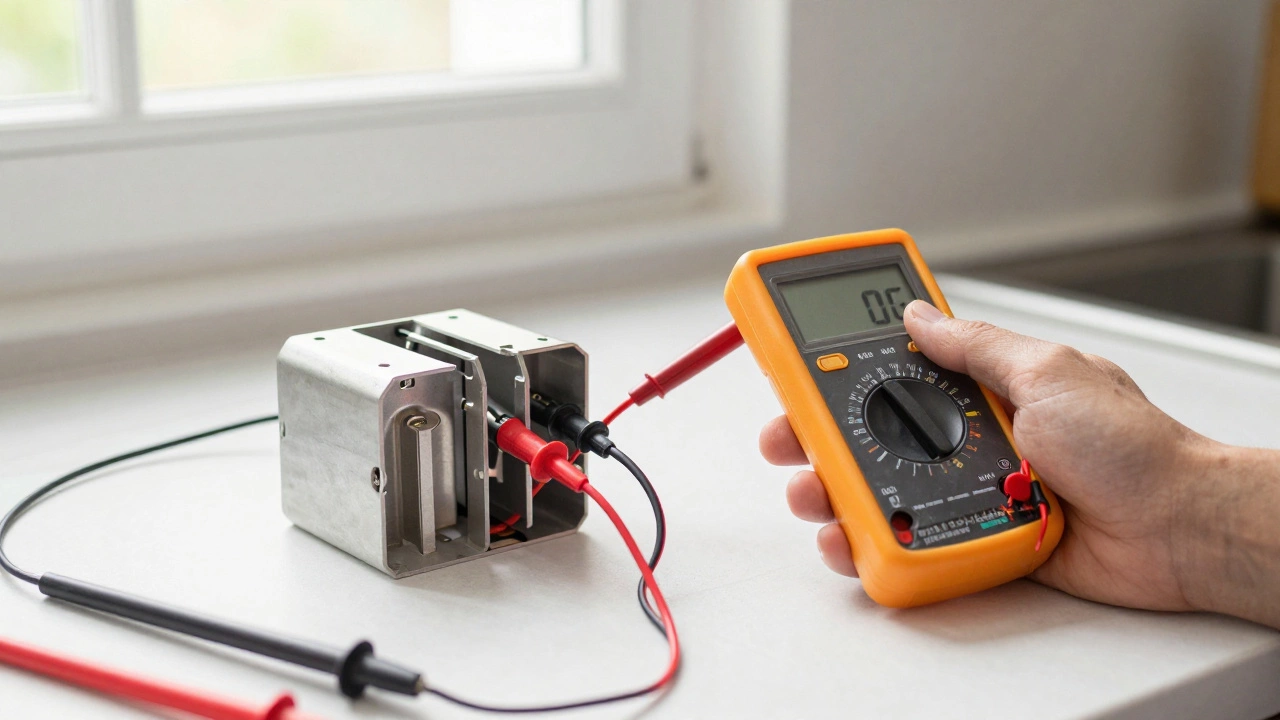
The most reliable way to confirm a bad element is with a multimeter. You don’t need to be an electrician to do this. Just follow these steps:
- Unplug the stove or turn off the circuit breaker. Safety first.
- Remove the element by unscrewing the two mounting screws at the back. Gently pull it forward until the wire connectors are exposed.
- Set your multimeter to ohms (Ω), usually the 200Ω setting.
- Touch one probe to each of the two metal terminals on the element.
- Read the display. A good element will show between 20 and 120 ohms of resistance, depending on its size and wattage. If it reads zero (0), the circuit is shorted. If it reads infinite (OL or 1), the circuit is broken.
If you get an OL reading, the element is dead. No current is flowing through it. That means it needs replacing. If you get a number within the 20-120 range, the element is likely still good-and you should look elsewhere for the problem.
Some people skip this step and just replace the element based on symptoms. But testing saves money. You might be surprised how often a faulty switch or wiring connection is to blame, not the element itself.
What else could be causing the problem?
Even if your element tests fine, the stove might still not heat. Here are other common culprits:
- Infinite switch: This is the dial or button you turn to set the heat level. If it’s worn out, it won’t send power to the element even if the element works. You can test it with a multimeter too-disconnect the wires and check for continuity when turning the knob.
- Broken wiring: Over time, wires behind the stove can fray or burn from heat. Look for melted insulation or blackened connectors.
- Thermostat or temperature sensor: If your oven heats unevenly or shuts off too early, the sensor might be faulty. This usually affects the oven more than the stovetop.
- Control board: On newer stoves with digital displays, a failed control board can stop power from reaching elements. Look for error codes or unresponsive buttons.
These parts are harder to diagnose without tools and experience. If your element tests good but the stove still doesn’t work, it’s worth considering professional help-unless you’re comfortable digging deeper into the wiring.
How to replace a bad element
Replacing a stove element is one of the easiest DIY repairs you can do. Most elements cost between £20 and £50, depending on your model. Here’s how:
- Turn off the power at the breaker.
- Remove the old element by unscrewing the mounting brackets and pulling it out far enough to access the wire connectors.
- Take note of how the wires are connected. Take a photo if you’re unsure.
- Disconnect the wires by gently pulling them off the terminals. Don’t yank-they’re often brittle.
- Buy a replacement element that matches your model number. Check the label on the old one or look up your stove’s make and model online.
- Connect the new element the same way the old one was wired.
- Slide it back in, screw the brackets tight, and restore power.
Test it by turning the burner on. It should glow evenly within seconds. If it does, you’re done. If not, double-check your wiring. Most people get it right on the first try.
When to call a professional
You don’t need to call someone for a bad element. But if you’re uncomfortable working with electricity, or if the problem isn’t the element, it’s better to get help. Also, if your stove is over 15 years old and multiple components are failing, it might be more cost-effective to replace the whole unit. Newer models are more energy-efficient and come with safety features like auto-shutoff and child locks.
And if you smell burning plastic or see smoke, turn off the power immediately and don’t use the stove again until a qualified technician inspects it. That’s not a repair-it’s a safety hazard.
Preventing future failures
Stove elements don’t last forever, but you can stretch their life:
- Avoid spilling liquids directly onto the element. Water can cause cracks in the heating coil over time.
- Keep the cooktop clean. Built-up grease and food debris can trap heat and overwork the element.
- Don’t leave pots boiling dry. That puts extra strain on the element.
- Use the right-sized pans. A small pan on a large burner wastes energy and heats unevenly, stressing the coil.
Most elements last 5 to 10 years with normal use. If yours is older and starting to act up, it’s not a surprise-it’s just physics.
Can I use my stove if one element is bad?
Yes, you can still use the other burners if only one element is faulty. But don’t ignore it. A bad element can sometimes cause electrical imbalances that stress other parts of the stove. Replace it when you can to avoid further damage.
Why does my stove element glow unevenly?
Uneven glowing means the heating wire inside has developed weak spots or breaks. Electricity flows through the path of least resistance, so it skips over damaged sections. This is a sign the element is failing and needs replacing soon.
How long does it take to replace a stove element?
With the power off and the right tools, replacing a stove element takes about 15 to 20 minutes. The hardest part is often getting the old element loose if it’s been stuck from years of heat and corrosion. A little penetrating oil on the screws can help.
Do all electric stove elements look the same?
No. Elements vary by size, shape, wattage, and terminal type. Some are flat, some are coil, and some have different numbers of prongs. Always match the part number from your old element or your stove’s manual. Using the wrong one can damage your stove or create a fire risk.
Is it worth repairing an old electric stove?
If your stove is under 10 years old and otherwise works well, replacing a single element is almost always worth it. If it’s older than 15 years and you’re replacing multiple parts, consider upgrading. Newer models use 20-30% less energy and have better safety features. Plus, modern elements last longer and heat more evenly.
Next steps if your element is bad
Once you’ve confirmed the element is faulty, order the replacement part. Use your stove’s model number-usually found on a sticker inside the oven door or on the back panel-to find the exact match. Sites like Appliance Parts Online, eBay, or Amazon often carry them. Don’t buy generic parts unless they’re listed as compatible with your model.
While you wait for the part, clean the area around the element terminals. Dust and grease can interfere with connections. Use a dry cloth or a soft brush. Don’t use water or cleaner near electrical parts.
When the new element arrives, follow the steps above. Most people fix it themselves and never call a technician again. It’s a simple fix that saves money, time, and frustration.