Extractor Fan Maintenance Calculator
Your Maintenance Schedule
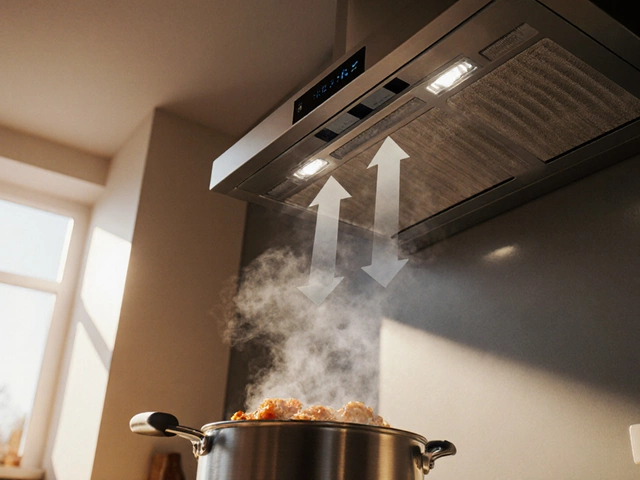
Extractor fan motor is the heart of your kitchen ventilation system. Over time, grease and dust build up inside, causing reduced airflow, strange noises, and even fire hazards. Proper extractor fan cleaning can prevent these issues and keep your kitchen air fresh.
Why Cleaning Your Extractor Fan Motor Matters
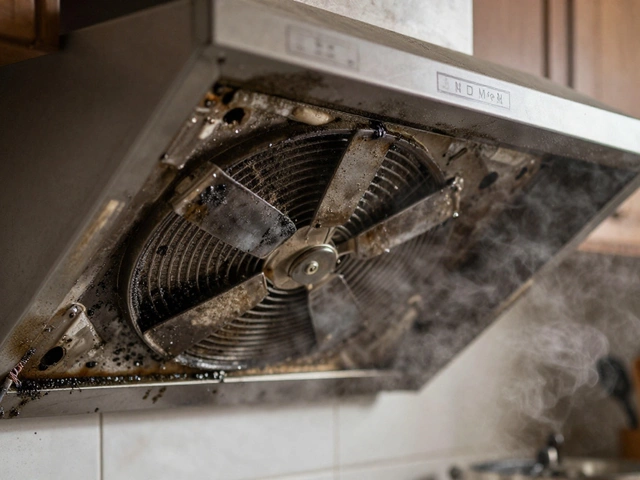
When your extractor fan motor gets clogged with grease and debris, it struggles to pull air through. This isn't just about unpleasant smells lingering after cooking. A blocked motor can reduce airflow efficiency by up to 50%, making your kitchen feel stuffy and forcing the fan to work harder. The UK Fire Service reports over 100 kitchen fires each year linked to poorly maintained extractor fans. That's because grease buildup is highly flammable. Regular cleaning not only improves performance but also prevents potential safety risks and extends the life of your appliance.
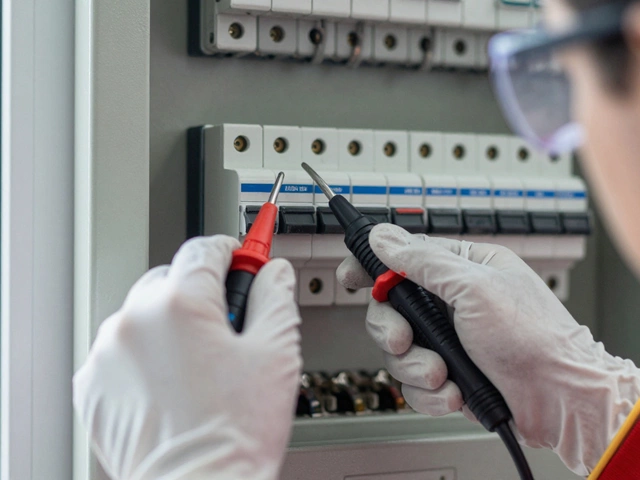
Safety First: Before You Begin
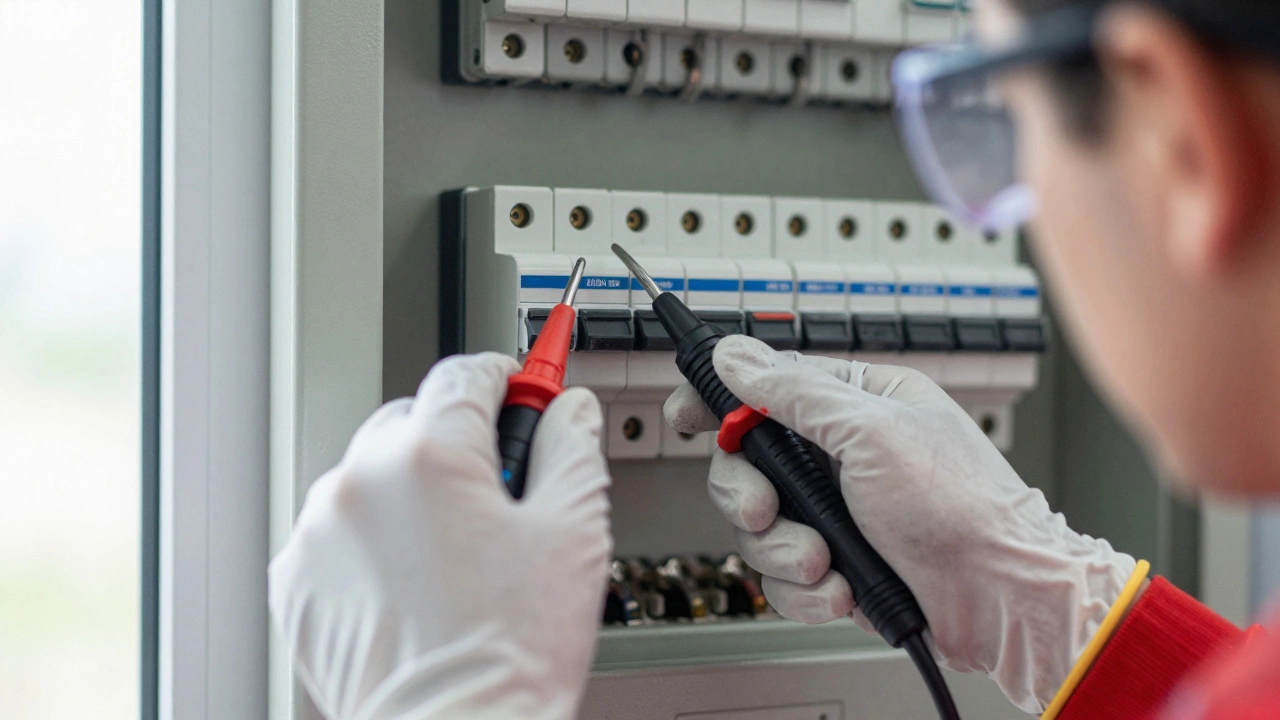
Before touching anything, safety is non-negotiable. Start by turning off the power at the circuit breaker, not just the wall switch. This ensures no electricity flows to the fan. Use a voltage tester to confirm the power is off. Wear safety gloves and goggles to protect your hands and eyes from dust and debris. Never attempt this while the fan is still connected to power. It's a simple step, but skipping it could lead to serious injury.
Tools You'll Need
| Tool | Purpose |
|---|---|
| Soft-bristle brush | Removes dust from motor coils without damage |
| Vacuum with brush attachment | Clears debris without dislodging parts |
| Microfiber cloth | Wipes down surfaces without scratching |
| Screwdrivers (Phillips and flathead) | Removes screws from fan cover and motor housing |
| Warm soapy water | Cleans grease filters separately |
Step-by-Step Cleaning Process
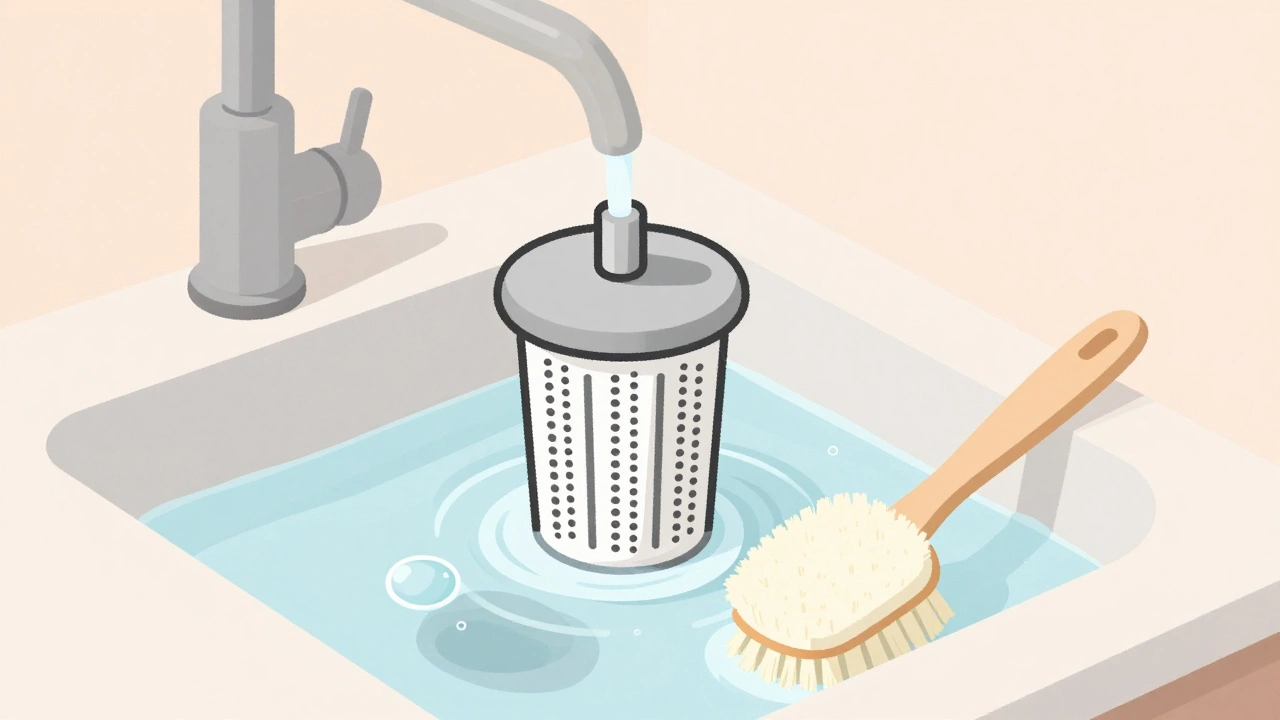
Start by removing the grease filter. Most extractor fans have a removable filter held by clips or screws. Take it out and soak it in warm, soapy water for 15 minutes. Scrub gently with a soft brush, then rinse and dry completely.
Next, locate the fan cover. This is usually the outer grille. Unscrew or unclip it. Keep all screws in a safe place-losing them can make reassembly difficult. Once the cover is off, you'll see the motor housing. Unscrew the housing to access the motor itself.
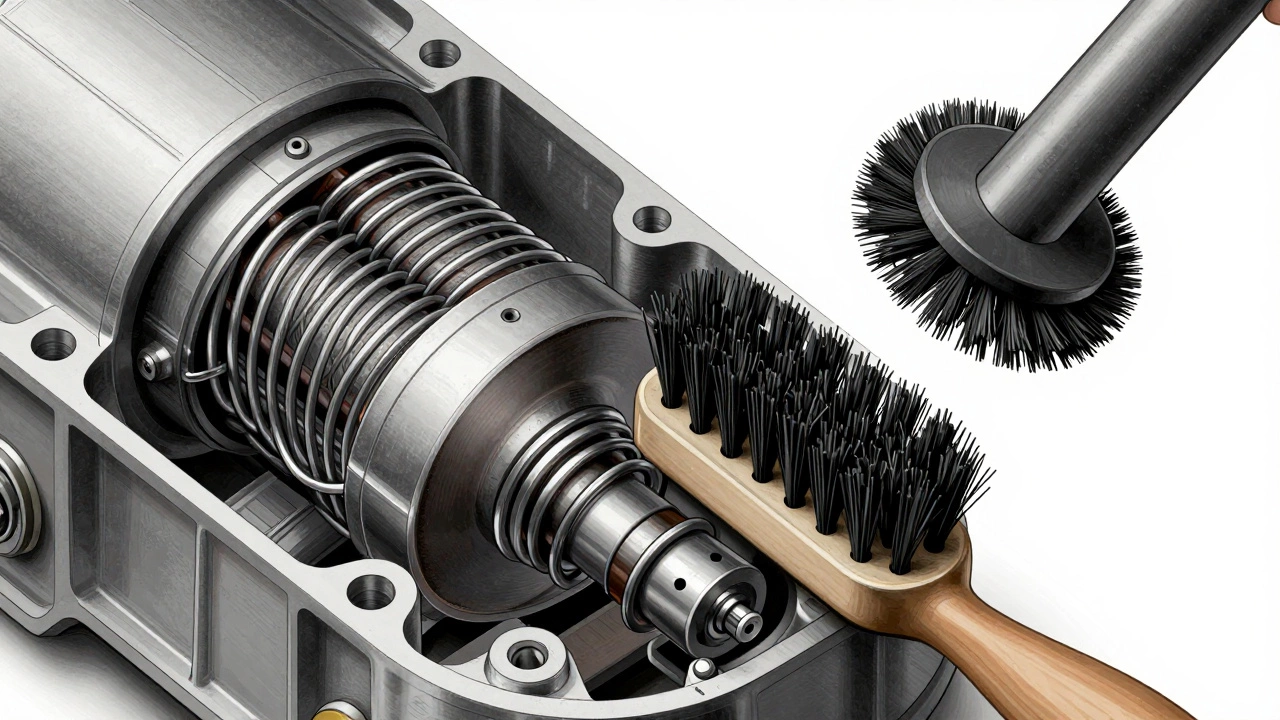
Now, the critical part: cleaning the motor. Use a soft-bristle brush to gently remove dust from the motor coils. Avoid applying too much pressure. Then, use a vacuum with a brush attachment to suck up loose debris. Never use water or liquid cleaners on the motor. Moisture can damage the electrical components. Wipe the motor housing with a dry microfiber cloth to remove any remaining grime.
Once cleaned, carefully reassemble everything. Ensure all parts are aligned correctly before tightening screws. Double-check that no tools or debris are left inside. Restore power at the circuit breaker and test the fan for a few minutes. Listen for any unusual noises and check airflow.
Common Mistakes to Avoid
Many people make simple errors during cleaning. Using water on the motor is a major no-no-it can cause short circuits or permanent damage. Skipping the safety step of turning off power at the circuit breaker is another dangerous mistake. Forcing parts during disassembly can break clips or screws. Also, neglecting to clean the grease filter separately leaves behind the main source of buildup. Finally, rushing the reassembly can misalign components, leading to poor performance or noise.
When to Call a Professional
Some issues require expert help. If you notice a burning smell from the motor, stop immediately and call a professional. Persistent strange noises after cleaning may indicate worn bearings or internal damage. Visible damage to wires, melted components, or a motor that doesn't spin after cleaning also needs professional attention. DIY fixes can sometimes make things worse-when in doubt, contact a certified appliance repair technician.
Maintenance Tips
Prevention is better than cure. Clean the grease filter monthly with warm, soapy water. Check the motor every three months for heavy cooking or every six months for moderate use. Avoid using harsh chemicals on any part of the fan. Keep the area around the extractor fan clear of clutter to prevent additional debris buildup. A little regular care goes a long way in keeping your kitchen ventilation system running smoothly and safely.
Can I use water to clean the extractor fan motor?
No. Water can damage the motor's electrical components. Always use dry cleaning methods like a soft brush or vacuum. For the grease filter, you can use warm soapy water, but never on the motor itself.
How often should I clean the extractor fan motor?
For kitchens with frequent cooking, clean the motor every three months. For moderate use, every six months is sufficient. Always clean the grease filter monthly to prevent buildup.
What if the motor is still noisy after cleaning?
If noise continues, the motor bearings may be worn out. This requires professional replacement. Do not attempt to oil the motor yourself-most modern motors are sealed and cannot be lubricated.
Can I clean the extractor fan while it's still connected to power?
Absolutely not. Always disconnect power at the circuit breaker and verify with a voltage tester before starting any work. Working on a live fan is extremely dangerous and could lead to electric shock.
What happens if I don't clean the motor regularly?
Without regular cleaning, grease buildup reduces airflow efficiency, increases energy use, and creates a fire hazard. Over time, the motor may overheat and fail, requiring costly replacement. The UK Fire Service links grease-laden extractor fans to over 100 kitchen fires annually.