Tackling a broken washing machine might feel daunting at first. With the right guidance, however, you can transform this chore into a manageable task. Not only does fixing it yourself save a bit of cash, but it's also a great way to get familiar with how this essential appliance operates.
Whether your washing machine is leaking, making strange noises, or refusing to spin, there are straightforward solutions you can try at home. This guide outlines common problems and practical steps, helping you decide whether to handle the repair yourself or call in a professional. Ready to roll up your sleeves? Let's dive in and explore the unexpected joys of DIY appliance care.
- Understanding Washing Machine Basics
- Common Issues and Diagnoses
- Tools Required for Repair
- Step-by-Step Troubleshooting
- Safety Tips and Professional Help
Understanding Washing Machine Basics
Getting to grips with the basics of a washing machine is not just for those inclined to tinker. Grasping how these machines operate opens the door to effective washing machine repair, ensuring you're prepared when the appliance starts behaving erratically. At its core, a washing machine is a simple marvel of engineering, but a bit of mystery for many. It all begins with the drum, the heart of your washer, which is responsible for cleaning your clothes through a combination of water movement and detergent. The outer tub holds the water, preventing spills and ensuring the interior drum can rotate smoothly. When you press start, the magic begins as water fills the tub to a designated level that sensors manage.
Inside this appliance lies a sequence of mechanisms working harmoniously. The water inlet valve is often called the ‘washing machine tap,’ controlling the flow of water into the tub. Once filled, the motor and transmission take over, setting the drum in motion. During the cycle, a drive belt often concealed from view, connects the motor to the drum, converting electrical energy into mechanical motion to agitate the clothes. A heating element sometimes rises hidden at the bottom, quietly ensuring water reaches the optimal temperature for effective cleaning. To end each cycle, a pump assists in draining out the water, setting the stage for the spinning action that removes excess moisture from garments.
One must not overlook the intricate dance of electronics and mechanics. Modern washing machines boast a complex control panel that resembles a car’s dashboard, laden with settings to fine-tune every wash. Sophisticated sensors, reminiscent of watchdogs, monitor water levels, temperature, and even detergent use, adapting cycles to fit the current load. Some of these features even include energy-saving modes that regulate electricity usage, emphasizing eco-friendly options for conscientious consumers. As you understand these components, keep in mind an intriguing statistic from the Consumer Electronics Association, which states that energy-efficient washers can reduce water usage by up to 40% compared to older models, all while lowering power consumption significantly.
Understanding these components is paramount, as each plays a vital role. Just as gears in a clockwork have their specific functions, the washing machine comprises several specialized elements. For example, the interlocking door mechanism ensures the machine does not open mid-cycle, a safety feature preventing household floods. Meanwhile, your garment's safety is placed in the hands of nylon or rubber door gaskets that keep water securely inside. Finally, repair skills begin here—with familiarity. The more you're acquainted with this everyday appliance, the less intimidating those occasional hiccups seem.
"A washing machine is only as complex as we make it. Delve into its workings, and you'll see a simple structure of dependency, each part integral yet none without redundancy." - Alex Thomson, Appliance Technician with over 20 years of experience.
From these seemingly mundane parts rises the challenge of maintenance and repair. It all starts with an understanding that even the smallest part has a pivotal role in the grand scheme of washing clothes. Familiarizing oneself with these basics grants the confidence to delve deeper whenever issues arise. Whether it's a reluctant spin cycle or an unexpected water spill, the keys to successful DIY home appliance maintenance stem from knowing what's under the hood. So next time the machine whirs to life, remember, it's more than an appliance—it's a testament to innovation working hand-in-hand with practicality.
Common Issues and Diagnoses
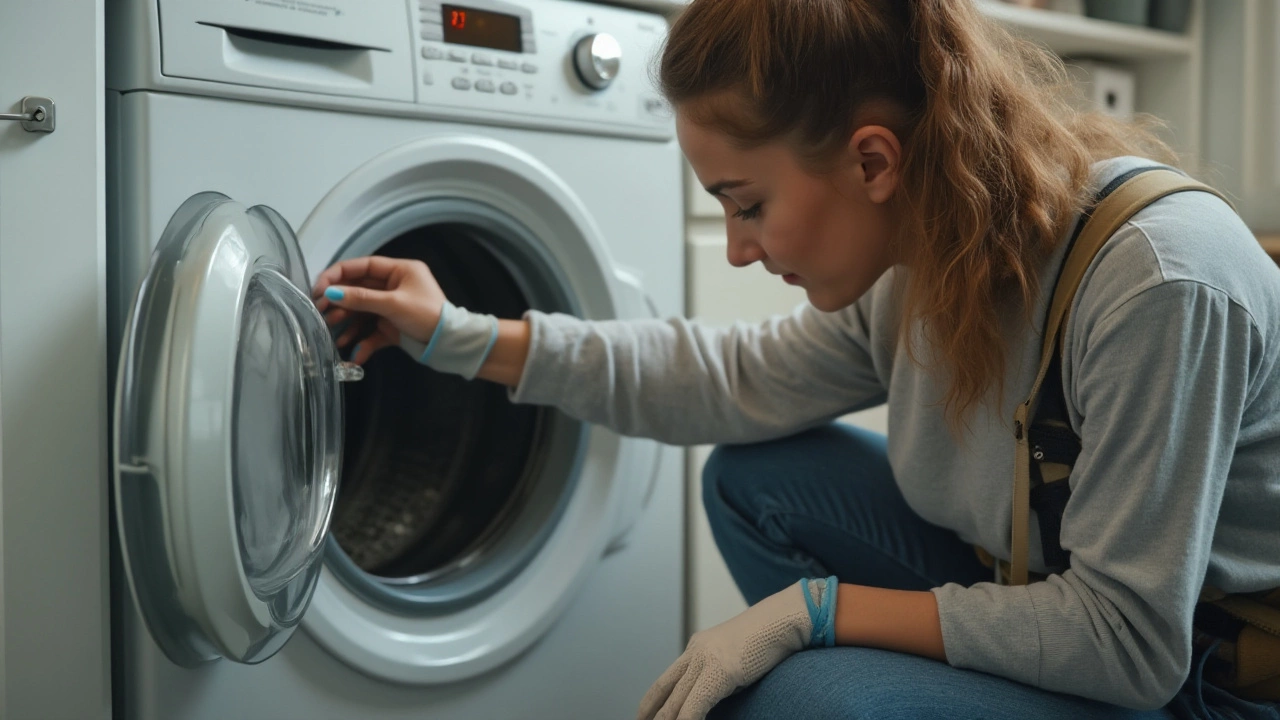
Troubleshooting a washing machine might seem like a task reserved for the handyman down the street, but with a bit of curiosity and patience, many can do this themselves. Most issues stem from a few frequent culprits. Understanding these problems not only saves you time but also the cost of a repair service. A common issue in washing machines is failure to drain properly, usually caused by a clogged pump or filter. Imagine the chaos of discovering your laundry perfumed with a musty odor and soggily unwearable. Start by checking the filter, often located at the bottom front. It's a small task but one that can clear up drainage nightmares due to trapped lint or coins.
Another typical issue is the machine's refusal to spin. This can be linked to an unbalanced load. Have you ever opened your washer to find clothes clinging to the drum, water faintly pooling where there should be none? Overloading the machine does this. By evenly distributing the load, you allow the machine to spin effectively. When a machine becomes unusually noisy, bearings and suspension springs may need your attention. These parts dampen vibrations, ensuring your morning laundry doesn't become a cacophony that rattles your cups off the kitchen shelves.
"Maintenance is the key to ensuring the longevity of any appliance. Proper cleaning once in a while can significantly reduce breakdowns," says appliance repair expert James Osbourne.
If your machine leaks, the culprit often lies with the door seal or hoses. Cracks develop in seals over time, escaping your notice until water spreads across your laundry area floor. Rips need to be fixed sooner rather than later, and hose connections shouldn't be overlooked since loose fittings can cause small but persistent drips. Finally, a washing machine failing to start at all often prompts panic, yet it's often a power supply or door latch issue. By ensuring a secure latch and checking fuses, you eliminate these issues swiftly.
Each of these problems is an opportunity to brush up on appliance maintenance skills. By becoming familiar with these DIY appliance fix tasks, you're not only prolonging the life of your washing machine but also developing a practical skill set that can tackle unexpected household issues with confidence.

Tools Required for Repair
Embarking on a DIY appliance fix for your washing machine can certainly feel empowering, especially when you're equipped with the right tools. Each time you open that toolbox, you're not just fixing issues, but you're also fine-tuning your ability to handle future repairs with confidence. Now, to make your repair journey smooth and effective, having a well-prepared toolkit is essential. This section will delve deeply into the array of tools that you will likely need, ensuring you're ready to face whatever your washing machine throws at you.
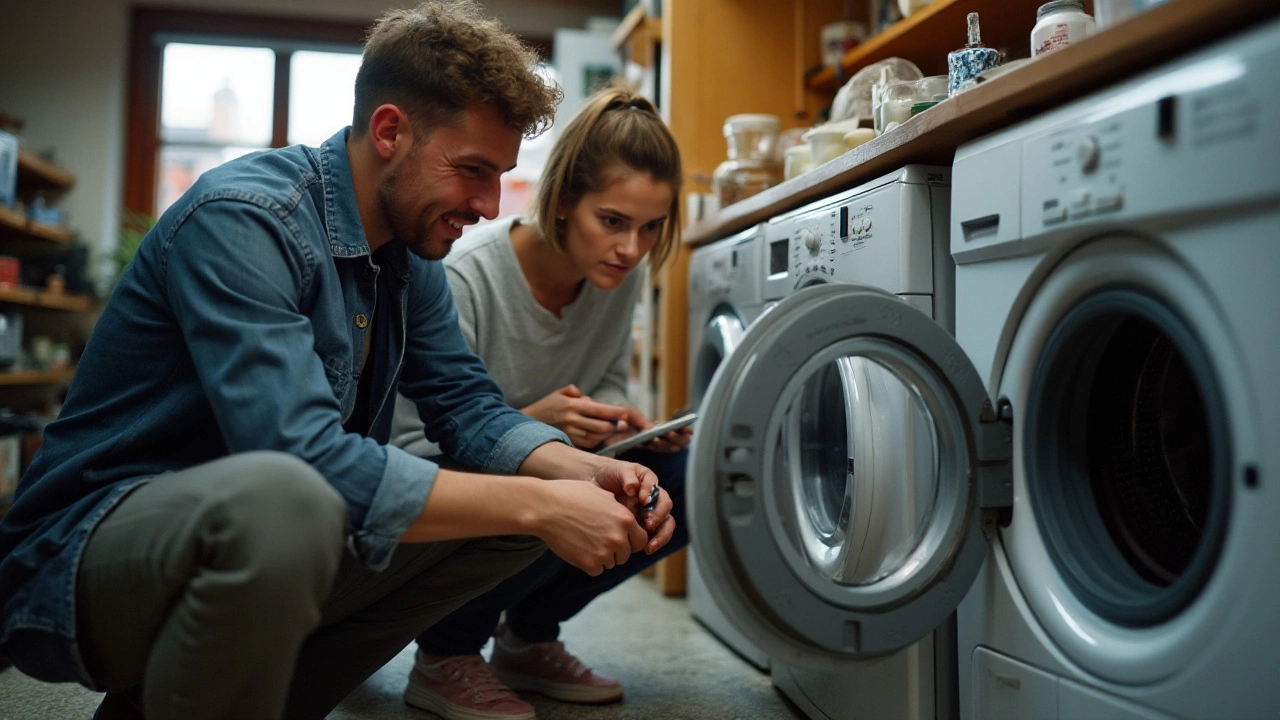
First and foremost, a set of screwdrivers is your trusty companion. It's surprising how these modest tools can unlock various parts of the washing machine, quite literally. Their importance can't be overstated—from Phillips head screwdrivers to flatheads, you might encounter various screw types holding the machine's components in place. A versatile set lets you unscrew panels and other parts without hassle. Imagine trying to dismantle a machine with the wrong screwdriver—a simple task morphs into a frustrating encounter of mismatched tools.
Next, consider the humble wrench. Adjustability is key here. Washing machines often have fasteners that hold more than a tight bond; they also secure the integrity of the machine through its vibrant cycles. An adjustable wrench allows you to loosen or tighten these fasteners effectively. Speaking of grips and holds, having a pair of pliers is valuable too. There's always that one stubborn piece that refuses to budge, and here is where pliers come into play, offering you the grip and leverage needed to move and manipulate parts with ease.
For the finer aspects of washing machine repair, a multimeter can be a game-changer. If your washing machine falters in its electrical duties, the multimeter helps check the machine's circuitry. It measures multiple electrical properties such as voltage and resistance, and it can pinpoint whether an electrical fault is at the heart of your appliance’s troubles. Once, an experienced technician remarked, “A multimeter is like a detective for the electric world, always leaning in, closely reading every clue.”
“It is the tool that never lies in your hands, revealing the hidden imperfections of any electronic entity,” as noted by appliance repair expert John Heath at The Home Appliance Scholars.
A visually unassuming yet powerful tool you'd benefit from adding is a small flashlight or headlamp. Machines often house many of their quirks in hard-to-see places. Proper lighting allows you to inspect wiring arrangements or minute part alignments without straining your vision. Additionally, let’s not overlook the value of having a small vacuum. Dust and dirt can act as silent villains inside washing machines, affecting performance as they accumulate. A vacuum helps keep internal areas spotless, prolonging the life of your repair.
Sometimes, repairs lead to replacing tiny but crucial parts of a washing machine, like seals or gaskets. Carry along a set of replacement parts in your kit. It saves time and effort, allowing you to focus more on the repair and less on sourcing difficult-to-find pieces mid-inspection. It's also wise to have a water pump plier, particularly helpful when tackling issues related to water hoses and drainage. These tasks often demand a slightly firmer grip and the ability to adapt pressure without inflicting damage, which pump pliers excel at providing.
| Tool | Primary Use |
|---|---|
| Screwdrivers | Disassembling panels |
| Wrench | Adjusting fasteners |
| Pliers | Gripping and manipulation |
| Multimeter | Electrical troubleshooting |
| Flashlight | Illuminating dark spaces |
| Vacuum | Removing dust and dirt |
In summary, when home appliance maintenance is approached with a comprehensive toolkit, you lay a solid foundation for successful repairs. That comforting hum of your washing machine back in perfect world order, all thanks to the right set of tools, truly is a rewarding scene. Embrace the art of repairing with these tools by your side, and you might find the task less intimidating and even enjoyable. Let your toolkit not just be an assortment of metal and plastic, but an enabler of efficiency and precision.
Step-by-Step Troubleshooting
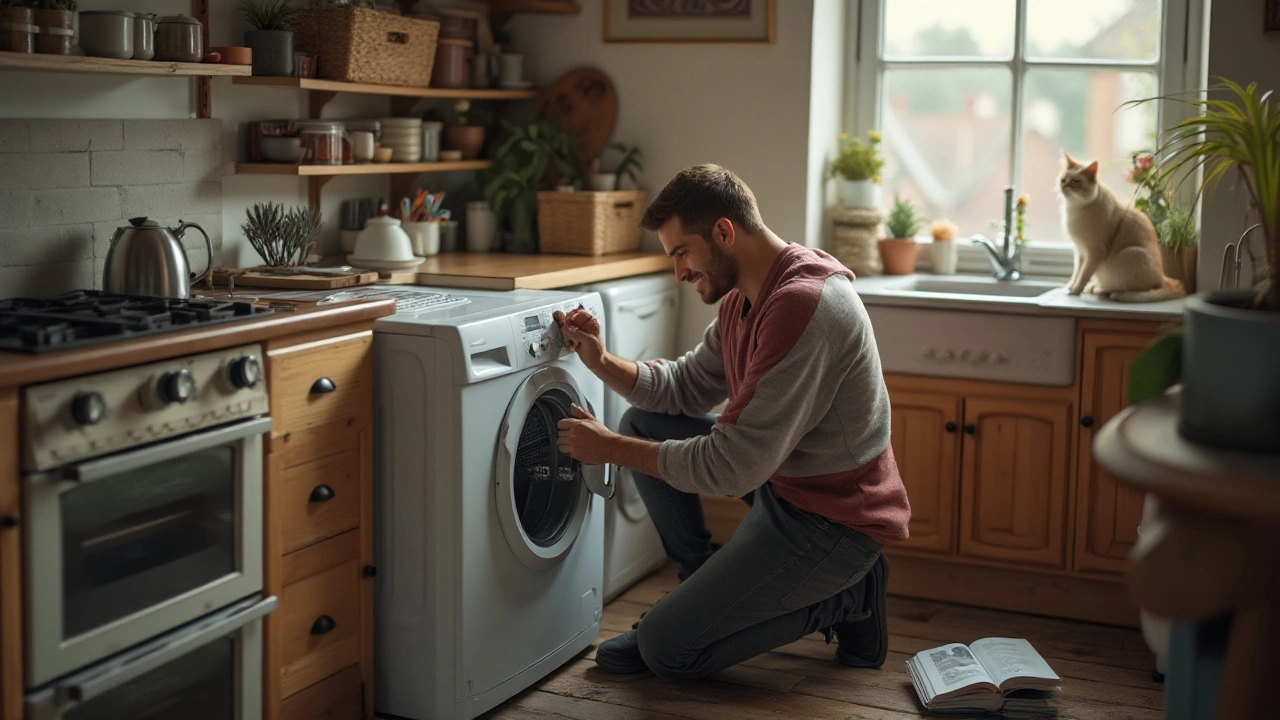
Troubleshooting a washing machine can seem intimidating, but with a structured approach, many problems can be resolved quickly and safely. The first step in any DIY appliance fix is to pinpoint the issue. Most washing machines, regardless of brand or model, share similar mechanical parts, so common troubles frequently arise, such as unresponsive buttons, unusual noises, or persistent drains. Begin your diagnosis by exploring the machine’s user manual, often a great resource for quick fixes. If you no longer have the physical copy, many manufacturers offer digital manuals online.
A frequent problem is the washer refusing to start. Begin by checking the power supply. Ensure it's plugged in and inspect your circuit breaker. If this appears fine, it might be an internal issue such as a blown fuse - these are simpler to replace than you might imagine. If your washing machine doesn’t fill with water, a kinked hose or blocked filter could be the culprit. Locate the hoses at the back, detach them, and gently clean any clogged areas. Always keep a towel handy to mop any water spills during this process. A worthwhile tip is to inspect the wall sockets with a separate appliance to confirm that they're functioning correctly.
Another typical issue is excessive vibration during the spin cycle. Unbalanced loads often cause this, leading to a cycle of loud thumping. Distribute laundry evenly inside the drum and ensure the washing machine rests level on the floor. Check the adjustable feet if needed. Repair skills can be particularly vital when facing water leaks. Leaks can manifest from compromised hoses or gaskets around the door area. Regularly examine these parts for wear or disconnect them if you suspect blockages. After you complete these inspections, run the machine and observe for any improvements or further indications of the issue.
Advanced Troubleshooting Tips
If basic checks don’t resolve your washing machine’s problem, you might need to dig deeper. Machines that fail to spin often have issues with the belt connecting the motor and drum. It might be stretched or broken. To verify this, locate your washer’s back panel and unscrew it for access to the belt. If it appears damaged, replacing it can often restore your machine’s performance. For DIY enthusiasts, this replacement process is akin to changing a bike chain, merely on a larger scale.
Noise problems frequently arise from foreign objects lodged within the drum or filter. Conduct a thorough check through the drum and filters to remove any loose coins, buttons, or smaller laundry items. Consistent grinding noises might hint at failing bearings or suspension. Repairs in this area can be more intricate, and consulting a professional is advisable if you're uncertain about executing these repairs alone. A bonus tip would be to employ a vibration isolation pad beneath your washer to further reduce noise and movement during cycles.
"Your washing machine is one of the most used appliances, yet it often goes neglected," notes appliance expert Jane P. Norton. "Regular checks and simple maintenance can extend its shelf life significantly."
Washing machines are resilient yet occasionally susceptible. Being aware of these steps means a malfunction can often be rectified the same day it arises, typically with little cost to the homeowner. The key takeaway in any home appliance maintenance is patience and perseverance; challenges are part of the learning curve for any successful home appliance maintenance endeavor.

Safety Tips and Professional Help
When it comes to DIY washing machine repair, safety is a top priority. Before you start fiddling with any part of your machine, the basics of safety can't be overstated. First and foremost, make sure you disconnect the power supply; unplugging the unit ensures there's no risk of electric shock while you work. Water and electricity don't mix well, so if your washing machine is leaking, be sure to mop up any water and disconnect the water lines to prevent any accidents.
It's also wise to keep a well-organized workspace. Having tools scattered around can lead to trips and falls, especially when you're focused on the repair task at hand. Wearing gloves and goggles protects against the unexpected—whether that's a surprise jolt from a moving part or an accidental slip of a screwdriver. And when it comes to moving your washing machine—whether to better reach a part or for more room to work—it's crucial to watch your posture. Lifting with your legs instead of your back can help prevent injuries.
Despite your best efforts, sometimes things don't go as planned. There can be unknowns in any DIY endeavor, and home appliance maintenance is no different. Knowing when to throw in the towel and call a professional is part of the process. If the problem involves internal components like the motor or complex electronic systems, or if you don't feel confident about performing the repair safely, it's best to seek outside assistance. Many professionals offer diagnostics and can resolve issues you've misdiagnosed or mishandled.
"Safety isn't expensive, it's priceless." — Anonymous
To determine if you need professional help, observe if the issue persists after an initial check or if there's an unusual smell or smoke upon restarting your machine. Professionals usually have access to specialized tools and can pinpoint problems more efficiently than a sporadic DIY effort. Moreover, appliance repair specialists often offer warranty coverage on their work, providing extra peace of mind. While DIY repairs are rewarding, leaving it to a professional when needed can avert mistakes and added expenses.
When to Call in the Experts
There are various situations where professional assistance becomes indispensable. If you're overwhelmed or encounter electrical issues, it's essential to defer to an expert for appliance fix. Electrical components require a trained hand, and tampering may void your machine’s warranty. Research suggests that a majority of users are unable to solve advanced electrical issues themselves, as per a study done in 2021.
Another reason to consider professional help is time constraints. Repairing your washing machine can be time-consuming, especially if you're new to DIY projects. Instead of devoting many hours to solving a problem, hiring a professional could save your precious time, allowing you to focus on other responsibilities or leisure activities. Always remember that while saving money is an admirable goal, safety and efficiency take precedence.


