
Extractor Fan Motor Diagnostic & Replacement Assistant
Symptom Checker
Select all symptoms you're experiencing:
Diagnosis Result:
Replacement Readiness Checklist
Check off items as you gather them:
0/7 items ready
Step-by-Step Replacement Guide
Step 1: Preparation
- Turn off power at the consumer unit (fuse box)
- Use multimeter to verify no voltage at fan terminals
- Remove grease filters from the hood
- Take clear photos of wiring configuration before disconnecting anything
- Gather all required tools within reach
A kitchen extractor fan that has stopped working is more than just an inconvenience; it’s a health hazard. Without proper ventilation, grease builds up on your cabinets, cooking smells linger for days, and moisture can lead to mold growth in the ceiling. While calling a professional engineer costs anywhere from £100 to £200 plus parts, replacing the motor yourself is often a straightforward task if you have the right tools and safety precautions. This guide walks you through exactly how to replace a kitchen extractor fan motor, saving you money and getting your kitchen breathing again.
Is It Worth Replacing the Motor?
Before you buy anything, confirm that the motor is actually dead. Sometimes, the issue is simply a clogged filter or a tripped switch. Run these quick checks first:
- Check the filters: Grease-laden filters restrict airflow so much that the motor struggles or stops. If they are black with grease, wash them in hot soapy water or replace them.
- Listen closely: Does the light work but the fan doesn’t spin? Or do you hear a humming sound without movement? Humming usually means the capacitor is faulty or the bearings are seized. No sound at all suggests a burnt-out motor or electrical failure.
- Inspect the wiring: If you’re comfortable opening the unit, look for obvious signs of burning or melted insulation near the terminals.
If the fan still won’t run after cleaning the filters, the motor likely needs replacement. In some older models, it might be cheaper to replace the entire fan unit rather than sourcing a specific obsolete motor. Check the price of a new inline or canopy fan against the cost of the spare part before proceeding.
Gathering Tools and Safety Gear
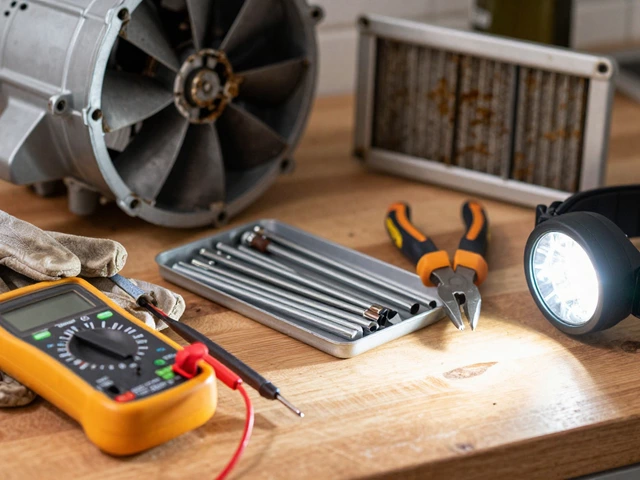
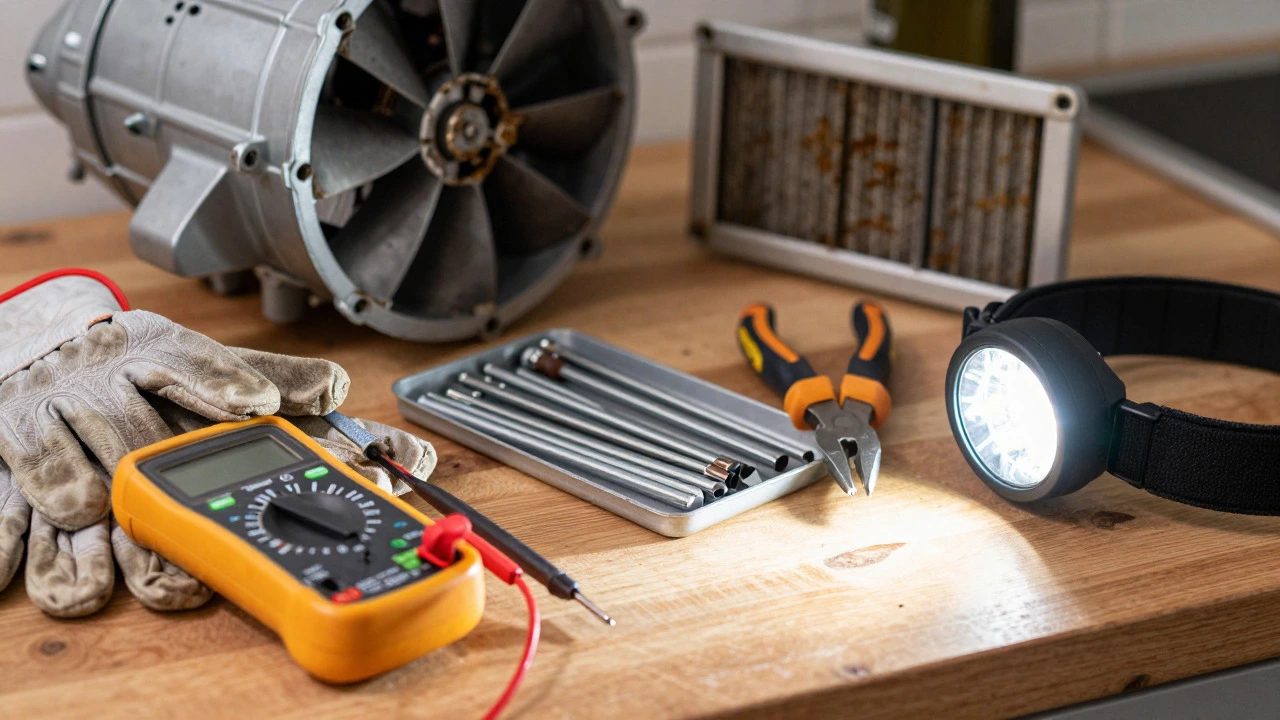
Safety is non-negotiable when dealing with electricity and sharp metal blades. You’ll need the following items:
- Multimeter: To verify the power is off and test the old motor for continuity.
- Screwdrivers: Both Phillips (cross-head) and flathead varieties.
- Pliers: Needle-nose pliers help with tight wires, while standard pliers assist with nuts.
- Work gloves: Fan blades are sharp, and grease is slippery. Gloves protect your hands and keep things clean.
- Torch or headlamp: Working under a hood is dark; good lighting prevents stripped screws.
- New motor: Ensure this matches the voltage (usually 230V in the UK), speed settings, and shaft type of your existing unit.
Most importantly, turn off the power at the consumer unit (fuse box). Switch off the circuit breaker that controls the kitchen lights and sockets. Use your multimeter to double-check that there is no voltage at the fan terminals before touching any wires.
Identifying Your Motor Type
Not all extractor fans are built the same. Understanding your specific model helps you find the correct replacement part. There are generally two types of setups:
- Canopy Fans: These sit directly above the hob. The motor is housed inside the metal casing attached to the wall or cabinet. Access usually involves removing the front panel or the entire hood from its mounting brackets.
- Inline Fans: These are hidden in the loft, attic, or ducting. They consist of a cylindrical housing with the motor and impeller inside. Access requires cutting into the ducting or removing the cover plate.
Look for the manufacturer’s label inside the unit. It will list the model number, voltage, wattage, and sometimes the motor serial number. Take clear photos of the wiring configuration before disconnecting anything. This visual reference is invaluable when reconnecting the new motor, especially if the color coding differs slightly between brands.
Removing the Old Motor
The disassembly process varies by brand, but the general logic remains consistent. Here is how to approach a typical canopy fan removal:
- Remove the grease filters: Lift out the metal mesh filters. Some units require unscrewing small retaining clips.
- Detach the control panel: Gently pry off the plastic control module. Be careful not to snap the plastic clips. Disconnect the ribbon cable or wires leading to the switches.
- Unbolt the housing: Most hoods are mounted to the wall or upper cabinets with screws. Remove these carefully. Have a helper support the weight of the unit as you loosen the final screws.
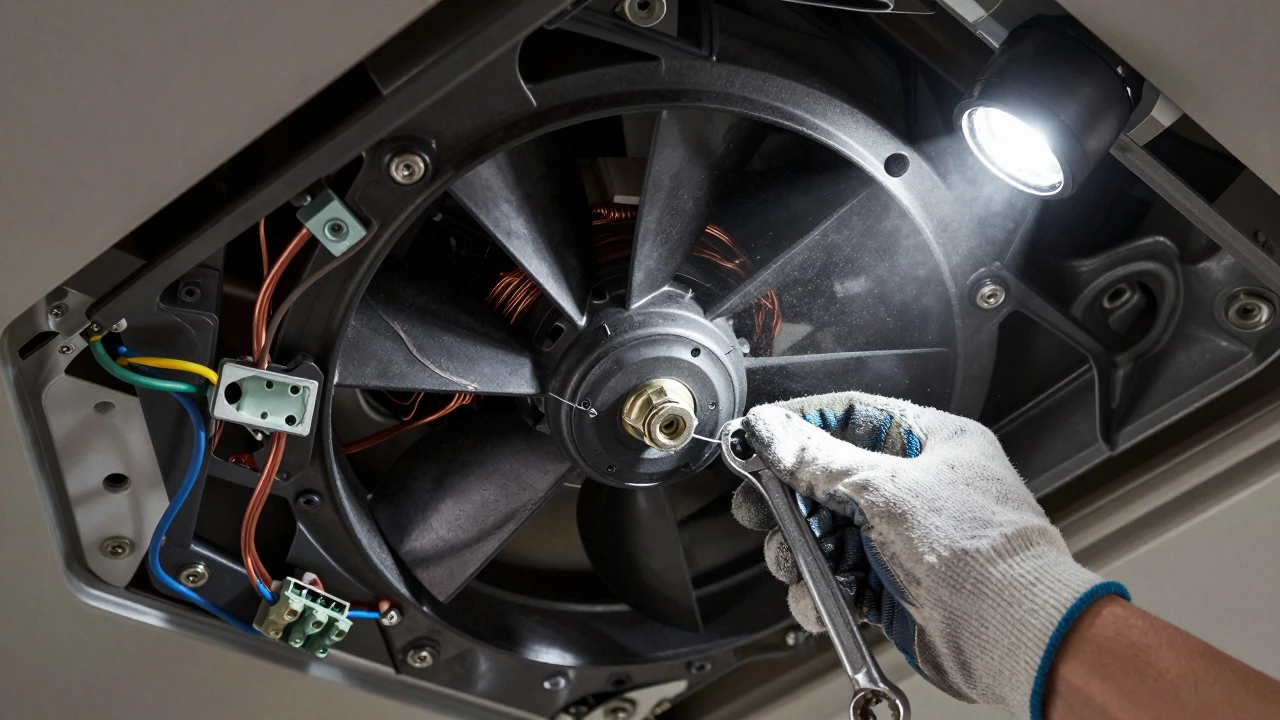
- Disconnect the wiring: Once the unit is accessible, identify the live (brown), neutral (blue), and earth (green/yellow) wires. Unscrew the terminal blocks or disconnect the push-fit connectors. Note which wire goes where.
- Extract the motor assembly: The motor is typically held in place by a bracket or direct mounting screws. Remove the impeller (fan blade) if necessary-this often requires loosening a nut on the shaft. Slide the old motor out.
For inline fans, you may need to cut the flexible ducting away from the rigid pipes to slide the unit out. Make sure the ducting is sealed properly afterward to prevent air leaks.
Installing the New Motor
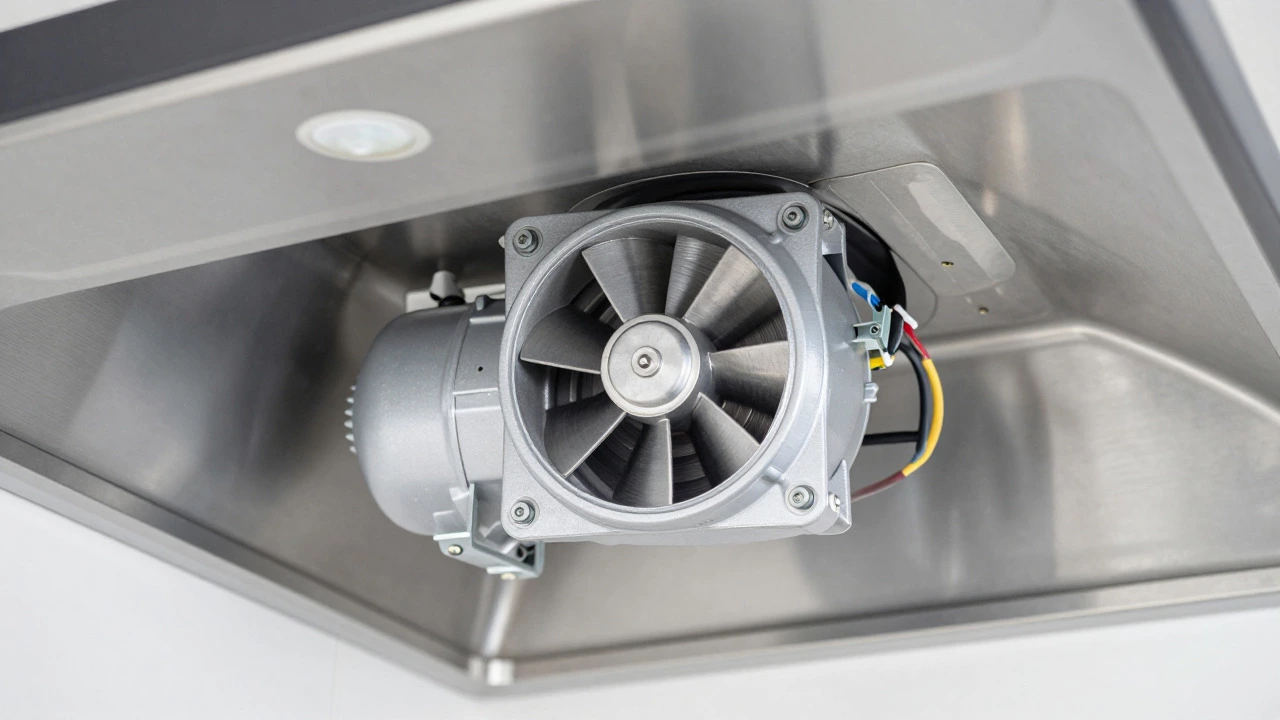
With the old motor removed, compare it side-by-side with the new one. Check the shaft length, diameter, and mounting hole positions. If everything aligns, proceed with installation:
- Mount the new motor: Secure the motor into its bracket using the original screws or those provided with the new part. Ensure it sits flush and stable.
- Reattach the impeller: Place the fan blade back onto the motor shaft. Tighten the securing nut firmly but avoid over-tightening, which can damage the threads.
- Connect the wiring: Refer to the photos you took earlier. Connect the live, neutral, and earth wires to the corresponding terminals on the new motor. If your fan has multiple speeds, ensure each speed wire connects to the correct terminal block pin.
- Reassemble the housing: Bolt the motor assembly back into the fan body. Reconnect the control panel cables and snap the plastic covers back into place.
- Remount the unit: With help, lift the hood back onto its wall brackets or cabinet mounts. Secure with screws. Reinstall the grease filters.
Double-check all connections. Loose wires can cause arcing, overheating, or fire hazards. Ensure no tools or debris are left inside the housing.
Testing and Final Checks
Turn the power back on at the consumer unit. Test the fan at each speed setting. Listen for unusual noises like grinding, rattling, or excessive vibration. A smooth, quiet hum indicates a successful installation. If the fan vibrates excessively, check that the impeller is balanced and securely attached. Also, verify that the light works if your unit includes one.
Run the fan for five minutes to ensure it handles heat and airflow correctly. Smell around the wiring terminals for any faint odor of burning insulation-if detected, turn it off immediately and recheck connections.
How do I know what size motor my extractor fan needs?
Check the rating plate inside the fan housing. Look for voltage (230V), wattage (e.g., 25W, 40W), and RPM (revolutions per minute). Measure the shaft diameter and length, and note the mounting hole spacing. Cross-reference these specs with the new motor’s datasheet to ensure compatibility.
Can I replace the motor myself if I’m not electrically qualified?
If you are only swapping the motor within the existing unit and not altering fixed wiring in the walls, it is generally considered "like-for-like" replacement and permissible for competent DIYers. However, always isolate the power at the fuse box. If you are unsure about identifying live wires or feel uncomfortable, hire a registered electrician.
Why does my extractor fan make noise but not spin?
This usually indicates a seized bearing due to grease buildup or a failed start capacitor. Try manually spinning the impeller (with power off); if it resists, the bearings are stuck. Cleaning or lubricating might help temporarily, but replacement is often more reliable long-term.
Where can I buy a replacement extractor fan motor?
Specialist appliance parts websites, local plumbing suppliers, and online marketplaces like Amazon or eBay stock generic and branded motors. Search using your fan’s model number or the motor’s serial code found on the label. Ensure the seller offers returns in case of fitment issues.
How often should I maintain my extractor fan?
Clean the grease filters every month if you cook frequently. Inspect the motor and impeller annually for dust and grease accumulation. Wipe down the interior of the hood with a degreaser to prevent buildup that strains the motor. Regular maintenance extends the life of the motor significantly.