Ice Maker Diagnostic Tool
Select the symptom that best describes your ice maker's behavior to get a diagnostic recommendation.
Small or Hollow Cubes
Ice is forming, but cubes aren't full size.
No Ice, but Water Flows
Dispenser works, but no ice is produced.
No Ice & No Water Flow
Both the dispenser and ice maker are dry.
Ice is Clumped/Fused
Cubes are sticking together in a block.
Result
Recommended Action:
...
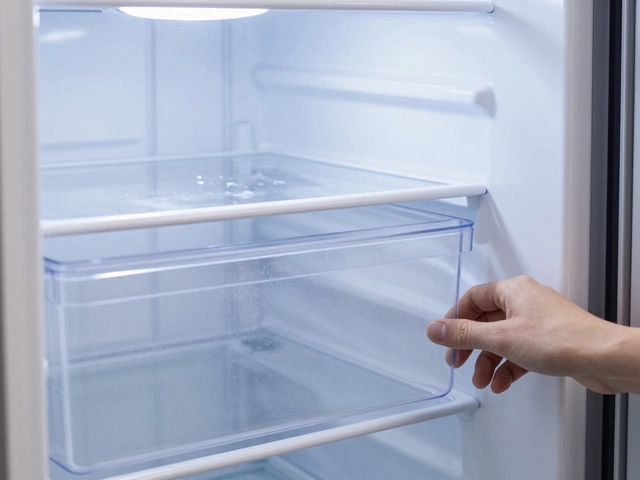
You open the freezer, reach for the bin, and realize it's bone dry. It’s a frustrating moment, especially when you’ve got guests coming over or you're craving a cold drink. Most of the time, your ice maker isn't actually "broken" in the sense that it needs replacing; it's usually just a small part that's failed or a simple setting that got bumped. Whether you have a French door model or a side-by-side, the mechanics are surprisingly similar.
Key Takeaways
- Check the temperature first; if it's above -15°C, ice won't form.
- Clogged water filters are the most common cause of slow or stopped production.
- The "ice arm" or sensor can get stuck, telling the machine the bin is full when it's not.
- Frozen water lines can stop the flow entirely, especially in older units.
The Temperature Trap
Before you pull the fridge away from the wall, look at the thermostat. For an automatic ice maker to work, the freezer needs to be cold enough to actually freeze the water. If your freezer is set to a "medium" or "energy saving" mode, it might be hovering around -10°C or -12°C. While that's fine for keeping peas frozen, it's often not cold enough for the ice-making cycle to trigger.
Most manufacturers recommend a setting of -18°C (0°F) for optimal performance. If you've recently put a large load of warm groceries in the freezer, the internal temperature might have spiked, pausing ice production for several hours. Give it a day to stabilize before assuming there's a mechanical failure.
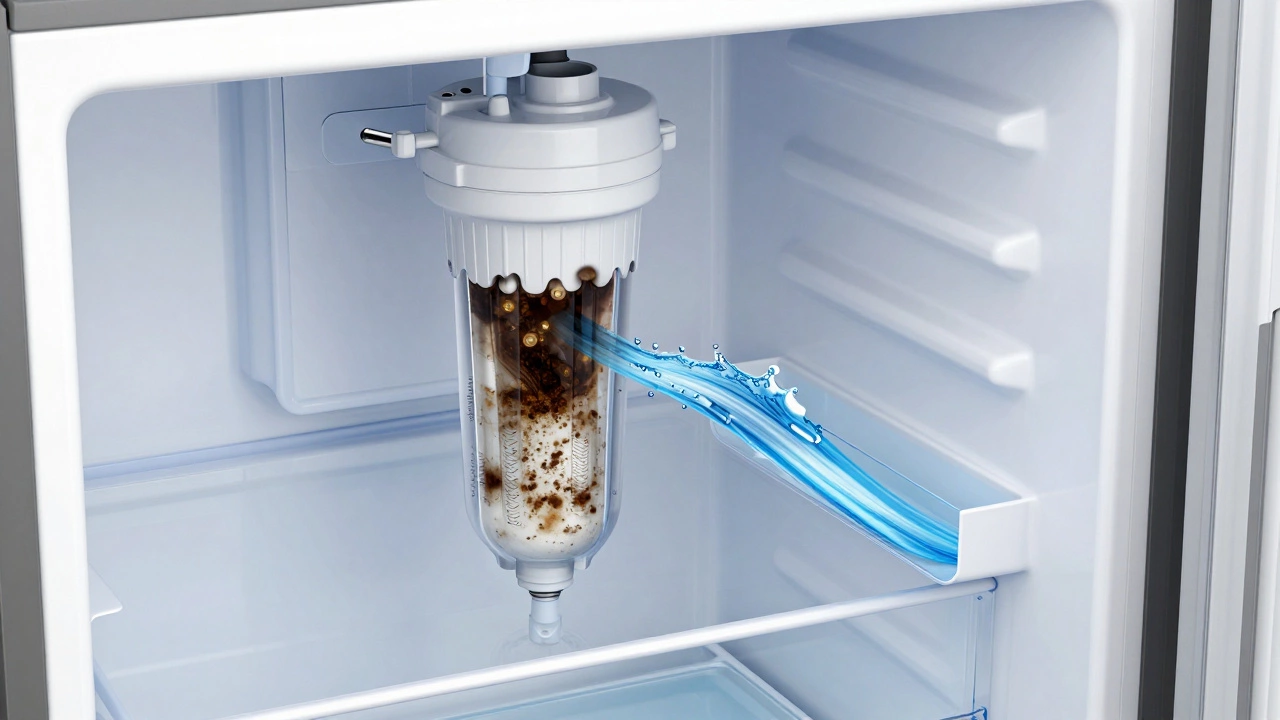
The Clogged Water Filter Culprit
If your ice cubes are getting smaller and smaller, or have stopped entirely, your Water Filter is likely the problem. These filters trap sediment and minerals, but once they're saturated, they restrict the flow of water to the Solenoid Valve-the electronic tap that lets water into the ice tray.
A filter that hasn't been changed in six months can reduce water pressure so much that the ice tray doesn't fill completely. This often leads to "hollow" cubes or a total halt in production. If you notice your water dispenser is also flowing slower than usual, it's a dead giveaway that the filter needs swapping. Pro tip: try removing the filter and installing the "bypass plug" (if your model came with one) for an hour. If ice starts making again, you've found your problem.
Checking the Shut-Off Arm and Sensors
Have you ever seen that metal wire or plastic arm that sticks out of the ice bin? That's the shut-off mechanism. In older models, if that arm is pushed up, it physically flips a switch to stop the machine from overflowing. In newer models, this is replaced by an Infrared Sensor or an optical beam.
Sometimes, a stray ice cube gets wedged in the bin, pushing the arm up or blocking the sensor's "eye." The machine thinks the bin is full and refuses to drop more ice. Reach in and clear out any stray cubes or ice shards. If you have a manual arm, gently wiggle it down to ensure it isn't stuck in the "off" position due to frost buildup.
| Symptom | Likely Cause | Difficulty to Fix | Typical Solution |
|---|---|---|---|
| Small or hollow cubes | Clogged Water Filter | Easy | Replace Filter |
| No ice, but water flows | Stuck Sensor/Arm | Easy | Clear ice blockages |
| No ice, no water flow | Frozen Water Line | Medium | Thaw line with warm air |
| Ice is clumped together | Temperature too high | Easy | Lower thermostat to -18°C |
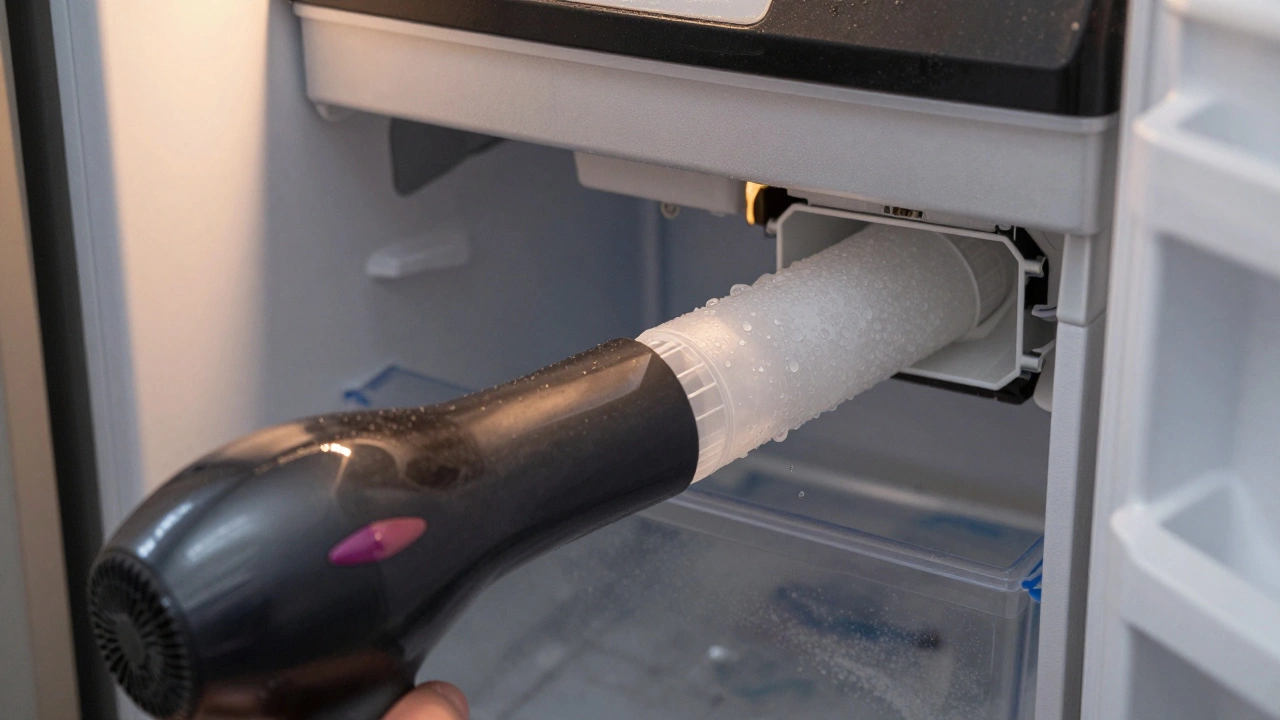
Frozen Water Lines and Fill Tubes
This is the nightmare scenario for many: a frozen fill tube. The Fill Tube is the small pipe that carries water from the valve into the ice tray. Because this tube is exposed to the freezing air of the compartment, it can sometimes develop an ice plug.
If the water valve is clicking (meaning it's trying to work) but no water is reaching the tray, you likely have a blockage. You can usually find the fill tube at the back of the ice maker. Use a hairdryer on a low setting to gently warm the tube. Be careful not to melt the plastic housing of the freezer. Once the ice plug melts, the water will flow again. To prevent this, ensure your freezer isn't set *too* cold (like -25°C), which can actually cause the lines to freeze faster.
Electrical Failures and the Control Board
If you've checked the filter, the temperature, and the sensors, and the machine is still dead silent, you might be looking at an electrical issue. The Main Control Board is the brain of the operation. It tells the valve when to open and the motor when to eject the cubes.
A common failure point is the Thermistor. This is a small sensor that tells the board when the ice in the tray has frozen solid. If the thermistor fails, the board never gets the signal to dump the ice, so the cycle just stops. Testing this requires a multimeter to check for continuity. If you're not comfortable with wiring, this is where calling a professional is the safest bet.
Preventing Future Ice Maker Failures
Maintaining your freezer ice maker repair needs starts with simple habits. First, don't let the ice sit in the bin for months. Ice sublimes (turns from solid to gas), which causes the remaining cubes to fuse together into one giant block. This can jam the ejector arms and potentially burn out the motor.
Secondly, keep the area around the ice maker clear of frozen food packages. If a bag of frozen peas is leaning against the ice maker, it can interfere with the sensor or the movement of the tray. Finally, stick to a strict filter replacement schedule. Most filters last 6 months, but if you have "hard water" (high mineral content), you might need to change them every 3 or 4 months to keep the water pressure consistent.
Why is my ice maker making tiny cubes?
This is almost always a water pressure issue. The most common cause is a clogged water filter that isn't letting enough water into the tray. It could also be a partially clogged water inlet valve or a kink in the water line behind the fridge.
Can I use distilled water in my ice maker?
While you can, most automatic ice makers are connected to the main plumbing line. If you have a manual fill model, distilled water works fine, though it may actually taste "flat" compared to filtered tap water.
How long does it take for a new ice maker to start producing?
After a power outage or a new installation, it can take 12 to 24 hours for the freezer to reach the correct temperature and for the first few batches of ice to drop. Don't panic if you don't see ice in the first hour.
What does a clicking sound from the ice maker mean?
A clicking sound is usually the water inlet valve opening and closing. If you hear the click but no water flows, you likely have a frozen fill tube or a failed pump.
Do I need to defrost my freezer to fix the ice maker?
Only if you suspect a massive ice buildup is blocking the water line or the mechanical arms. A full manual defrost can clear out hidden blockages that a hairdryer can't reach.
Next Steps and Troubleshooting
If you've tried all the steps above and you're still staring at an empty bin, it's time to narrow down the failure. Start by checking the water dispenser. If the dispenser works but the ice maker doesn't, the problem is localized to the ice maker unit (sensor, thermistor, or ejector motor). If neither works, the problem is upstream-likely the water inlet valve or the house water supply.
For those on a budget, try a "hard reset." Unplug the refrigerator for 10 minutes and plug it back in. This can sometimes reset the control board and clear a glitchy sensor. If that fails and you're not comfortable with a multimeter, contact a certified technician to avoid voiding your warranty or causing a leak that could damage your flooring.