
Extractor Fan Troubleshooter
Diagnose Your Fan Issue
Select the option that best describes your problem. The tool will guide you through a step-by-step diagnosis.
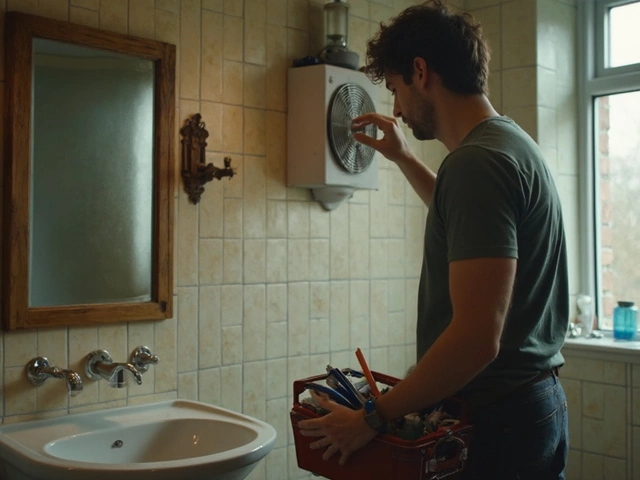
There is nothing quite as frustrating as standing over a sizzling pan of onions, only to realize your extractor fan is humming loudly but pulling in zero air. Or worse, it’s completely silent while smoke fills the room. Before you call out a technician or buy a brand-new unit, take a breath. Most extractor fan issues are not catastrophic failures; they are simple maintenance oversights or minor electrical glitches that you can fix yourself with a screwdriver and a multimeter.
In this guide, we will walk through exactly how to diagnose why your fan isn't working, from the obvious filter clogs to the more complex capacitor failures. We’ll keep it practical, safe, and clear so you can get your kitchen breathing again without wasting money on unnecessary repairs.
Quick Summary / Key Takeaways
- Safety First: Always cut power at the circuit breaker before touching any wires or removing panels.
- Start Simple: 80% of "broken" fans just have dirty filters or blocked ducts.
- Listen Closely: A humming sound usually means the motor is getting power but cannot turn (seized bearing or bad capacitor).
- Check the Switch: The problem might be the wall switch or timer, not the fan itself.
- Know When to Quit: If the motor windings are burnt out, replacement is cheaper than repair.
Step 1: Safety and Initial Inspection
Before you do anything else, kill the power. Go to your fuse box or consumer unit and flip the switch for the kitchen circuits off. This protects you from shock and prevents the fan from suddenly kicking on while your hands are inside the housing. Once the power is off, give the exterior grille a visual inspection. Are there visible cracks? Is the unit hanging loose? If the mounting brackets are broken, no amount of internal repair will help until the physical structure is secure.
Next, remove the front grille. Most modern kitchen extractor fans use a twist-lock mechanism or simple screws. Hold the grille firmly and rotate it counter-clockwise (or clockwise, depending on the model) until it releases. If it’s stuck, don’t force it-check for hidden screws behind decorative caps.
Step 2: Check the Filters and Impeller
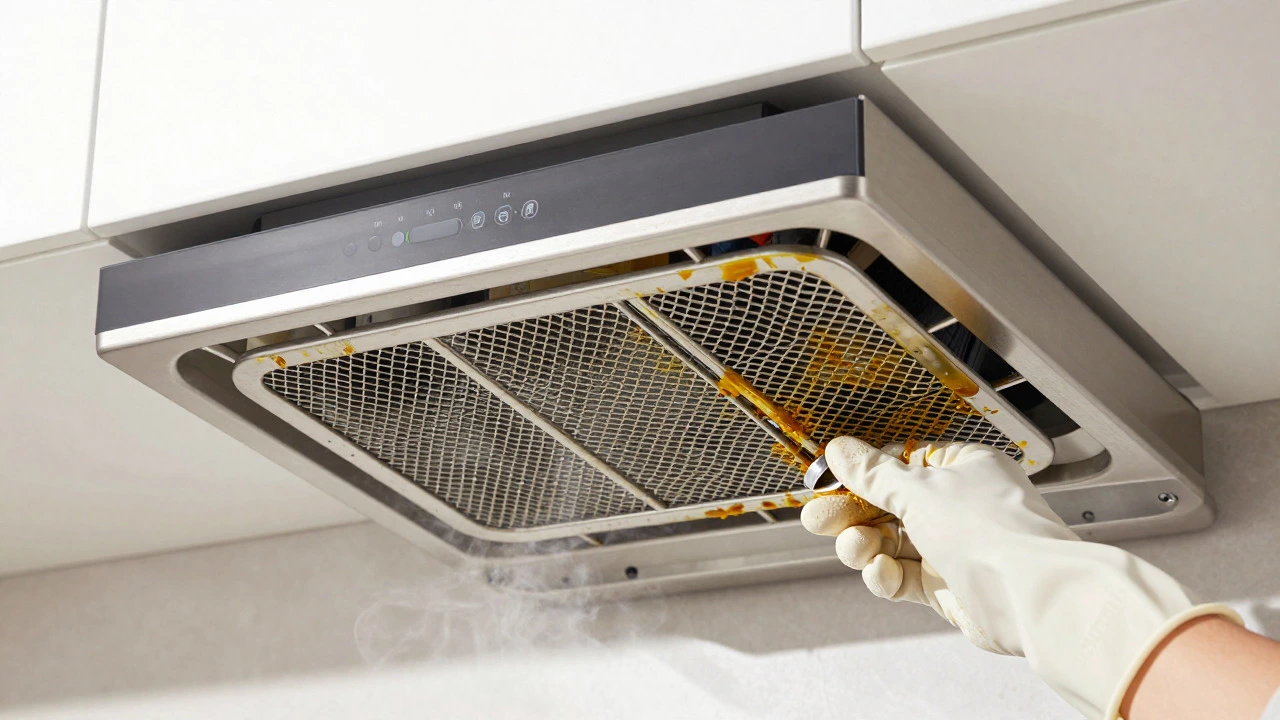
This is where most problems live. Over time, grease and dust accumulate on the grease filters and the impeller blades. A heavy layer of grease adds weight and drag, causing the motor to struggle or stop entirely.
Remove the metal mesh filters and soak them in hot water with degreasing dish soap or a specialized oven cleaner. Let them sit for 30 minutes, then scrub gently with a soft brush. Rinse and let them dry completely before reinstalling. While the filters are out, look at the impeller-the spinning part inside the housing. If it’s coated in thick, black sludge, wipe it down with a damp cloth. You want those blades light and balanced. If the impeller is physically cracked or bent, it will vibrate excessively and damage the motor bearings over time. In that case, you’ll need to order a replacement impeller specific to your fan model.
Step 3: Inspect the Ductwork
If your fan spins freely when disconnected from the ducting but struggles when connected, your issue is airflow restriction. Check the flexible hose or rigid pipe leading outside. Is it kinked? Crushed? Blocked by bird nests or debris?
Ensure the external vent flap opens freely. Sometimes, rain or wind blows the flap shut, and if the rubber seal has hardened, it won’t open when the fan turns on. Lubricate the hinge with a little silicone spray if it sticks. Also, check for leaks in the duct connections. Air leaking into the cavity between your ceiling and roof reduces suction power significantly. Seal any gaps with aluminum foil tape-not duct tape, which degrades quickly in warm environments.
Step 4: Electrical Diagnosis
If cleaning didn’t solve it, we move to electricity. Turn the power back on temporarily to test voltage, then turn it off again before proceeding with internal checks. Use a non-contact voltage tester or a multimeter.
- Test the Switch: Does the fan work if you bypass the wall switch? If you have a timer switch, these often fail due to moisture buildup. Try replacing the switch first-it’s cheap and easy.
- Check for Voltage at the Fan: With the power ON and the switch flipped, carefully measure the voltage at the fan’s terminal block. You should see 230V (in the UK/EU) or 120V (in the US). If there’s no voltage, the problem is in the wiring or switch, not the fan.
- Inspect Wires: Look for loose connections, burnt marks, or frayed insulation. Tighten any loose terminals. Burnt wires indicate a short circuit or overload, requiring careful rewiring.

Step 5: Motor and Capacitor Issues
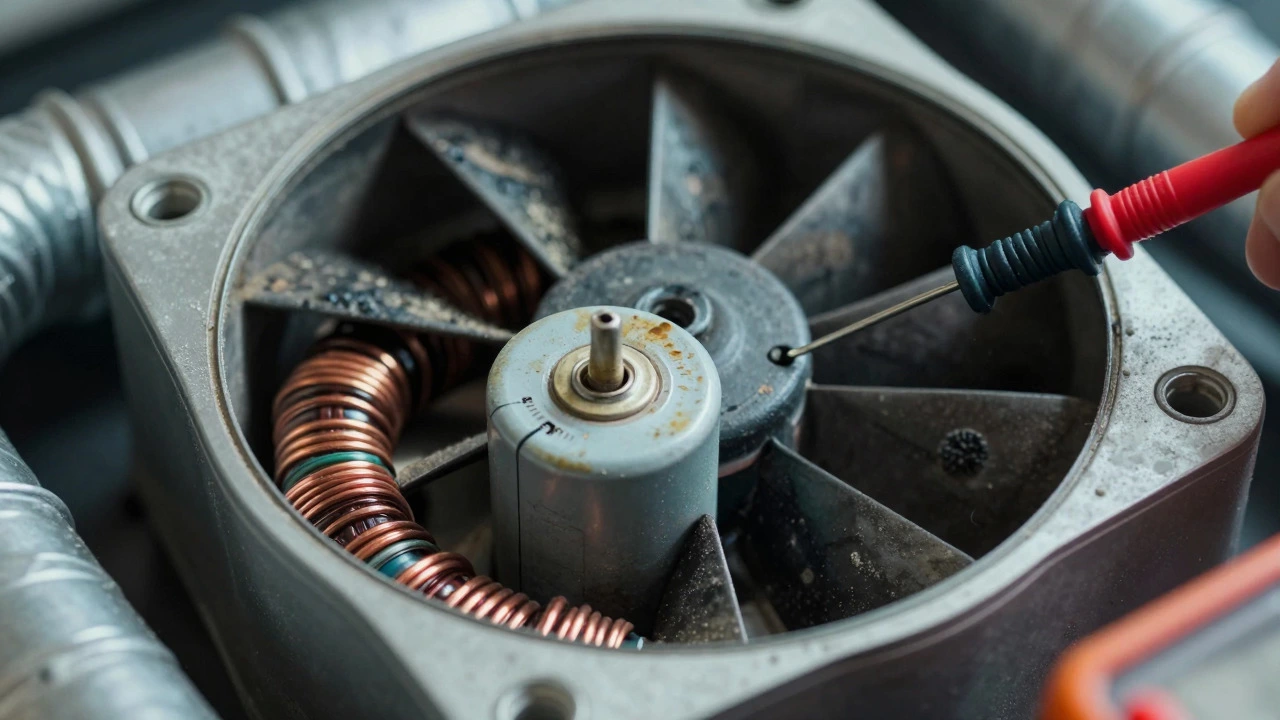
If the fan hums but doesn’t spin, the motor is likely receiving power but lacks the torque to start. This is almost always caused by a failed start capacitor or seized bearings.
The Capacitor Test: The capacitor gives the motor the initial jolt to start spinning. Locate the small cylindrical component near the motor. If it looks bulging, leaking, or burnt, replace it immediately. Even if it looks fine, capacitors degrade over time. You can test it with a multimeter set to capacitance mode. If the reading is far below the rated microfarads (µF) printed on the side, it’s dead. Replace it with one of the exact same rating and voltage.
The Bearing Check: With the power OFF, try to spin the impeller by hand. It should spin smoothly and silently. If it feels gritty, stiff, or wobbles, the bearings are worn out. For sealed motors, this usually means the entire motor needs replacement. For larger units with serviceable bearings, you can clean and lubricate them with lightweight machine oil-but avoid WD-40, which attracts dust.
| Symptom | Likely Cause | Fix |
|---|---|---|
| No power, no sound | Tripped breaker, faulty switch, or loose wire | Check fuse box, test switch, inspect wiring |
| Humming but not spinning | Bad capacitor or seized motor bearings | Replace capacitor or motor |
| Weak suction | Clogged filters, blocked duct, or leaky pipes | Clean filters, clear ducts, seal leaks |
| Loud grinding noise | Damaged impeller or worn bearings | Replace impeller or motor |
| Fan runs but stops after a few seconds | Overheating protection triggered | Clean vents, ensure adequate airflow around motor |
When to Replace vs. Repair
Not every fan is worth saving. If your extractor fan is over 10 years old, parts may be discontinued. If the motor windings are burnt (you’ll smell burning plastic and see blackened copper coils), replacement is the only option. Compare the cost of a new motor or full unit against the price of a professional repair call-out. Often, buying a new energy-efficient model pays for itself in lower electricity bills and better performance.
Also consider upgrading to a fan with a higher air exchange rate if your current one barely handles cooking fumes. Modern fans are quieter and more powerful than older models, making the upgrade worthwhile even if the old one was technically repairable.
Maintenance Tips to Prevent Future Issues
Prevention is easier than cure. Clean your grease filters every 4-6 weeks if you cook frequently. Inspect the ductwork annually for blockages. Listen for changes in sound-a slight increase in noise is often the first sign of bearing wear. Keep the area around the fan free of dust and cobwebs, which can be sucked into the motor housing.
For recirculating fans (those with carbon filters), replace the charcoal pads every 3-6 months. Unlike metal filters, these cannot be washed and lose effectiveness as they saturate with odors and moisture.
Why does my extractor fan make a loud noise?
Loud noises usually come from three sources: unbalanced impellers (due to uneven grease buildup), worn motor bearings, or loose mounting screws. Start by cleaning the impeller thoroughly. If the noise persists, check if the fan is securely mounted. Grinding sounds typically mean bearing failure, requiring motor replacement.
Can I wash the extractor fan motor?
No, never submerge the motor in water. Moisture can destroy the internal windings and cause short circuits. Only wash the removable filters and the plastic/metal casing. If the motor housing is very dirty, wipe it with a slightly damp cloth while the power is off.
How do I know if my capacitor is bad?
A bad capacitor often causes the fan to hum without spinning. Visually, it may look swollen or leaked. Electrically, test it with a multimeter set to capacitance. If the reading is significantly lower than the value printed on the capacitor, it needs replacement. Always disconnect power before testing.
Is it worth repairing an old extractor fan?
If the fan is under 7 years old and the issue is a capacitor or filter, yes. If the motor is burnt out or the unit is over 10 years old, replacement is usually more cost-effective. Newer models are also more energy-efficient and quieter.
Why does my fan run but suck no air?
This is typically an airflow blockage. Check for clogged grease filters, blocked external vents, or crushed ductwork. Ensure the external flap opens freely. Leaks in the duct system can also reduce suction power significantly.