Bathroom Fan Maintenance & Symptom Checker
Select the factors that apply to your bathroom environment to calculate your recommended service frequency.
Recommended Schedule
Describe what is happening with your fan to identify the likely cause and solution.
Diagnosis
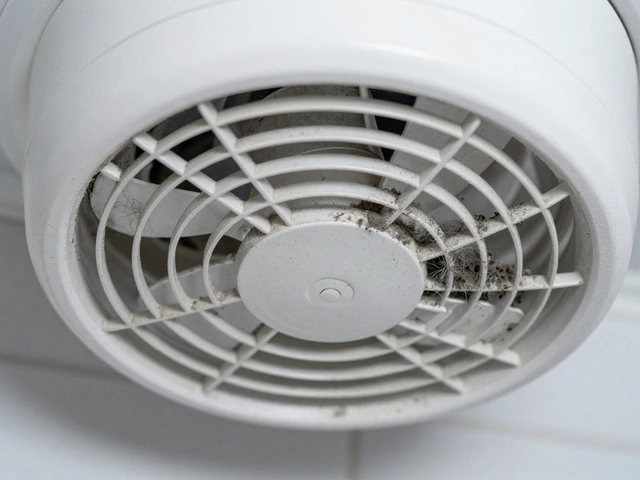
There is nothing worse than stepping out of a hot shower and being greeted by a cloud of steam that refuses to leave. You check the switch, hear the motor hum, but the air just sits there. Your mirror fogs up, your grout starts to smell musty, and you wonder if that little box on the ceiling is actually doing anything at all. Most people assume their bathroom extractor fan is broken when it’s not pulling air, but in 90% of cases, it isn’t broken-it’s just choked with dust, grease, and years of neglect.
Servicing an extractor fan doesn’t require an engineering degree or expensive tools. It requires a screwdriver, some patience, and the willingness to get a bit dirty. If you skip this maintenance, you aren’t just dealing with poor ventilation; you are inviting mold growth, higher energy bills, and potential fire hazards from overheating motors. Let’s walk through exactly how to open, clean, and test your unit so it works like new again.
Gather Your Tools and Safety Gear
Before you climb onto a ladder, you need to make sure you have the right kit. This isn’t a job for bare hands and a rag. You want to protect yourself from electrical shocks and sharp metal edges inside the housing.
- Power drill with screwdriver bits: Speeds up the removal of screws significantly compared to a manual driver.
- Vacuum cleaner with a brush attachment: Essential for removing loose dust before you start scrubbing.
- Soft-bristled brush: An old toothbrush or a paintbrush works perfectly for reaching into tight spaces around the impeller.
- Mild detergent and warm water: Avoid harsh chemicals that might damage plastic components.
- Isopropyl alcohol (optional): Great for cleaning electrical contacts without leaving residue.
- Gloves and safety glasses: Dust and debris will fall toward your face; don’t let them in.
The most critical step here is safety. Locate your consumer unit (fuse box) and turn off the circuit breaker that supplies power to the bathroom lighting and fans. Do not rely solely on the wall switch. Use a voltage tester to confirm the wires are dead before you touch anything. Electricity and water don’t mix, and bathrooms are wet environments by design.
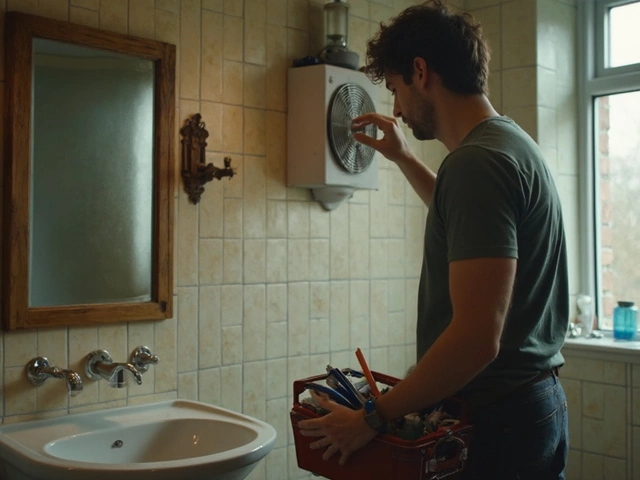
Remove the Fan Cover and Housing
Most modern bathroom fans have a grille or cover that can be removed without damaging the fixture. Look closely at the edges of the fan casing. You’ll usually see one of three mechanisms:
- Screw-mounted covers: Small screws hidden under decorative caps or visible along the perimeter. Unscrew these carefully.
- Clip-on grilles: These snap into place. Gently pry one corner with a flathead screwdriver or your fingernail, then work your way around the edge. Don’t force it, or you’ll break the plastic clips.
- Twist-lock mechanisms: Common in older models. Rotate the entire outer ring counter-clockwise about 15 degrees, and it should drop down.
Once the cover is off, you’ll see the internal housing. In many units, the motor and impeller assembly are held in by two or four screws. Remove these and gently lower the assembly. Be careful-there may be wiring connected to the motor. Take a photo with your phone before disconnecting any wires so you remember which wire goes where during reassembly. Note the color coding: live (brown), neutral (blue), and earth (green/yellow).
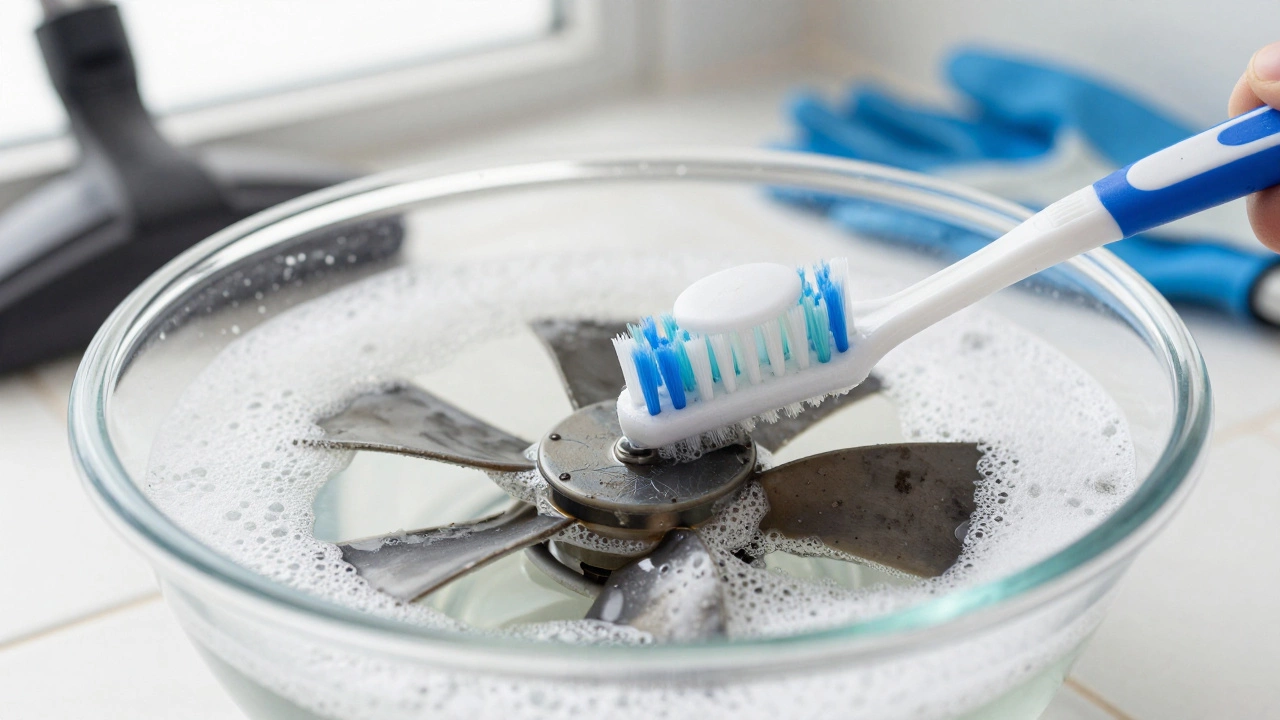
Clean the Impeller and Motor Assembly
This is the heart of the operation. The impeller is the spinning part that moves air. Over time, it collects a thick layer of lint, hair, and dust that acts like a brake. This imbalance causes noise, vibration, and reduced airflow.
Submerge the impeller in a bowl of warm, soapy water. Let it soak for 10-15 minutes to loosen the grime. Use your soft-bristled brush to scrub between the blades. Pay special attention to the hub where the blades connect to the shaft. If dirt builds up here, the impeller won’t spin freely. Rinse thoroughly and let it air dry completely. Moisture left on the motor bearings can cause corrosion.
While the impeller dries, vacuum the inside of the housing. Check the ductwork opening. If you see light coming through from outside, you’re good. If it’s blocked by bird nests, insulation, or collapsed ducting, that’s a separate issue you’ll need to address. For now, focus on the fan itself. Wipe down the interior walls of the housing with a damp cloth. If you notice oil buildup (common in kitchens, less so in bathrooms), use a degreaser spray, but keep it away from the motor windings.
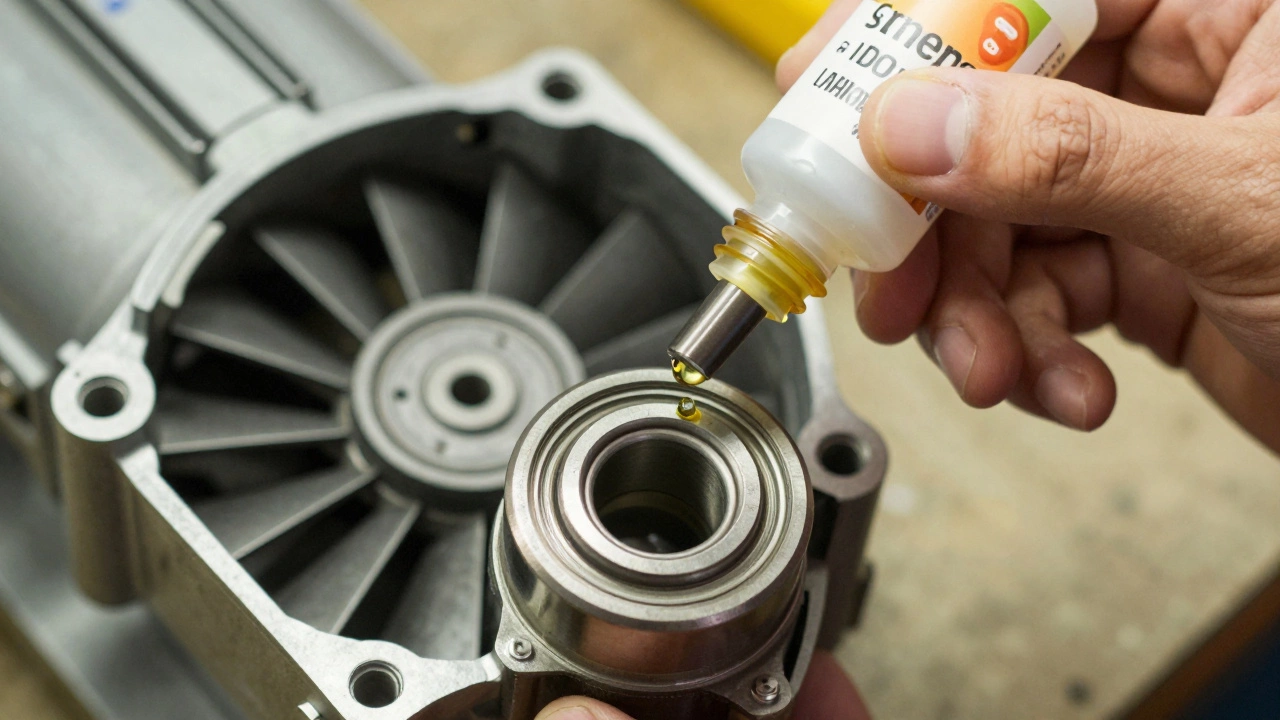
Inspect the Bearings and Motor
Not all fans are designed to be serviced deeply. Some have sealed bearings that cannot be lubricated. Others have small oil ports. Check your manufacturer’s manual if you have it. If not, look for a tiny hole near the motor shaft. If present, add a single drop of lightweight machine oil. Do not over-lubricate; excess oil attracts more dust.
Spin the impeller by hand. It should rotate smoothly and silently. If you feel grinding, resistance, or hear a rattling sound, the bearings are worn out. At this stage, cleaning won’t fix the problem. You’ll need to replace the motor or the entire fan unit. Given that replacement parts can be hard to find for older models, it’s often more cost-effective to buy a new fan if the bearings are shot.
Check the capacitor if your fan has one. It’s a small cylindrical component attached to the motor wires. If it looks bulged or leaking, replace it immediately. A faulty capacitor prevents the motor from starting properly, leading to humming noises and eventual burnout.
Reassemble and Test the Unit
Once everything is dry and clean, reattach the impeller to the motor shaft. Ensure it clicks into place securely. Reconnect the wires according to the photo you took earlier. Tighten the terminal screws firmly to prevent arcing. Mount the assembly back into the housing and secure it with screws.
Turn the power back on at the consumer unit. Switch on the fan and listen. It should run quietly and smoothly. Place a piece of tissue paper near the vent outlet. If the fan is working correctly, the tissue should stick to the grille due to the suction. If it flutters weakly or falls off, there may still be an obstruction in the ductwork or the motor isn’t spinning fast enough.
| Symptom | Likely Cause | Action Required |
|---|---|---|
| Loud humming noise | Seized bearings or faulty capacitor | Replace motor or capacitor |
| No airflow despite running | Blocked duct or dirty impeller | Clean impeller and inspect ducting |
| Burning smell | Overheating motor or electrical fault | Turn off immediately and call electrician |
| Intermittent operation | Loose wiring or thermal overload | Check connections and let cool down |
When to Call a Professional
DIY servicing works well for routine maintenance. However, some issues require professional intervention. If you discover damaged wiring, exposed copper, or signs of scorching, stop working and hire a qualified electrician. Electrical faults in bathrooms are particularly dangerous due to the presence of water.
If your fan is integrated into a larger ventilation system with heat recovery or multiple zones, tampering with it could disrupt the balance of the whole house. In these cases, consult the system installer. Also, if your fan is under warranty, opening it might void the coverage. Check the terms before you start unscrewing things.
Finally, consider upgrading if your current fan is more than 10 years old. Modern fans are quieter, more energy-efficient, and often come with humidity sensors that turn them on automatically. Investing in a new unit can save money on electricity and improve indoor air quality significantly.
Maintenance Schedule for Longevity
To avoid the buildup that leads to failure, establish a regular cleaning routine. Every six months, remove the cover and vacuum the grille. Once a year, perform a full disassembly and deep clean as described above. If you live in a coastal area or have high humidity, consider increasing the frequency to every four months.
Keep an eye on the external vent flap. Ensure it opens and closes freely. Debris like leaves or spiderwebs can block it, reducing efficiency. Trim any nearby vegetation that might obstruct airflow. A well-maintained fan lasts longer, runs quieter, and keeps your bathroom healthy and mold-free.
How often should I service my bathroom extractor fan?
You should perform a basic visual inspection and vacuuming every six months. A full disassembly and deep clean is recommended once a year. In high-humidity environments or homes with pets, consider cleaning every four months to prevent excessive buildup.
Can I use WD-40 to lubricate my fan bearings?
No, WD-40 is not a long-term lubricant. It evaporates quickly and can attract more dust. Use lightweight machine oil or sewing machine oil specifically designed for small electric motors. Apply only a single drop to avoid oversaturation.
What if my fan makes a loud noise after cleaning?
If the noise persists after cleaning, check if the impeller is balanced and properly seated on the shaft. Uneven cleaning can sometimes throw off the balance. If the noise is grinding, the bearings are likely worn and need replacement. If it’s a humming sound, the capacitor may be failing.
Is it safe to clean the fan while it’s plugged in?
Absolutely not. Always turn off the power at the consumer unit (fuse box) and verify with a voltage tester that the circuit is dead. Working on electrical appliances in a bathroom environment poses a severe risk of electrocution.
How do I know if my fan needs replacing instead of repairing?
If the motor bearings are seized, the capacitor is blown, or the housing is cracked, replacement is usually more cost-effective. Also, if your fan is over 10 years old, newer models offer better efficiency and quieter operation, making upgrade a worthwhile investment.