Your dryer stops spinning. Or maybe it’s running but not drying anything. You stare at it, wondering if you should call a technician-or if you could just fix it yourself. The truth? Fixing your dryer myself is often not just possible, it’s smarter than you think. Most dryers fail for the same five reasons, and three of them can be fixed in under an hour with tools you already own.
Is it even worth trying?
Many people assume appliance repair means expensive professionals and long wait times. But dryers are simpler than they look. They don’t have complex circuit boards like modern washing machines. Most parts are mechanical or electrical, and they’re designed to be replaced. The average repair cost for a dryer is $150-$300. A new dryer? $500-$1,200. If your dryer is under 10 years old, fixing it usually makes financial sense.
Before you panic, ask yourself: Is the dryer making any noise? Is it heating at all? Does the drum turn when you start it? These clues tell you exactly where to look.
Problem 1: Dryer won’t heat
This is the #1 reason people call a repairman. But 80% of the time, it’s just a blown thermal fuse or a faulty heating element.
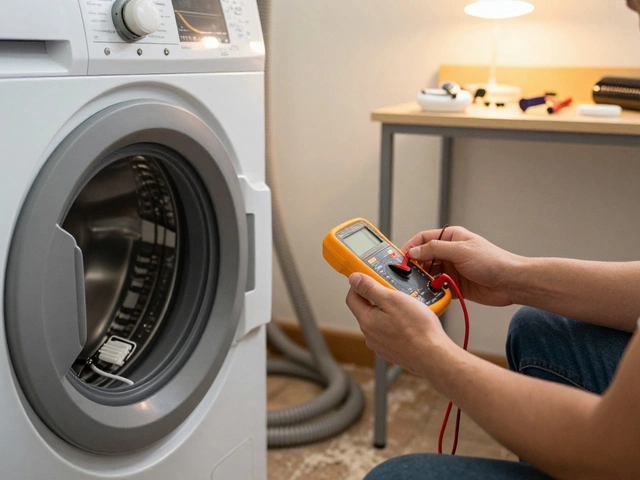
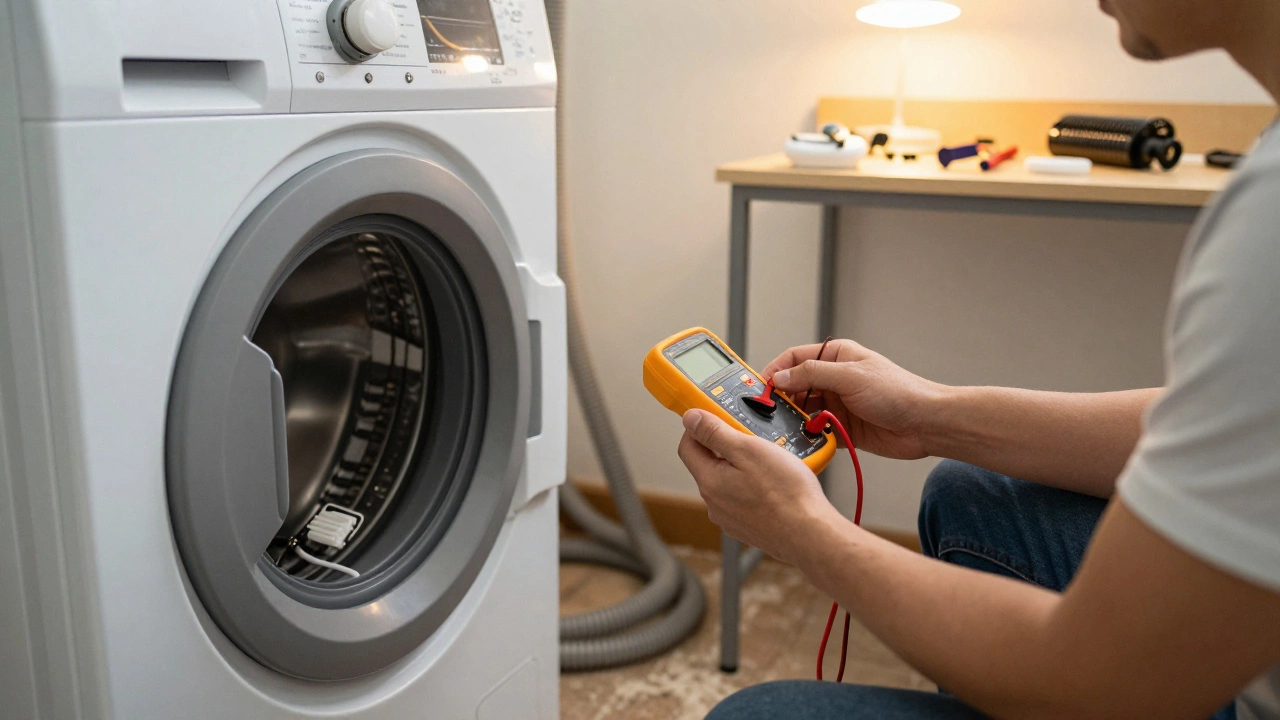
First, unplug the dryer. Then remove the back panel. You’ll see a small, white, cylindrical fuse near the heating element-this is the thermal fuse. It’s designed to blow if the dryer overheats. Use a multimeter to test for continuity. If it reads zero, it’s dead. Replace it for under $15.
If the fuse is fine, check the heating element. It looks like a coiled wire inside a metal tube. If the coil is broken or charred, it’s done. You can buy a replacement for $30-$50. Most dryers use standard elements. Just match the model number from the label inside the door.
Don’t forget the high-limit thermostat. It’s usually next to the heating element. Test it the same way. If it’s faulty, replace it. It’s a $20 part. Replacing all three at once saves time and prevents repeat breakdowns.
Problem 2: Drum won’t spin
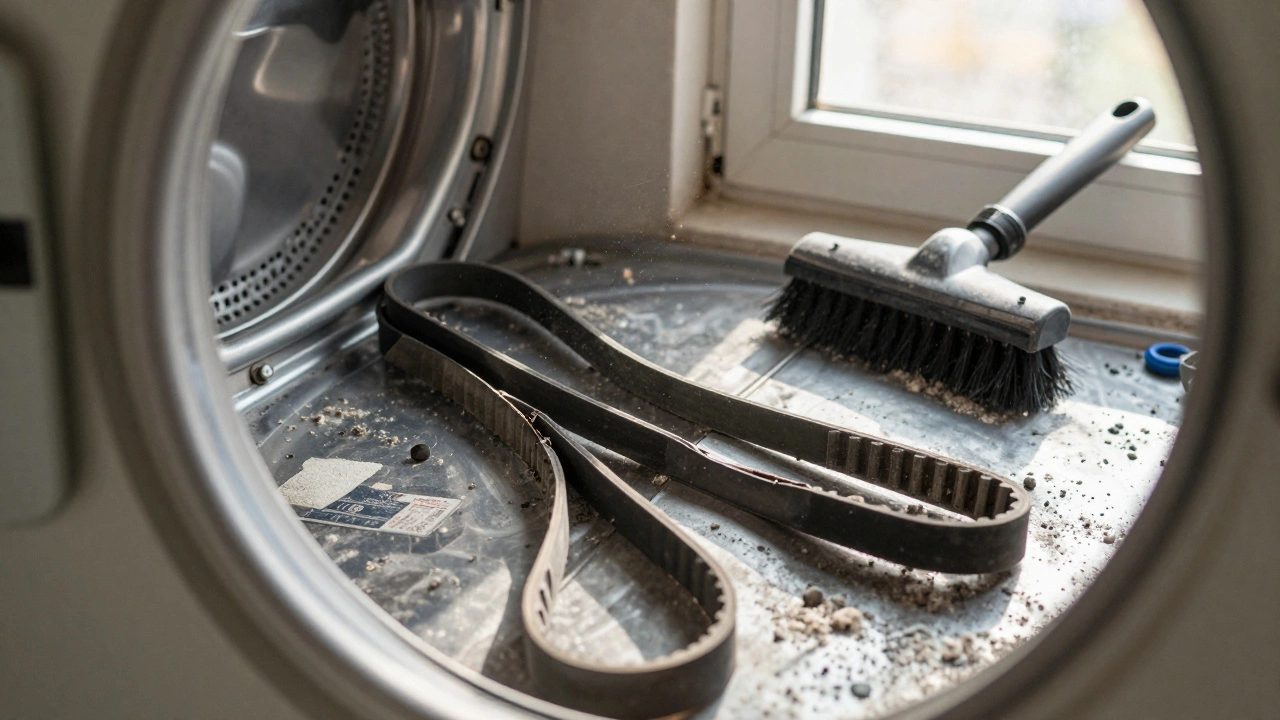
If the motor runs but the drum stays still, the belt is almost certainly broken. It’s the most common mechanical failure in dryers.
Unplug the dryer. Remove the front panel. Look under the drum-you’ll see a thin, rubbery belt wrapped around the drum and connected to the motor pulley. If it’s snapped, frayed, or missing, that’s your issue. Replacement belts cost $15-$25. Installation is simple: loop it around the drum, then around the motor pulley and tensioner. Most belts have arrows showing direction-follow them.
While you’re in there, check the idler pulley. It’s the small wheel that keeps tension on the belt. If it’s cracked, wobbly, or makes a squealing noise, replace it too. It’s only $10. A worn pulley will snap a new belt in weeks.
Problem 3: Dryer runs but doesn’t dry clothes
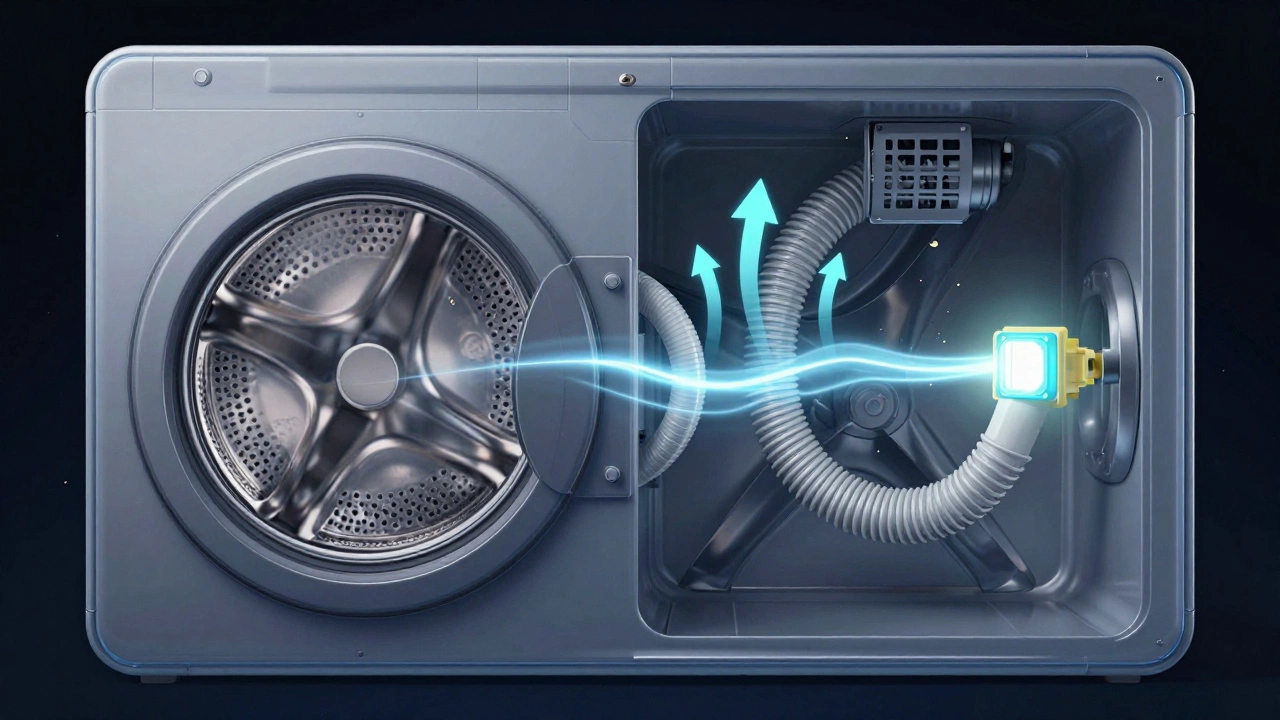
This one’s frustrating. The machine spins, it heats up, but your clothes come out damp. The culprit? Clogged venting.
Every year, over 15,000 home fires are caused by dryer vents clogged with lint. That’s not a myth-it’s the U.S. Fire Administration’s data. Even if the vent looks clean from the outside, the hose behind the dryer is probably packed.
Disconnect the vent hose from the back of the dryer. Use a vacuum with a long nozzle to suck out lint. Then, use a dryer vent cleaning brush (available at hardware stores for $12) to push through the entire length of the vent pipe. Clean the outside vent cap too. Lint buildup here blocks airflow and forces the dryer to work harder.
After cleaning, run a test load. If clothes dry in under 45 minutes, you solved it. If not, check the lint trap housing inside the dryer. It can get clogged too. Use a damp cloth to wipe it out.
Problem 4: Dryer makes loud noises
Clunking? Squeaking? Grinding? These sounds point to worn rollers or a damaged drum bearing.
Rollers are small plastic or metal wheels that support the drum. Over time, they wear out and start to wobble. Remove the front panel and spin the drum by hand. If it wobbles or makes noise, the rollers are bad. They come in sets of four and cost $20-$40. Replace all of them at once-even if only one is noisy.
If the noise is a deep rumbling, it’s likely the drum bearing. It’s located at the back of the drum, where it connects to the motor shaft. Replacing it requires removing the drum. It’s more work, but the part only costs $25. If you’ve already replaced the belt and rollers, and the noise remains, this is your next step.
Problem 5: Dryer won’t turn on at all
No lights. No hum. Nothing. Start with the basics: Is it plugged in? Is the circuit breaker tripped? Many people skip these steps and go straight to replacing parts.
If power is fine, check the door switch. It’s a small plastic button near the door frame. When you close the door, it clicks. If it’s broken, the dryer won’t start. Test it with a multimeter. If it doesn’t complete the circuit when pressed, replace it. It’s a $10 part.
If the door switch is fine, the start switch or main control board could be faulty. But these are rare. Before replacing the control board (which costs $100+), try resetting the dryer. Unplug it for 10 minutes. Plug it back in. Try again. Many modern dryers have electronic glitches that reset with a power cycle.
Tools you actually need
You don’t need a full workshop. Here’s what you really need:
- Phillips and flathead screwdrivers
- Socket wrench set (for removing drum bolts)
- Multimeter (under $20 at Home Depot)
- Flashlight or headlamp
- Dryer vent cleaning brush
- Work gloves
That’s it. Most repairs take 30 to 90 minutes. No special training required. YouTube has step-by-step videos for every model. Search for your dryer’s make and model + “repair guide.”
When to stop and call a pro
There are limits. If you’re uncomfortable with electricity, don’t touch the heating element or thermostat. If the control board is cracked or smells burnt, replace it only if you’ve done electronics repairs before. If your dryer is over 15 years old, parts may be discontinued. In that case, replacement is often cheaper than repair.
Also, if you’ve replaced three parts and it still doesn’t work, you’re likely chasing symptoms. At that point, a technician can diagnose deeper issues like motor failure or wiring faults.
Prevent future breakdowns
One simple habit cuts dryer repairs by 70%: clean the lint filter after every load. Seriously. That’s it. Most people think they’re doing enough by cleaning it weekly. But lint builds up fast. A clogged filter forces the dryer to run longer, overheat, and stress components.
Also, don’t overload the dryer. It strains the motor and drum. Use the right heat setting. Air fluff for delicates. High heat for towels. And never dry items with rubber or plastic parts-they can melt and damage the drum.
Every six months, vacuum the area behind the dryer. Dust and pet hair get sucked into the vent and create blockages. Keep the space clear. A 2-inch gap behind the dryer improves airflow and reduces fire risk.
Final thought: You can do this
Fixing your dryer yourself isn’t about saving money-it’s about control. You learn how your home works. You avoid being at the mercy of a technician’s schedule. And when you hear that drum spin back to life after replacing the belt, you’ll feel something better than a receipt: pride.
Most dryers fail for the same reasons. You’ve got the tools. You’ve got the info. Now go fix it.
Can I fix my dryer myself if I’ve never done repairs before?
Yes, absolutely. Most dryer repairs involve replacing simple mechanical parts like belts, rollers, or fuses. You don’t need experience-just patience and a multimeter. Start with the easiest fixes: cleaning the vent or replacing the thermal fuse. These take under 30 minutes and have near-zero risk. Many people do their first repair on a dryer and never call a technician again.
How much does it cost to fix a dryer myself vs. hiring someone?
Fixing it yourself usually costs $15-$75 in parts. Hiring a technician averages $150-$300, including labor. Even if you buy a new belt, thermal fuse, and idler pulley, you’re still spending less than half the cost of a professional service call. Plus, you keep the extra parts for future repairs.
What’s the most common cause of dryer failure?
Clogged dryer vents. Lint buildup restricts airflow, causing the dryer to overheat. This kills the thermal fuse, damages the heating element, and strains the motor. Cleaning the vent every six months prevents 80% of major breakdowns. It’s the single most effective maintenance step you can take.
Is it safe to open a dryer and touch the inside parts?
Yes, as long as you unplug it first. Dryers don’t store dangerous levels of electricity like microwaves. The main risk is sharp metal edges inside the cabinet. Wear gloves, use caution when removing panels, and never work on a plugged-in dryer. If you’re replacing the heating element or thermostat, you’re dealing with 240 volts-but only when powered. Unplugged, it’s safe.
How do I find the right replacement part for my dryer?
Look for the model number on the label inside the dryer door or on the back panel. Use that number to search online retailers like RepairClinic, PartSelect, or Amazon. Don’t guess by brand alone. A Whirlpool dryer made in 2018 might use a completely different belt than one made in 2012. The model number ensures you get the exact part.
Should I replace the entire dryer if it’s over 10 years old?
Not necessarily. Dryers last 12-18 years on average. If your dryer is 10-12 years old and still works well, repairs are usually worth it. New models are more energy-efficient, but the cost savings won’t pay for a new unit in under 5-7 years. Fix it now, and plan to replace it in another 2-3 years if problems keep returning.