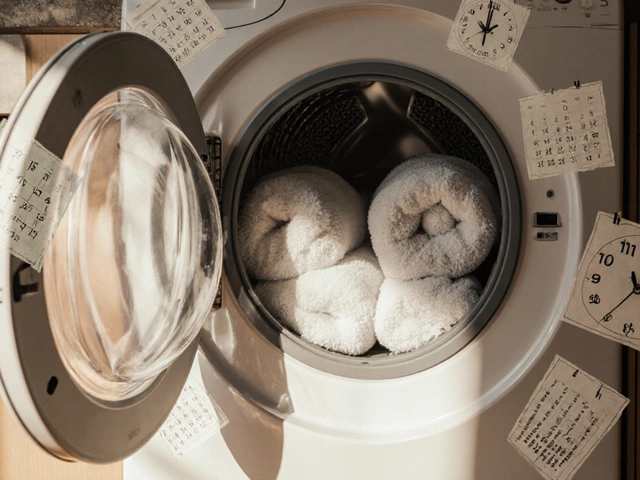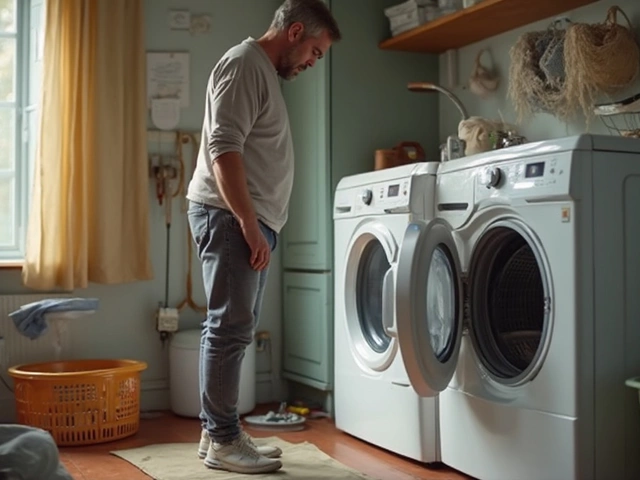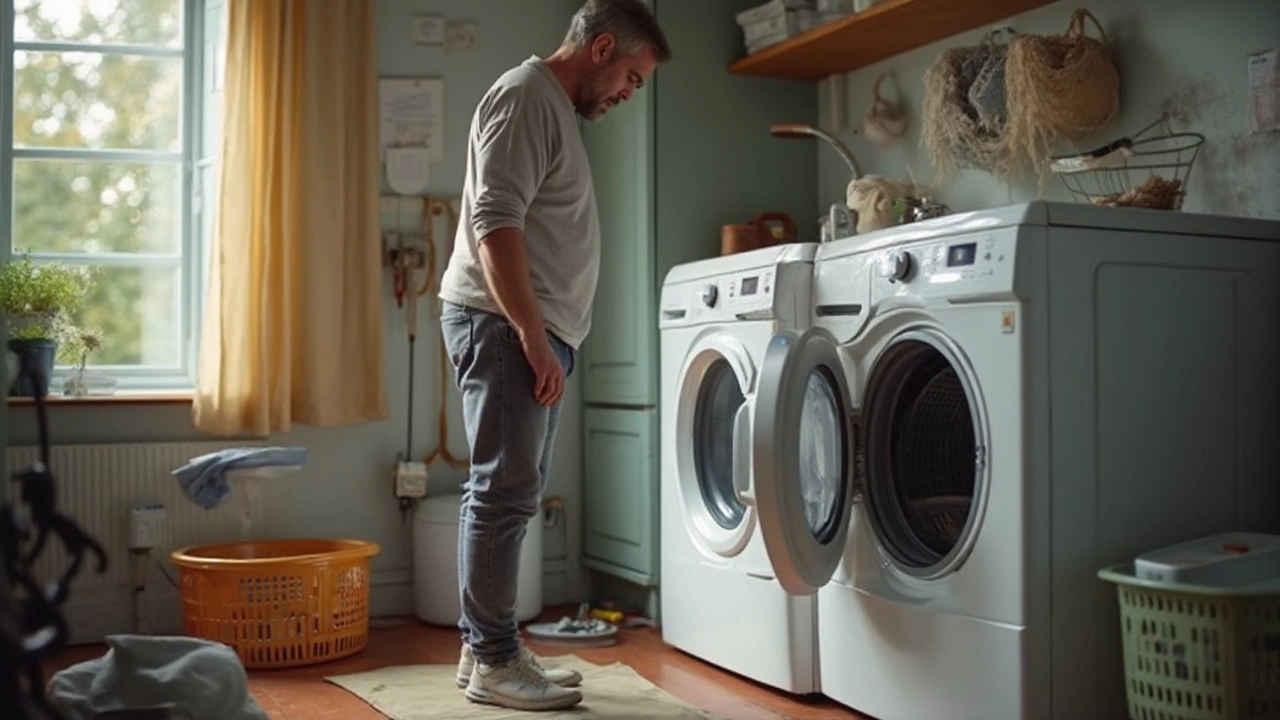
You're tossing in a fresh load of laundry, expecting that familiar hum and steady turn from your dryer—only to find the drum barely budges, or worse, sits perfectly still. It’s frustrating, right? Tumble dryers are the workhorses of many households, keeping us out of laundromats and on top of endless piles of clothes. The catch is, when things go sideways, they tend to do it at the most inconvenient times. So, why does a trusty dryer suddenly decide to sit this round out, refusing to spin properly or not spinning at all? Let's drag this stubborn appliance into the light and untangle what’s going on.
Common Reasons Your Tumble Dryer Isn’t Spinning
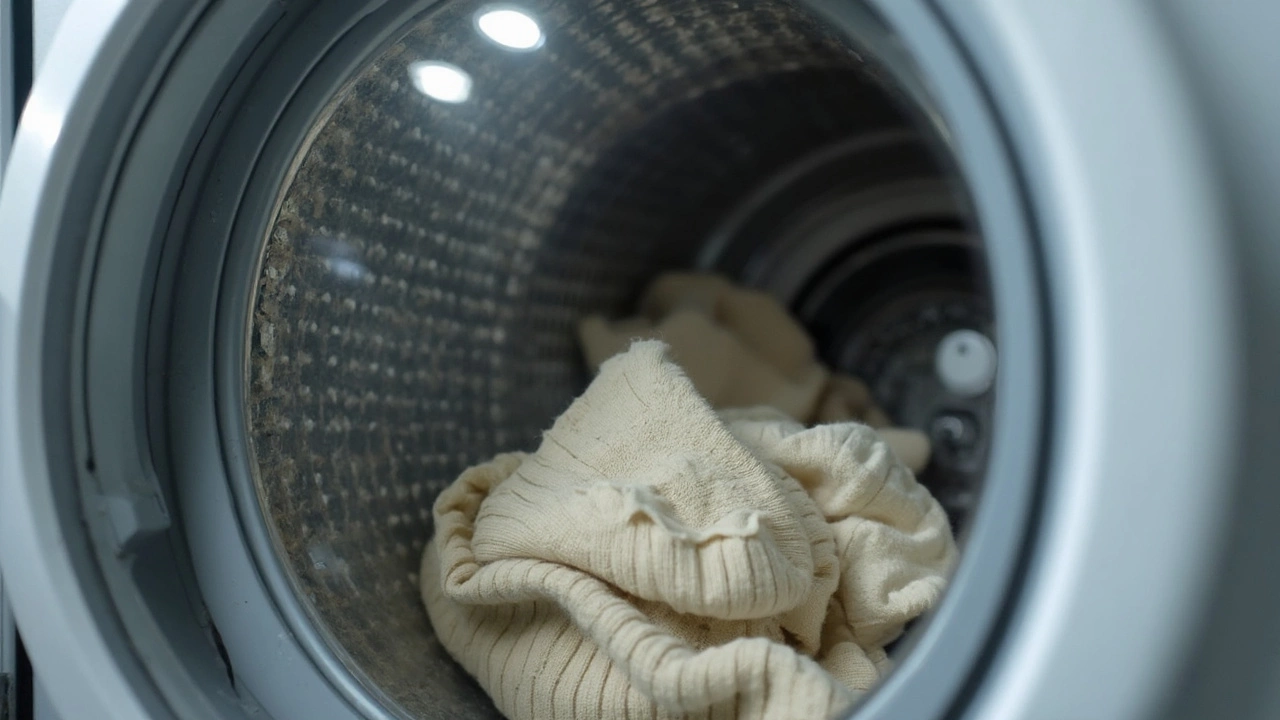
First, dryers have a handful of usual suspects when spinning goes haywire. The most common offender is the drive belt. Picture a bike chain, but on your dryer—this belt keeps the drum moving, and if it snaps, you’ve basically got a big metal box doing nothing. Next up, look at the door switch. Dryers are safety-minded; if the door isn’t clicking shut right or the switch goes bad, the whole spinning thing just isn’t happening. Then, think about those drum rollers or bearings. Over time, they wear out—imagine your dryer trying to spin on old roller-skates from 1985, bumpy and unreliable. Motor issues also make the list. Sometimes motors just give up, or the built-in overload protector trips, especially in older machines or ones used in humid places. And let’s not forget about the start capacitor—this little component helps give the motor its initial push. If it’s done, you won’t get the drum going even if the motor’s healthy.
About 70% of spinning issues in tumble dryers boil down to these mechanical hiccups, according to appliance repair business data from 2023. Sometimes, a jammed object—say a coin or bobby pin—gets wedged between the drum and the frame. This isn’t just annoying; it can strip the belt or damage the motor if you keep forcing the dryer on. Then, there’s the rarely considered child lock feature. Sounds silly, but it’s triggered more often than you’d think, especially in households with kids who like to press buttons. On some newer dryers, an internal sensor could fail, telling the controls that the drum’s not safe to spin—or that clothes are already dry, even when they’re still dripping.
Let’s bring it into focus with a quick breakdown of these usual dryer pitfalls:
| Common Issue | Repair Likelihood (%) | Typical Fix Cost (£) |
|---|---|---|
| Drive Belt Failure | 40% | £10–£40 (DIY), £60–£120 (pro) |
| Door Switch Malfunction | 20% | £10–£50 |
| Drum Bearings/Rollers | 15% | £15–£60 |
| Motor Issues | 15% | £60–£160+ |
| Start Capacitor | 5% | £12–£35 |
| Other/Sensor/Child Lock | 5% | Free–£70 |
Each part failure comes with its tell-tale symptoms. A snapped belt usually means the motor still hums or makes a low buzzing noise, but the drum stays put. Bad rollers make a thumping sound—think wet trainers bouncing inside the drum. A dead door switch stops everything cold, often without any sound at all. These bread-crumb clues can guide you toward what’s wrong before you ever grab a screwdriver.
How to Diagnose the Problem Yourself
Now, no one’s expecting you to become an appliance engineer overnight. But spotting the problem early can save you cash and a lot of head-scratching. Start simple: eliminate user errors. Double-check the door—does it snap closed firmly? Any obvious cracks or play in the latch? Next, move on to give the drum a firm push by hand. If it spins freely, the belt might be fine, but if you hear scraping, a roller or bearing’s likely worn.
Listen closely when you hit the start button. Silence usually means electrical, switch, or motor trouble. A hum without spinning leans toward the belt or a stuck load. Sometimes, dryers have a little inspection panel (often at the back or underneath). A peek here can reveal whether the belt’s still intact or slumped on the motor. Unplug the dryer first—no shortcuts here. Even if you aren’t wild about DIY, it’s worth looking for tell-tale lint buildup or stuck objects before you call someone in. Around 30% of home dryer issues could be traced to blockages, not expensive broken parts.
Give the controls a quick once-over. On electronic models, flashing lights or codes are common. Grab the manual (or search model number online) to decode these. Child lock features (often a padlock symbol) need a button combo to turn them off—usually holding two buttons for five seconds. Miss that and you’ll be stumped, thinking the dryer’s possessed.
Use this quick at-home diagnostic checklist:
- Does the dryer make any noise (humming, buzzing, clicking) when starting?
- Does the drum turn by hand, or does it feel stiff and blocked?
- Is the door latching securely, without visible gaps or movement?
- Any unfamiliar smells—burning, rubbery, or “hot electronics” odours? (Telltale for belt or motor problems.)
- Are child locks or error codes displayed?
- Are filters and vents clean and free of lint? (Dryer overheating can trigger safety cutoffs, stopping the spin.)
Chances are, this checklist will either point you toward a fix you can handle yourself or at least make it much easier when talking with a repair pro. Interestingly, more than half of calls to appliance repair shops are from folks who haven’t checked these basics.
Repair or Replace? What’s Worth Fixing
When a dryer won’t spin, plenty of people jump right to the “Do I need a new one?” question. The answer depends on a few things—age, brand, how much trouble it’s been, and the cost of the fix. A simple belt or door switch repair typically costs less than £50-£70 if you do it yourself, or up to £120 for a pro visit. That’s worth it, especially if your machine hasn’t given you much trouble until now. But when it’s the motor, repairs start to cost nearly as much as a mid-range new dryer—sometimes breaking past £160 just for parts and labour. The going advice from Which? is straightforward: if the fix is more than half the price of a new unit (and yours is over 8 years old), replacement is usually the better deal.
Now, big-name brands like Bosch, Hotpoint, and Samsung have better odds for affordable part replacements, since spares are more widely available. Off-brands or older models can leave you waiting weeks for parts or facing higher service fees. Something wild: UK households keep their dryers anywhere from 8 to 14 years, but after 10 years, you’re more likely to see part failures, meaning stacked bills if you stick with an old machine just for the badge.
Ask the repair person this simple question: "Is this something that’s going to cause me more trouble soon, or should I cut my losses?" Pro tip—many honest techs will tell you if you’re better off shopping for a new machine instead of throwing cash into an old one. And don’t forget, recycling programs do pick up many large appliances for free, sometimes even offering a small rebate. On top of that, the energy savings from a newer model (especially a heat-pump dryer) can add up—new models can run for half the electricity use compared to a 10-year-old vented unit.
Simple Fixes and Preventive Maintenance
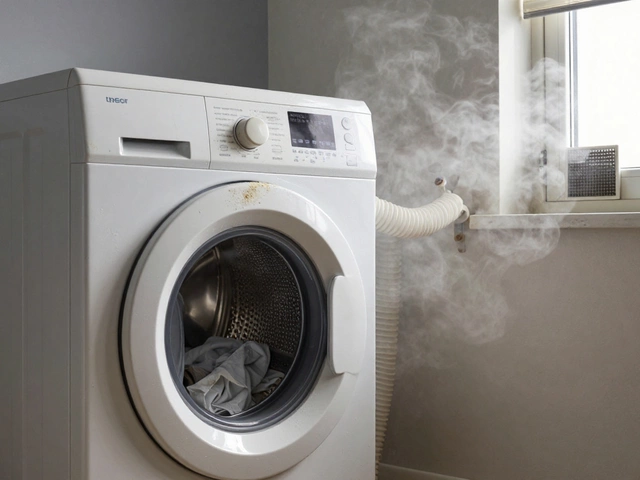
Here’s the part that often gets skipped: a few basic tweaks can keep most dryers spinning smoothly for years. Belts and rollers wear out mostly from lint and heat buildup. Clean the filter after every load, and every month, check the vent hose. A snake or long brush (available at most hardware shops) can remove stubborn blockages. If your dryer is near a bathroom or kitchen, humidity makes it more likely for screws and moving parts to corrode or seize—wipe down visible metal every few months.
Avoid overloading. If half your gym is stuffed in the drum, it struggles to turn, and belt or roller strain increases dramatically. Manufacturers recommend filling the drum to about three-quarters. Check for pockets—coins, lighters, pens, and hair clips are belt-killers and sparking hazards. Think of dryers as luxury rides: the smoother you treat them, the longer the journey lasts.
Now, this tip might seem old-school, but once a year, empty the dryer and run it on a hot cycle with a wet towel. It helps shake any hidden lint loose. For condenser dryers, check and rinse water recovery trays and heat exchangers, which are hotspots for buildups that cause strain. Fan motors on ventless dryers gather dust, making spinning sluggish—clean with a soft brush when you can get to them safely. And if your home is prone to power surges or brownouts, protect your dryer with a surge protector, as sudden jolts can mess with those control boards and sensors.
Here’s a quick-reference maintenance table for your dryer:
| Maintenance Task | How Often? | Estimated Time |
|---|---|---|
| Clean Lint Filter | Every load | 2 minutes |
| Vacuum Out Vents | Monthly | 10 minutes |
| Check Door Seal & Switch | Quarterly | 3 minutes |
| Inspect Drum & Belt | Semi-Annually | 15 minutes |
| Service Bearings/Rollers | Yearly | 20 minutes |
| Heat Exchanger Clean | Yearly (condensers only) | 15 minutes |
Turns out, a few minutes each week beats hours of stress and expensive repairs down the road.

When to Call the Pros and What to Expect
Sometimes, no matter how many YouTube tutorials you watch, or how many times you give the drum a suspicious thump, the answer just isn’t obvious. If your dryer starts sparking, smells like burning plastic, or keeps tripping your home’s breakers, stop. That’s a pro job, not a DIY experiment. Same goes if the motor sounds stuck or grinds loudly—it’s risky business opening up electrical panels without the right tools or know-how. About 80% of dryer home fires start from inside the drum or vent, usually sparked by DIY jobs gone wrong or ignored maintenance.
When booking a repair, most shops will ask you to provide the model, serial number, and describe exactly what happens (buzzing, lights flashing, dead silence, etc.). More info means a faster solution and often a lower bill. Expect standard call-out fees (£40–£60), with parts and labour extra. Always ask about warranty—many new dryers include 2 or even 5 years on parts. If yours is covered, don’t try a DIY fix first; tampering may void the policy.
Crazy fact: the Home Appliance Association found that over 60% of on-site dryer repairs in 2024 involved preventable user error or failed home-fixes. Sometimes, a tech will tighten a loose wire, swap a broken belt or clean out a sensor, and you’re back to full speed in under an hour. But if a repair quote spirals past £150, especially for an older model, press pause and look up new dryers—a £250-£400 unit could work out cheaper for long-term peace of mind.
So, don’t feel bad for not having all the answers. With a little check-up, basic DIY skills, and knowing when to call in expert help, you’ll keep your tumble dryer spinning well past its prime—or at least make an informed decision about what comes next. If your dryer’s got you in a spin, now you know what to check, what to fix, and when to pick up the phone for help. That’s not just smart home care—it’s peace of mind (and drier socks) for everyone.