Your oven seems to have a mind of its own, and that perfect soufflé didn't rise as planned. Before you blame the recipe, consider the source—your oven's heating element may be the real culprit. An oven that doesn't heat properly can be due to a myriad of reasons, but a faulty heating element is a common cause. Recognizing the signs early on can save you a lot of hassle and keep your baking adventures on track.
Many ovens use two heating elements—one at the top and one at the bottom. If your oven is behaving erratically, the problem might lie with one of these elements. Picture a cool autumn day when you and Muffin, your trusty dog, watch your favorite movie as the sweet aroma of baking cookies fills the room. A poorly functioning element can wreck this picturesque scene, leaving you with unevenly cooked goodies.
But don't worry—before you call for professional help or head off to buy a new appliance, there are simple ways to figure out if the heating element is indeed broken. By understanding what signs to look for and knowing how to carry out some basic tests, you'll determine whether it’s something you can fix on your own.
- Signs of a Faulty Heating Element
- Testing the Element with a Multimeter
- Troubleshooting and DIY Fixes
- When to Call a Professional
Signs of a Faulty Heating Element
When it comes to diagnosing a broken oven, knowing the signs of a faulty heating element can be extremely valuable. Cooking mishaps can often be attributed to this all-important component, and catching problems early can prevent bigger headaches down the line. A common telltale sign is uneven cooking. You might notice that the food is raw on one side while perfectly done on the other. This indicates that one side of the heating element may not be distributing heat effectively. Oven repair enthusiasts often find that fully heating an appliance is essential to strive for culinary perfection.
Another noticeable sign is when dishes take longer to cook than the recipe suggests. This often hints at inadequate heating and might mean the element is not reaching the desired temperature. If you're having to extend cooking times much longer than usual, it's time to inspect your oven's health. If a broken oven has you worried, look out for visible damage like burn marks or blisters on the heating element itself. These visible cues suggest that it might be on its last legs.
An often overlooked sign is the absence of that characteristic glow when the oven is on. Most electric ovens’ heating elements glow red hot when functioning correctly. Should one notice it isn't glowing when the oven is turned on, it's highly indicative of a fault. The element might be burnt out and in need of replacement. Besides these visual signs, unusual noises often accompany oven element failures. If you hear strange buzzing or ticking sounds, it could be a warning that all is not well with the heating system.
"Listening to your oven can be as crucial as tasting your food," says Kelly Leblanc, a renowned home appliance expert. "Often, your appliance will tell you something’s wrong before it completely fails."
Smoke or an unpleasant odor emanating from the oven is usually the result of smoldering away foreign matter. However, if these smells continue long after the oven is cleaned, they might relate to the element burning itself. Persistently detecting these smells is an urgent sign to consider a thorough checkup for potential appliance troubleshooting. Knowing these signs arms you with the information required to decide whether it's time to get those hands a bit dirty or call in a repair professional.
Testing the Element with a Multimeter
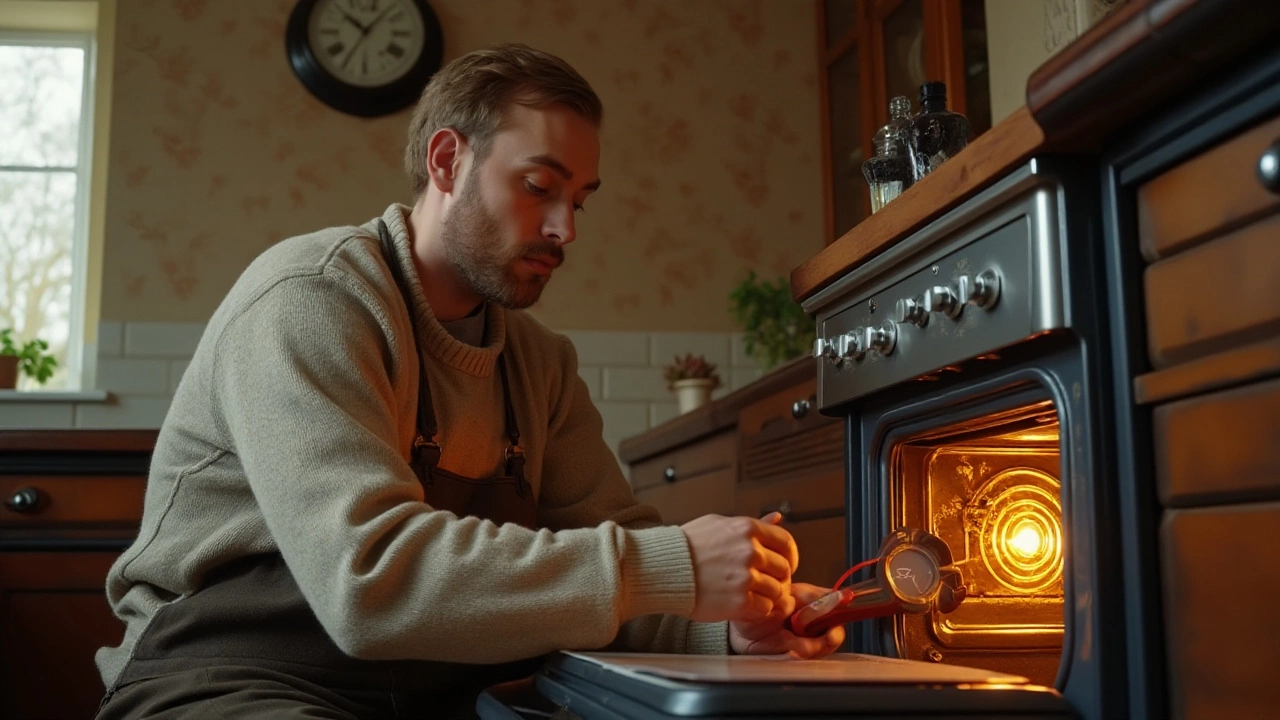
Testing an oven heating element with a multimeter is a critical step to determine if it's time for replacement or repair. Before you start, make sure you have a reliable multimeter on hand. These handy devices measure electrical resistance and can indicate whether electricity is flowing through an oven heating element properly. First, you’ll want to ensure the oven is completely turned off and unplugged. Safety should always come first to prevent any risk of electrical shock, which could happen even when the oven is off if it remains connected to a power source.
Begin by removing the heating element from the oven. Accessing it usually involves unscrewing a couple of bolts at the back of the oven cavity, after which the element can be gently pulled out. Note that connecting wires will still be attached, so handle everything carefully to avoid any unnecessary damage. Once the element is out, you can then proceed to test its functionality. Set your multimeter to the resistance setting, often marked with the ohm symbol (Ω). Touch one probe to each terminal on the element. The multimeter will then display a reading that indicates the element's resistance. Generally, a typical oven's heating element should register between 10 to 50 ohms. If your multimeter reads zero or an infinite number, it suggests the heating element is faulty.
"An accurate diagnosis with a multimeter not only saves time but also enhances the safety and efficiency of your appliance maintenance," says Robert Jenkins, an expert appliance technician.
Be meticulous during this testing phase, as overlooking these signs can lead to persistent oven problems. If you notice physical damage, such as blisters or abrasions, it’s highly likely the element is compromised. The signs provided by the multimeter test complement these visible indicators, offering a fuller picture of the element's condition. By understanding how to gauge resistance, you're empowering yourself with the capability to undertake a crucial aspect of appliance troubleshooting safely and effectively. Keeping your oven in optimal condition ensures that both your winter brunches and summer barbecues get that extra flair—consistently and without fuss.

Troubleshooting and DIY Fixes
When your oven seems to have lost its heat, you might feel like you're in a scene from a dramatic movie. But before resigning to cold dinners, let’s delve into the world of troubleshooting and DIY repairs. The first step is identifying whether the heating element has truly failed. Begin with a thorough inspection: turn off the power supply and carefully remove the oven racks. Look at the elements in both the top and bottom of the oven. Are there any visible breaks, blisters, or cracks? These are tell-tale signs of a malfunctioning element. Even discoloration can signal it's time for a change.
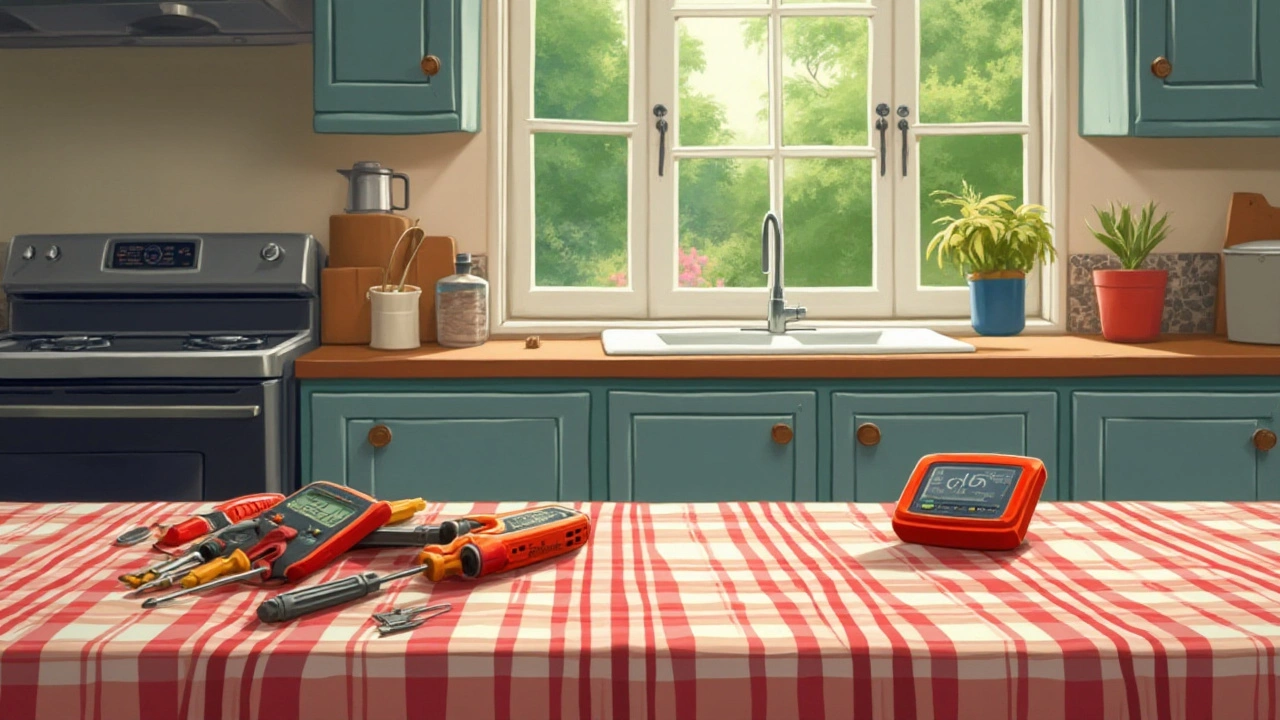
Next up is using a multimeter to test the oven's heating element. If this sounds daunting, don't worry, it's simpler than you might think! Set the multimeter to the lowest ohm setting, disconnect power supply, and take out the element carefully. Place the probes on the terminals, and a reading between 10-100 ohms signifies a good element, while zero or infinity suggests it's time for a replacement. But before you run to the hardware store, it's important to check connections and wiring, as sometimes the issue is with loose or burnt wires.
"Safety is paramount: always ensure the appliance is unplugged before beginning any DIY repairs," advises homemaking expert Martha Stewart.
Should your element be the issue, fear not. Replacing an oven heating element is a task within reach for many. After purchasing an identical element (take a picture of your current one to get the right match), follow these simple steps for replacement. First, ensure the oven is completely cooled, and disconnect from power—safety first! Then, unscrew the element from its brackets and gently pull it away from the back of the oven until you see the wires. Disconnect these, making sure you remember or take a snapshot of how they connect to make reassembly easier. Attach the new element by reconnecting the wires and securing it back in its place.
This whole process might seem like navigating uncharted territory, but once you dive in, you may find a sense of accomplishment in taking things into your own hands. Muffin, your ever-watchful canine companion, might even give you a congratulatory wag! But remember, it’s okay to admit defeat and call in a professional if things get too heated—literally or figuratively. Experts suggest setting boundaries and recognizing when a task could go beyond your DIY expertise.
After reinstalling, it’s vital to conduct a test run. Check the heating efficiency by trying out a small baking project—like those cookies you wanted to bake! Your oven should be back to its usual toasting and baking duties. If not, reach out to an appliance repair specialist to troubleshoot further. The trials of a DIY repair journey can give you a deeper understanding of your kitchen appliance, and a story to share over those perfectly baked treats that are coming out of your reinvigorated oven.
When to Call a Professional
You've gone through the basics, examined your oven element, perhaps even wielded a multimeter with newfound confidence, and yet, the problem persists. It's crucial to understand when you should hang up your DIY hat and reach out to a skilled technician. Continuing to tinker with an appliance, especially one as intricate as an oven, without the right expertise might compound the issue or lead to safety hazards. While many homeowners are equipped to handle simple fixes, if you're not comfortable or confident with electrical systems, calling a professional becomes imperative.
Electricity is no small thing to tangle with, even for seasoned DIY enthusiasts. The risk of encountering high-voltage components can lead to severe injuries or even fires. If your attempts at diagnosing your oven's ailment have left you with no solution or the heating element shows signs of severe wear, like burn marks, melted wires, or cracks, these are signs you should pick up the phone. Another sign that it's time for professional intervention is if your oven is continually tripping the circuit breaker—a reliable indicator of underlying electrical issues. Professionals have the expertise to delve deeper into your oven's electrical drawer and ascertain the root of the problem without the risks associated with amateur repairs.
Moreover, newer oven models often incorporate complex technologies that require specialized tools and a comprehensive understanding of advanced electronic circuits. Sometimes, what appears to be an element issue might actually be a deeper, more significant problem in the control board. In such cases, even the most thorough guide can't substitute for the specialized training professionals have undergone. A well-versed technician will not only identify the problem more accurately, but they'll often resolve it much quicker, saving you time and the frustration of several failed attempts.
Oven repair might initially seem like a straightforward task, but the hidden complexities can quickly become apparent. Research indicates that many appliance failures, if not addressed correctly, can reduce the appliance's lifespan by up to 30%. Sometimes, a professional's insight and solution is worth the investment, restoring your kitchen appliance's functionality fully and efficiently. So next time you and Muffin are planning a cozy pastry-making afternoon, ensure your oven is in the best possible shape by leaving serious repairs to the experts.