One of life's small pleasures is stepping into a hot shower, but what happens when that comfort suddenly vanishes, leaving you with an unexpected chill? Understanding why your hot water has disappeared is the first step to reclaiming that warmth.
Several factors could be at play, from mechanical malfunctions to simple user errors. Knowing how to identify and address these common issues can save time, money, and cold water dread.
Let's dive into the common culprits behind a sudden loss of hot water and explore practical ways to bring back the heat, whether through a quick DIY fix or knowing when it's time to call in the pros.
- Common Reasons for Hot Water Loss
- Thermostat and Settings Check
- Pilot Light and Electric Supply Issues
- DIY Troubleshooting Tips
- When to Call a Professional
Common Reasons for Hot Water Loss
Losing hot water suddenly is more than an inconvenience; it often signals an issue within your water heater. One primary culprit is a faulty thermostat. The thermostat controls the temperature of the water, and if it’s not set correctly or has malfunctioned, you might find yourself with a surprise cold shower. A simple adjustment might do the trick, but if the thermostat has failed, replacing it will likely be necessary. Keeping your settings between 120 to 140 degrees Fahrenheit is typically recommended for both comfort and safety.
Another frequent issue is with the heating element itself. Most electric water heaters rely on two heating elements to keep water at the desired temperature. If one or both fail, your system may not produce hot water. Testing these elements with a multimeter can determine if they need replacing. It's a straightforward task for those handy with tools, but remember that safety comes first; make sure the power is off before beginning any electrical work.
Pilot Light and Gas Supply
If you have a gas water heater, the pilot light is essential for heating. A gust of wind or unforeseen draft can extinguish this small flame, resulting in tepid showers. Relighting the pilot light can often restore function, but be mindful it's a delicate task. If the pilot won’t stay lit, it may indicate issues with the thermocouple, a device that tells your gas valve to release gas. Checking that the gas supply is stable is crucial; sometimes, a shut-off valve has unknowingly been turned off.
"About 18% of our home's energy use goes toward heating water," explains the Department of Energy. "Keeping the system in top condition ensures it operates efficiently."
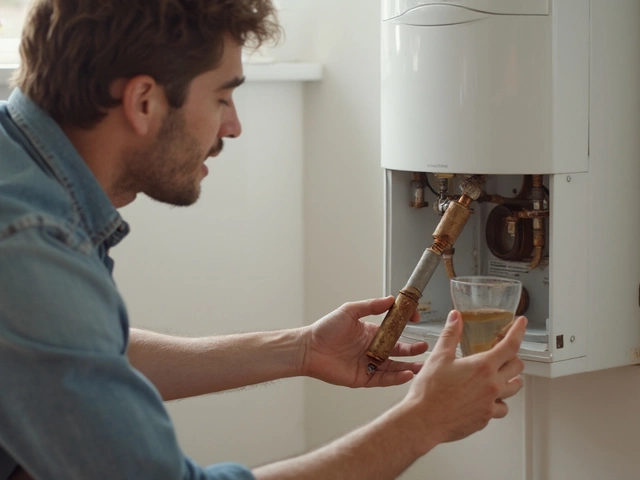
Mineral Buildup and Sediment
Mineral deposits, especially in areas with hard water, can cause significant wear to your water heater. Over time, these minerals settle as sediment at the bottom of the tank. This accumulation can insulate the water from the heating elements or lead to a clog, causing your heater to work harder and less efficiently. Flushing your system annually can prevent buildup, maintaining the longevity and efficiency of your appliance. Investing in a whole-house water softener also helps curb this issue, ensuring your appliances last longer and function optimally.
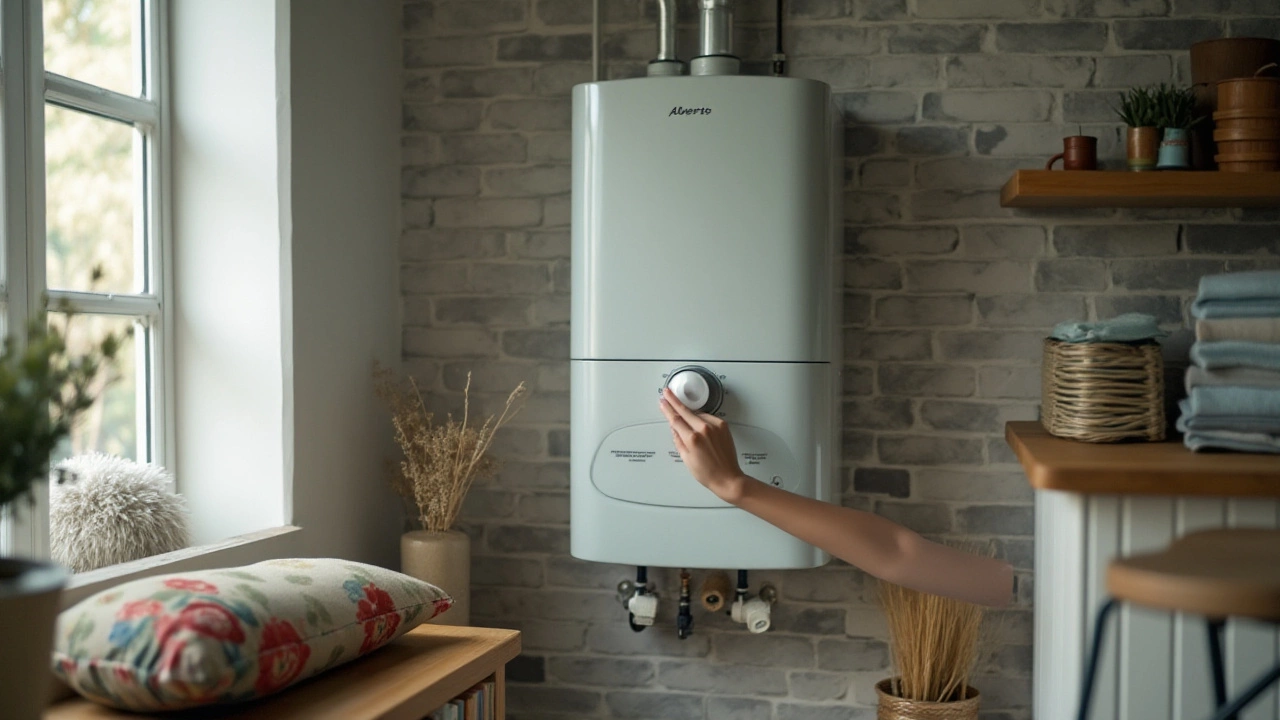
Thermostat and Settings Check
The thermostat is the brains of your water heater, controlling the temperature of the water you depend on daily. If you've suddenly noticed that your hot water isn't as hot as it used to be, or it's disappeared entirely, a first step is to check the thermostat settings. Start by locating the temperature dial, often found near the base of the water heater tank. The ideal setting for most households is typically around 120 degrees Fahrenheit, providing a comfortable balance between heat and energy consumption. If the setting is inadvertently shifted lower, it might explain the unwelcome surprise of a cold shower.
Consider whether recent changes around your home might have impacted the thermostat settings. Sometimes, simple home modifications or even mishandling during a cleaning spree can shift these settings. Apart from visual inspection, use a thermometer to measure the water temperature at the faucet. If the reading is significantly lower than the dial setting, there’s a strong possibility the thermostat itself is malfunctioning. Faulty thermostats are a common culprit behind insufficient hot water, and replacing them might be your best step forward. An electrical issue affecting the thermostat could also explain the inconsistency.
"The thermostat is a simple device, yet its function is crucial," says John Bainbridge, a seasoned plumber from Bainbridge & Sons. "Ensure it’s operational by testing with a thermometer. If there's a disparity, it's time to replace it or get professional help."
It's also essential to understand that the power to the thermostat should be turned off before attempting any DIY repairs - safety first! If you're not comfortable with this, consulting a qualified technician is advisable. For those daring souls venturing into self-repair, ensure that the breaker box is turned off to prevent electric shock. Carefully remove the thermostat cover and examine the wiring connections for any signs of corrosion or wear. This process not only safeguards your own safety but more importantly ensures the longevity of the heater.
With the modern range of water heaters available, many have dual thermostats – one for the upper and another for the lower part of the tank. Each must be calibrated correctly to maintain consistent hot water levels. Generally, adjustments can be made with a simple flat-head screwdriver as you closely monitor the settings.
- Turn off the power to the heater at the circuit breaker.
- Remove any access panels covering the thermostat.
- Adjust the lower thermostat setting first, ensuring it matches the upper one.
- Securely replace all panels before restoring power.
Pilot Light and Electric Supply Issues
The function of a water heater, whether powered by gas or electricity, hinges significantly on its pilot light and electric supply. If your home has a gas water heater, the pilot light is like the heartbeat of the device. When it goes out, the entire system can come to a halt, leaving your faucets with nothing but cold water. This problem is quite common but often easily remedied once you understand what's happening. Typically, drafty conditions, dirt buildup, or a faulty thermocouple might be the culprit. Each of these issues can extinguish the pilot light, and identifying the cause is the first step towards a solution. Ensuring that the area around the water heater is free from drafts or blockages is essential, as these can hinder the pilot light's steady flame.
Checking the thermocouple, which is responsible for detecting the pilot light, is also crucial. This small copper rod is vital as it opens the gas valve when heated by the pilot light. If misalignment or dirt accumulation occurs, it might fail to signal the gas valve to remain open, leading to the flame's extinction. Cleaning the thermocouple and ensuring it is in close proximity to the pilot light can sometimes resolve the issue. However, there are instances where replacement becomes necessary. It's a delicate operation—one best performed with care, as mishandling can lead to more significant issues.
For electric heaters, the power supply plays a comparable role to that of the pilot light in gas heaters. An outage or tripped circuit breaker can cut the electric supply, rendering the heater inoperative. A quick check on the circuit breaker panel can often solve the mystery. If the breaker has tripped, it might indicate a more serious problem within the water heater's electrical system or improper settings. Simply resetting the breaker is the first step, but if it trips repeatedly, an inspection by a professional may be in order.
"Safety first" should always be your mantra when dealing with electrical appliances. According to the Consumer Product Safety Commission, improper handling can result in serious safety risks, including fire hazards. Checking for obvious signs of electrical faults, such as burnt odors or scorched marks around the elements, provides clues to potential issues. Always exercise caution and consider reaching out to a certified electrician if you're unsure. In cases where the electrical components must be replaced, using parts that align with the heater manufacturer's specifications guarantees safety and compatibility.
If either the pilot light or electrical supply appears to malfunction frequently, deeper issues might exist. Regular maintenance checks and being vigilant about these components can prevent potential breakdowns. An interesting suggestion from a DIY enthusiast might be to mark your calendar for routine checks of these elements. As mundane as it sounds, this practice could save considerable stress and expense associated with emergency repairs. Remember, a robust supply of hot water is only as reliable as the support systems it depends on. Taking charge of potential pilot light or electric supply glitches today could mean countless warm showers in the future.
DIY Troubleshooting Tips
There's nothing quite as frustrating as hopping in for a warm shower only to be met with an icy surprise. When your hot water vanishes, it might seem like a plumbing mystery, but often, the solution is more straightforward than you think. Rolling up your sleeves for a bit of water heater repair doesn't require a plumber's license—just some patience and a basic understanding of your water heater’s mechanics.
The first task on your troubleshooting agenda should be checking the power sources. If you have an electric unit, inspect the breaker box. A tripped circuit breaker can cut off the electric supply, leaving you chilled. Reset the breaker if it has flipped to the off position. In the case of a gas unit, a snuffed-out pilot light can be the culprit, and reigniting it might just restore your hot water bliss. Always refer to the manufacturer's guide for the correct relighting procedures, ensuring your safety first.
Should you still face cold water woe, it's time to investigate the thermostat. Many issues trace back to thermostat settings that have unintentionally been altered. Ensure the temperature is at an appropriate, safe level, typically between 120-140 degrees Fahrenheit. For dual-element systems, check both the upper and lower thermostats. An adjustment as simple as this can often turn things around.
"Regular maintenance and a little know-how can extend the life of your water heater significantly," advises Dr. Laura Bennett, a professor of plumbing engineering. "Understanding your unit’s quirks makes all the difference."
If you’re noticing insufficient or erratic hot water rather than a total absence, sediment build-up might be the villain. Draining the tank periodically—generally recommended once a year—helps clear these minerals and extends your heater’s efficiency. To do this, safely turn off power and water supply, attach a hose to the drain valve, and direct it toward a suitable draining location. Flushing the tank until clear water streams out can be the refresh your system sorely needs.
For those with a little more DIY courage, inspect the heating elements. A malfunctioning element is a frequent cause of water heater issues, particularly in older models. Use a multimeter to test for continuity. If there’s none, replacing the faulty element might be in order. However, don’t hesitate to contact a professional if you’re unsure; tampering with electrical components can be dangerous.
| Common Cause | Simple Fix |
|---|---|
| No electricity | Reset circuit breaker |
| Pilot light out | Relight it |
| Thermostat issue | Check temperature settings |
| Sediment build-up | Drain and flush tank |
| Faulty heating element | Replace with caution |
By tackling these straightforward checks and balances, you can often resolve plumbing problems without the need for immediate professional aid. Of course, safety should always be your foremost priority; if any repair task appears daunting, seeking expert assistance is always the right call. With these tips in your arsenal, you’re better prepared for when that hot water mysteriously disappears again.
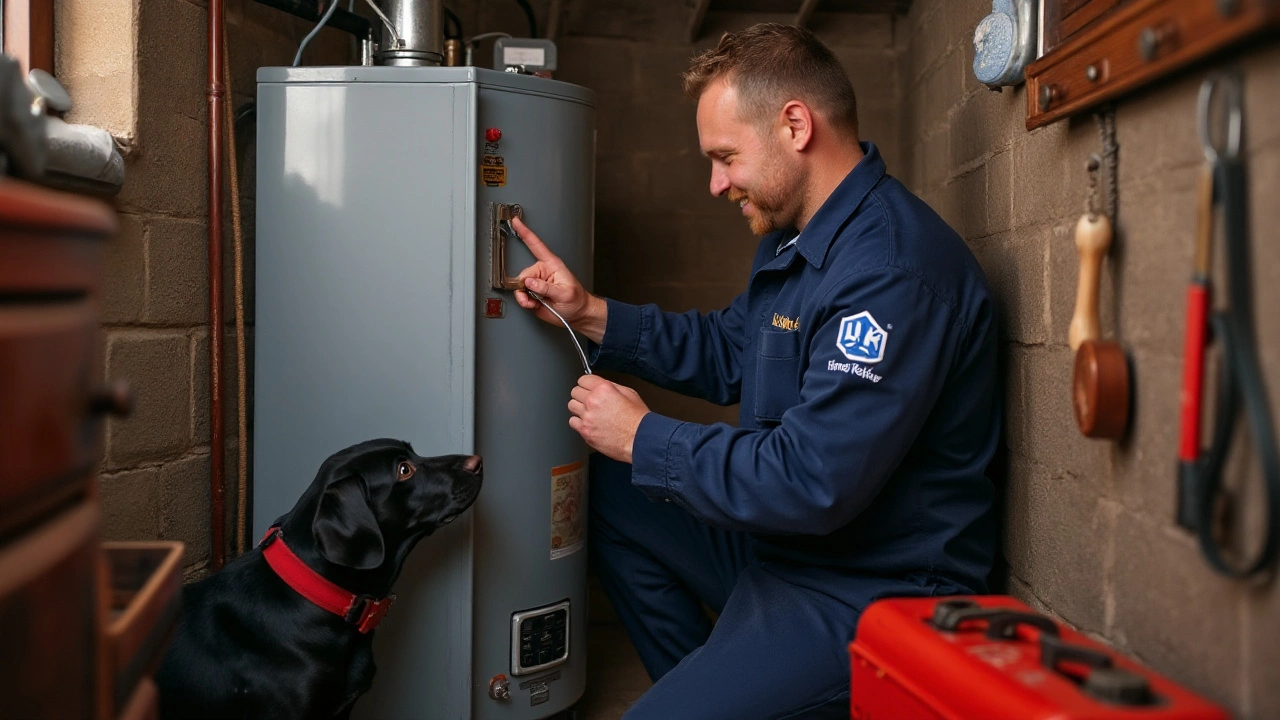
When to Call a Professional
Understanding the moment to seek professional help is crucial when dealing with water heater issues. While some problems can be solved with a screwdriver and a bit of patience, others might signal more complex underlying problems requiring the expertise of a trained technician. If you've attempted some basic troubleshooting such as adjusting the thermostat or checking the pilot light and still find yourself without hot water, professional intervention might be necessary. Situations like frequent power trips, noticeable leaks around the unit, or the strange bubbling and vibrating noises could indicate serious mechanical or electrical faults.
One of the most common signs that it might be time to call a specialist is when you have a persistently tripping circuit breaker. This can be a warning sign of electrical faults within the heater's elements, which if left unchecked, may pose fire risks. Similarly, significant puddles or water pooling can suggest a corroded tank. Keep in mind, water heaters typically have a lifespan of about 8 to 12 years, so an older appliance might be beyond a simple fix and could be due for a replacement. Attempting repairs without the proper knowledge can not only be dangerous but might void warranties.
In
According to a statement from the American Society of Home Inspectors, "An average water heater, if properly installed and maintained, can deliver hot water efficiently for 8 to 12 years."Statistics from industry experts suggest that regular maintenance and timely professional intervention can extend this lifespan and ensure safety. If you're experiencing odd noises like popping or rumbling, these might not just be due to sediment build-up but sometimes could indicate high-pressure levels or overheating, situations that demand attention from professionals.
Finding the Right Professional
When the time comes to find an expert, ensure that you are hiring a certified and reputable service provider. Look for technicians who have good reviews and are licensed to work with water heaters. Often, the manufacturer of your appliance can recommend a list of approved technicians in your area, ensuring that repairs and replacements are done adhering to manufacturer standards. Proper credentials can help avoid amateur mistakes that can cost more in the longer term. Be prepared with the model and serial numbers of your unit when making a call, as these details can help streamline the repair process.
Plumbing problems related to the hot water supply often require more hands-on expertise and a keen understanding of the appliance's intricacies. A professional will have the familiarity to conduct a thorough diagnostic, implement the necessary measures efficiently, and safely handle any hazardous materials that may be a part of the old parts of your system. They can also advise on whether a repair or replacement is more economically sound based on the age and condition of your current system. Don't hesitate to ask for a detailed quote ahead of the work being carried out to avoid any hidden surprises.