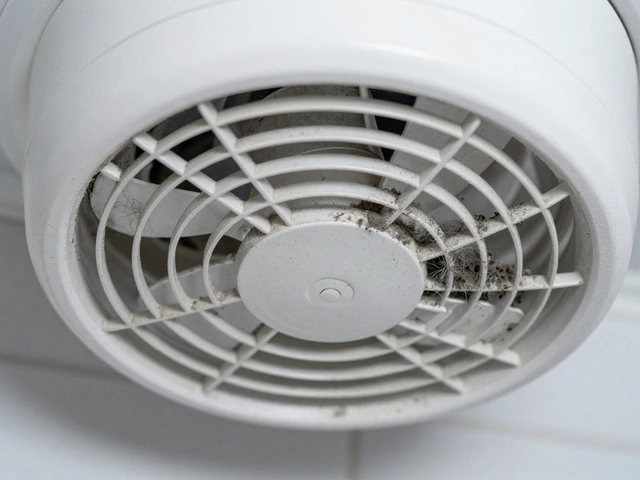
If you've ever cooked up a storm in the kitchen, you know what a lifesaver an extractor fan can be. But just like everything else, it needs some love now and then to keep it working its best. Regular maintenance is key to ensuring your extractor fan remains efficient and effective. Here's what you need to know to service your fan at home.
First things first, understand what type of extractor fan you're dealing with. Most are either ducted or recirculating. Knowing this helps you with cleaning and maintenance, as they have slightly different needs. The tools you'll need include a screwdriver, mild detergent, a soft cloth, and a small brush like an old toothbrush. Got those? Great, you're ready to go!
Cleaning your fan is more straightforward than you might think. Start by turning off the power for safety. Remove the cover or filters if you can. These parts often accumulate the most grime, so a good soak and scrub in warm, soapy water can do wonders. While everything dries, use your brush to gently clean any remaining dust or grease from the fan blades or housing. Reassembling is just reversing these steps.
- Understanding Your Extractor Fan
- Necessary Tools and Supplies
- Step-by-Step Cleaning Guide
- Checking for Common Issues
- Maintenance Tips to Extend Fan Life
Understanding Your Extractor Fan
Before you get your hands dirty, it's important to get to know your extractor fan. There are two main types of fans you'll likely have in your home: ducted and recirculating. Each type has its own quirks, and knowing these can make a world of difference in how you approach its upkeep.
Types of Extractor Fans
Ducted fans are great for venting air outside through a series of ducts. They're often more effective at reducing cooking smells and humidity, but they need to be linked to an external wall. In contrast, recirculating fans filter and purify the air before releasing it back into your kitchen. While they're a bit easier to install, they rely on replacing charcoal filters regularly to do their job effectively.
Key Parts That Need Your Attention
- Filters: These are crucial in both types of fans. Ducted fans typically have grease filters that catch fat and oils. Recirculating fans, on the other hand, use both grease and charcoal filters.
- Fan Blades: Regular cleaning can prevent grease buildup that causes your fan to work harder than it should.
- The Housing: This part can sometimes be overlooked but keeping it clean can help with efficiency and longevity.
Fan Usage Stats
Did you know that an efficient extractor fan can remove around 300-500 m³/h of air? That's a lot of air, and knowing this helps appreciate the need for regular servicing.
By understanding your specific model and its components, you're halfway to mastering the fan maintenance process. This knowledge is the foundation for effectively keeping your extractor fan in perfect working order.
Necessary Tools and Supplies
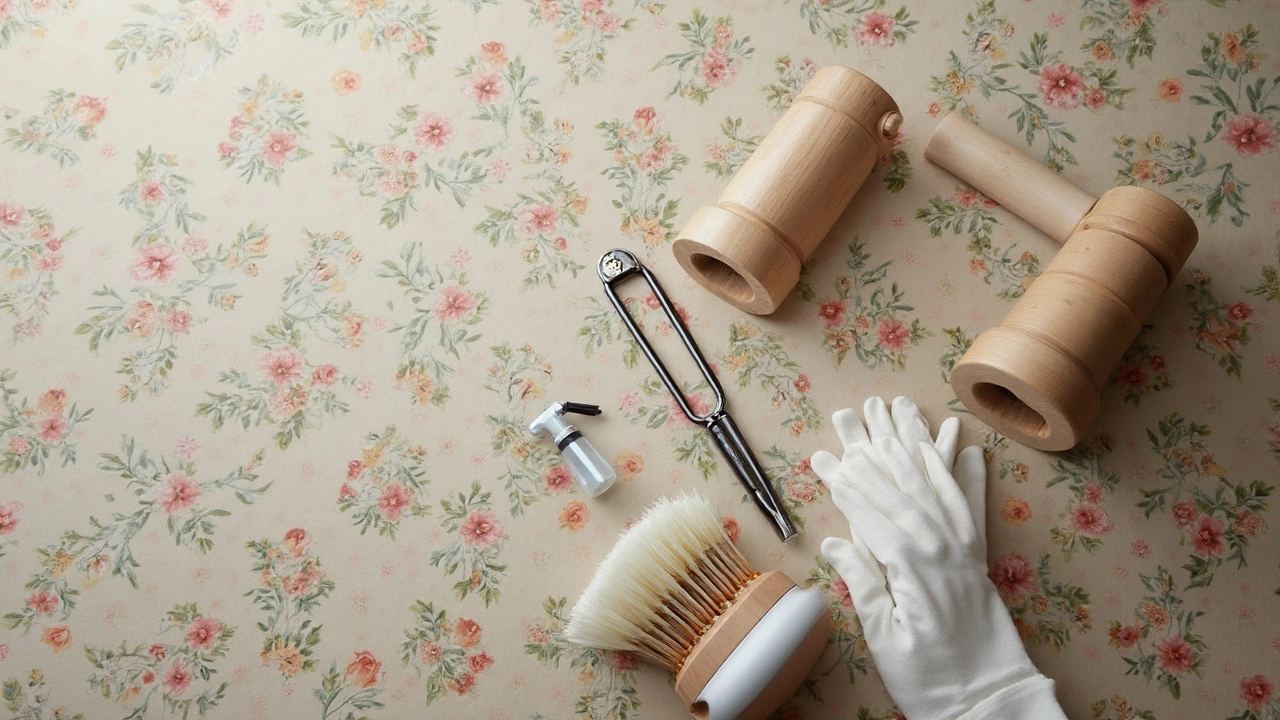
Before you start servicing your extractor fan, gathering the right tools and supplies is key to a smooth process. You don't need anything fancy, just some basic items that you probably already have at home. Let's break it down.
Tools You'll Need
- Screwdriver: Most fans are held together with screws, so you'll need either a Phillips or flat-head screwdriver, depending on your model.
- Soft Cloth: Use this for wiping down surfaces. Microfiber cloths work great as they're gentle yet effective.
- Small Brush: An old toothbrush is perfect for getting into those tricky spots and dislodging stubborn grime.
Supplies for Cleaning
- Mild Detergent: A simple dish soap mixed with warm water can cut through grease without being too harsh.
- Bowl or Bucket: Useful for soaking parts like filters that can be removed.
Optional But Handy
If you want to go the extra mile:
- Vacuum Cleaner: With a nozzle attachment, a vacuum can quickly suck up dust and loose debris.
- Degreaser Spray: Especially useful if you haven't cleaned in a while and there's built-up gunk.
Having this arsenal at your disposal will make the job easier and may even end up saving you money in the long run by avoiding a call to the repairman. A little time spent on maintenance can ensure your fan maintenance routine goes off without a hitch!
| Tool | Purpose |
|---|---|
| Screwdriver | Remove screws to access the fan |
| Soft Cloth | Wipe down surfaces |
| Small Brush | Clean tight spaces |
Step-by-Step Cleaning Guide
Keeping your extractor fan in top condition is easier than you might expect. Follow these steps to give it a thorough clean that's sure to enhance performance and longevity.
Step 1: Safety First
Before you do anything, make sure the power is off. Safety is paramount, so either unplug the fan or flip the circuit breaker that controls it. You don't want any unexpected surprises while cleaning!
Step 2: Remove the Cover
Next, take off the fan's cover or grille. This usually involves unscrewing a few screws or unclipping some pins. Keep these fasteners somewhere safe—you'll need them when you put everything back together.
Step 3: Clean the Filters
If your fan has a filter, it's time to give it some attention. Many fan filters are metal and benefit from a good soak in warm, soapy water. Let them sit for about 10-15 minutes, then scrub with a non-abrasive brush. Rinse well and allow to dry completely before reinstalling.
Step 4: Wipe Down Fan Blades
Use a damp cloth to wipe down the fan blades themselves, being careful not to bend or damage them. If there's stubborn grease, a mix of baking soda and water can work wonders. Apply the paste, let it sit for a few minutes, then wipe clean.
Step 5: Clean the Housing
Dust and grime can accumulate inside the fan's housing as well. Use a damp cloth or a vacuum with a brush attachment to get rid of any lingering dirt.
Step 6: Reassemble the Fan
Once everything is dry and sparkling clean, it's time to put your extractor fan back together. Reattach the fan's cover and screws or clips, turn the power back on, and you're good to go!
Following these steps not only keeps your kitchen fresh-smelling but also enhances your fan's efficiency. Try to give your extractor fan a clean every three months for optimal results.
Optional: Checking Cleanliness Frequency
If you cook often or fry food regularly, you might need to clean your fan more frequently. Here's a quick reference to help you decide:
| Cooking Frequency | Cleaning Frequency |
|---|---|
| Occasional (1-2 per week) | Every 6 months |
| Regular (3-5 per week) | Every 3-4 months |
| Frequent (Daily) | Every 1-2 months |
Checking for Common Issues
Now that your extractor fan is squeaky clean, it's time to ensure everything's functioning like it should. Even in their simplicity, extractor fan systems can run into a few hiccups. noticing them early can save you a lot of trouble.
Inspecting for Strange Noises
Is your fan sounding like a jet engine taking off? Noises often signal something's not quite right. A noisy fan might just need some tightening, or it could mean that some part needs replacing. The good news? Most of these issues are easy to fix.
"If your fan is making a rattling sound, it could simply be loose parts or debris stuck in the blades," says technician and expert James Trenton of FanFix UK.
Listen for any unusual sounds when the fan is running, and if needed, grab a screwdriver, tighten anything loose, and clear any debris.
Check the Airflow
If it feels like your fan's giving its all but barely moving air, you might want to look at the filters and ductwork. A blocked filter can reduce efficiency, and clogged ducts might need professional cleaning. An easy way to test airflow is to hold a piece of paper near the fan when it's on. If the paper sticks, your fan's pulling its weight. If not, it's time for some troubleshooting.
Power Issues
Sudden silence can be worrying. If your fan's not turning on at all, check the power supply first. A simple fix could be as easy as switching on a forgotten button or adjusting a tripped fuse. If it still won't wake up, it might be an internal problem, which is a bit more complex.
Though rare, faulty wiring can be the culprit. If none of these quick fixes work, it might be time to call in a pro to examine the internals.
Visual Inspections
Finally, perform a visual check. Ensure there's no damage to any visible parts and that the fan is securely mounted. Look for signs of rust or corrosion, especially if your fan is located in a damp area. A quick glance goes a long way in preventing future headaches.
If you follow these tips, your fan repairs will be easier and might save you from having to buy a new one prematurely. Regular checks mean you can handle small issues before they turn into costly repairs. Not bad, right?
Maintenance Tips to Extend Fan Life
Want to keep your extractor fan ticking over like the first day you installed it? A little regular TLC can make all the difference. By following these tips, you’ll ensure your fan maintenance becomes a simple, routine task.
Regular Cleaning
Cleaning is the bread and butter of fan longevity. Make it a habit to clean the filters at least once a month. A gentle wash in soapy water usually does the trick for most filters. Don't forget about the fan blades; they might need wiping down more regularly if you cook often.
Check the Wiring
Every few months, make sure to inspect the wiring for frays or other signs of wear. Vulnerable wiring can stop your fan dead in its tracks. Spot something sketchy? Call in an electrician rather than tinkering yourself. Better safe than sorry!
Tighten Up Loose Screws
Over time, vibrations can loosen screws and cause parts to wobble. It’s quick to fix. Just grab a screwdriver and make sure everything is snug and secure. You'll avoid unnecessary rattling and potential damage.
According to Joan Mitchell, a popular DIY expert, “Keeping the moving parts free from dust buildup can extend an extractor fan’s life by up to 30%.”
Ventilation Matters
Make sure the area around the fan is well-ventilated. Obstructions can force the fan to work harder than it should, which can lead to overheating. A clear path for air will always help your fan to function effectively.
Service Schedule
- Every month: Clean filters and blades.
- Every quarter: Inspect wiring and ventilation.
- Annually: Check the motor and moving parts.
Making these steps part of your routine not only enhances fan performance but stretches out its lifespan, saving you money in the long run. With just a bit of attention here and there, your trusty extractor can last for many years.