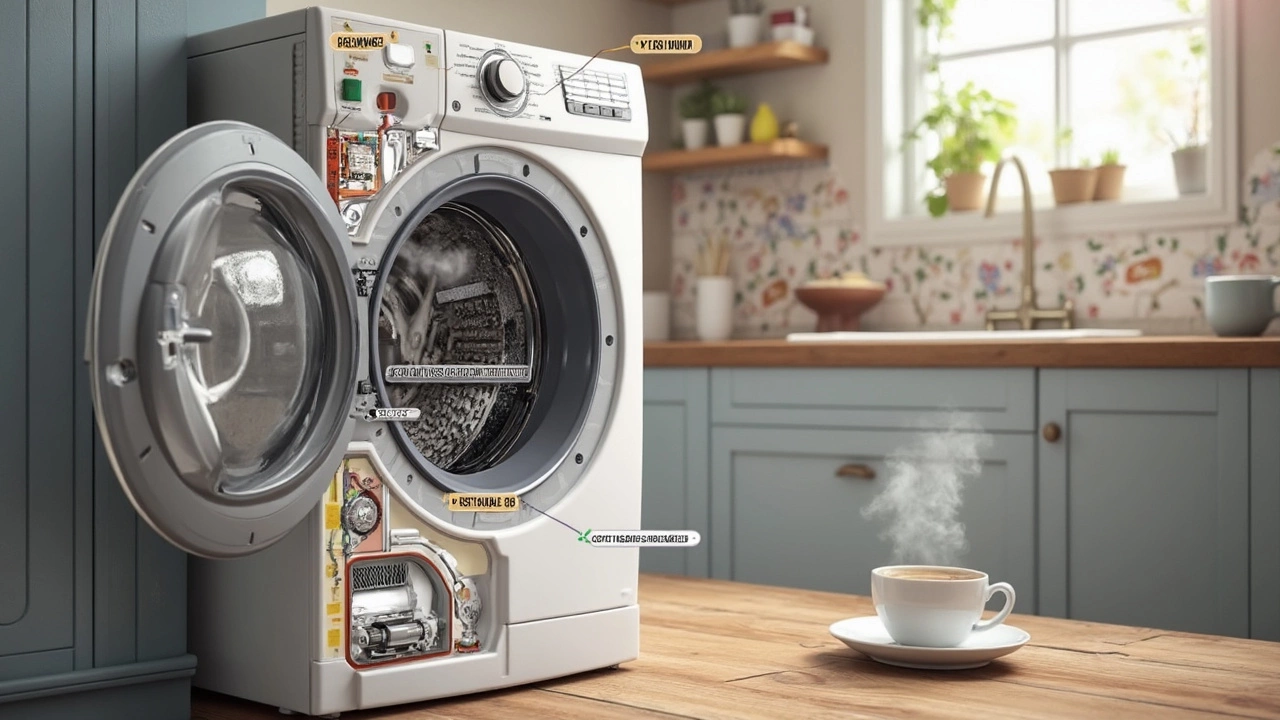
Ever run a load of laundry and suddenly, your trusty washing machine sounds like it’s auditioning for a rock band? Or maybe it stops spinning with your work shirts drowning in soapy water. It’s never just random noise—there’s always a culprit hiding inside. Around 40 million washing machines sell globally every year, and millions end up needing repairs within the first five years. You’d probably be surprised how many folks spend more time choosing their laundry detergent than thinking about what might bust inside their washer. Let’s talk about those hidden weak spots, why they give out, and how you can dodge a pile of wet towels on the floor.
The Most Commonly Failing Parts
The heart of the machine—what breaks here? The washing machine is crammed full of moving bits and electronics, but some parts just can’t handle the pressure over time. First up, the washing machine parts that wave the white flag most often are the drive belt, pump, bearings, lid switch, and control board. Each one has its own weak spots, and their failures are the reason you see so many broken washers on curbs on trash day.
The drive belt is like the vital link between your washer’s motor and the spinning drum. When it cracks or slips, you get a machine that hums quietly but won’t actually do the hard work. Belts can become worn after 5-7 years, especially in homes with heavy laundry routines.
Water pump problems are the notorious reason for leaks. Hard water, coins, and lint are their biggest enemies. Stats say the pump accounts for nearly 30% of washing machine repair calls. When it goes, you might notice water seeping out or the drum not draining fully.
Bearings, tucked deep in the drum assembly, are small metal balls that let things spin smoothly. When they’re shot, the washer can sound like it’s about to take off. That deafening grinding noise? It’s a sign the bearings are corroded and begging to be swapped out.
Lid switches and door locks are failure favorites for top loads and front loads, respectively. Some machines even refuse to start if they think the door isn’t safely locked. Years of slamming the lid down make switches wear out sooner than you might think.
Control boards are the electronic brains. Like any computer, a power surge or stray moisture can fry these in an instant. Sometimes the fix is just unplugging and replugging, but often you’re looking at a costly part replacement.
| Part | Symptoms of Failure | Typical Lifespan | Repair Cost Range |
|---|---|---|---|
| Drive Belt | Won't spin/agitate, motor runs but drum still | 5-7 years | $80-$150 |
| Water Pump | Leaks, drum won't drain | 6-10 years | $120-$250 |
| Bearings | Loud noise, drum wobbles | 7-12 years | $170-$400 |
| Lid Switch/Door Lock | Won't start/pause mid-cycle | 4-8 years | $60-$180 |
| Control Board | No power, frozen display | Varies | $180-$350 |
- Busted belts are top suspects when the washer goes silent during spin cycles.
- Water pump failings often show as pooling water or drainage issues.
- Bearings give warning with noise and vibration long before complete failure.
- Lid switches and door locks are quick to give up after years of physical abuse.
- Control boards can die suddenly after a power surge or after getting wet.
How Wear and Tear Causes Trouble
Most parts don’t just snap overnight. Tiny habits pile up—overloading the drum, shoving in just one more towel, using tons of detergent, and forgetting the monthly drum clean are all torture tests for your washer. Even water quality matters; hard water causes scale and clogs parts faster. Rust builds on metal bits, plastic clips become brittle, and seals shrink as they age. The average American family runs about 300 loads of laundry a year, so imagine the number of cycles those washers endure.
It doesn’t help that washers are built to be lighter nowadays to save on shipping and materials. While that might sound good for your back, it’s tough on long-term durability. The drum flying around at 1200 rpm? That movement grinds away at bearings and stresses the drive system. If you hear an off-balance thunk during spin, chances are you’re wearing out your shocks and suspension rods too.
Detergent, especially the super concentrated kind, leaves residue behind if you use too much. That sticky buildup can jam pumps, clog filters, and trap bacteria. The seals around the drum—especially in front-loaders—are a hot spot for mold if you ever forget to wipe them dry after a wash. All these little choices make or break your machine over the years.
Don’t ignore the role environment plays, either. If your washer lives in a cold garage, rubber hoses and door gaskets crack faster. If it sits in a humid basement, circuit boards risk moisture damage and corrosion. Every extra splash of water, every bit of vibration—it all adds up.
It doesn’t have to be doom and gloom. Quick tip: Use the right size load, stick to HE detergents, and schedule a no-laundry deep clean cycle once a month with a washer cleaner or just a cup of white vinegar and hot water. Check and clean the drain filter every season. These simple moves can squeeze out years of extra life from your machine.

Telling Signs Your Washer Is Failing
Your washer might seem like it shouts for help when it breaks, but sometimes the early warnings are subtle. The most obvious? That dreaded banging and thumping during the spin cycle—think of it as the washing machine’s SOS. Or there’s the mystery puddle on the floor when you walk by. Maybe it blows the breaker switch, or the digital display freezes up mid-wash.
If your clothes come out sopping wet, or you notice dirty water that just won’t drain, these are usually signs the water pump or drain hose has bowed out. A squeaky drum or a metallic hum means bearings are about to quit on you. The washer refusing to start or locking you out? That’s the lid switch or door lock protesting after being slammed once too often.
No power at all is almost always the control board—sometimes a reset works, but more often it’s a replacement. Sudden, weird error codes are telling you: Go look at your manual. The machines may sound cryptic, but most of these codes give clues to the failing part.
There are also less dramatic hints. If you spot a faint burnt smell or see scorch marks on the drive belt, it’s probably slipping. Rust or mold in the detergent drawer? That’s a sign seals or hoses are leaking behind the scenes. Pay attention to cycle times—if your quick wash takes an hour or more, your sensor or software could be acting up.
Here’s a quick warning: about 70% of people ignore these little hints, hoping they’ll just disappear. Fixing minor problems right away can stop a full-blown breakdown. If you’re handy, lots of basic troubleshooting now comes with step-by-step video guides online—just make sure to unplug your machine before peeking behind the panels.
Ways to Prevent Washing Machine Breakdowns
The best way to avoid a laundry disaster? Stay a step ahead. Regular cleaning keeps buildup at bay—run a maintenance wash every month. Check and wipe the door seals, especially for front-loaders where mold loves to settle. Don’t overstuff the machine; keep it around three-quarters full so the drum and shocks aren’t working overtime.
Always use detergent measured for your machine type. High Efficiency (HE) washers need less suds; too much soap can cause foam sensors to freak out and plunge the cycle into endless rinse mode. If you have hard water, consider popping in a water softener tablet now and then to stop scale from choking your pipes and pump.
Take five minutes every six months to check hoses for cracks or bulges, and tighten the connections. Replacing old hoses can save you thousands if you dodge a flood later. Inspect the power cord—frayed cords cause more fires in older washers than faulty electronics. Surge protectors are your friend for fancy touch-screen washing machines.
Keep an eye (and ear) on your machine. If it starts making a weird noise or takes longer to fill, fix it early. Replacing a door latch is way cheaper than buying a new washer. If you’re planning on moving the machine, always transport it upright and secure the drum. For those who like to DIY, investing in a basic set of screwdrivers and pliers usually pays for itself in just one repair.
If all else fails and your machine is near the end of its lifespan (8-12 years is the average for most washers), plan for repairs or upgrades before you’re outfit-washing in the bathtub. Oh, and read that manual—hidden inside are service codes, cleaning cycles, and maintenance tips that most people never see.

Replacement vs. Repair: Knowing When to Quit
The eternal question—fix it or ditch it? If repair costs creep over half the price of a new machine, you’re probably better off with an upgrade. Most manufacturers only guarantee parts for a year, but data shows the sweet spot for calling it quits is around the 10-year mark. Anything older, and you’re rolling the dice.
New machines have way more sensors and electronics. While that means better water and energy efficiency, it also makes repairs trickier and more expensive. If your washer’s drum, bearings, and motor are all going, stacking new repairs on old tech doesn’t always add up. On the other hand, replacing a wartime hose or lid latch can add years to an otherwise solid washer.
Some brands make it easier to repair with modular parts; others glue and sandwich things together so thoroughly that even a pro has trouble getting inside. Research your model—fast. If it’s got a track record of control board failures or leaky seals, set some money aside for repairs or plan your next purchase now.
Recycling your old washer? Check if your city offers pick-up programs—you don’t want to leave a heavy, waterlogged machine for the next guy. And if your replacement parts add up, sometimes you can sell old drums or pumps for scrap or upcycling projects. Either way, knowing which parts fail most often helps you stay one step ahead—and maybe avoid stripping down in front of the laundromat crowd.


