Thinking about tackling that oven repair on your own? Well, you're not alone. Fixing your electric oven might sound intimidating, but you'd be surprised how many common issues you can handle with a little guidance. From heating problems to faulty knobs, some things just need a bit of elbow grease and patience. Let's face it, calling in a professional can be expensive, and sometimes you just want to roll up your sleeves and get the job done yourself.
Before we jump into the nitty-gritty, it's good to know the basics of how your oven works. At its core, an electric oven is pretty straightforward, using heating elements to get your meals just right. Knowing what's under the hood can make troubleshooting a whole lot easier. Just remember: safety is key. You don't want to end up in a sticky situation, so always ensure your oven is unplugged before diving in.
Now, let's talk tools. Having the right ones can make all the difference. A basic toolkit might include items like a multimeter to check for electrical issues, a few screwdrivers, and maybe some pliers. You'll also want a flashlight for those hard-to-see spots. With these by your side, you'll be set to tackle some of the most common oven issues.
- Understanding How Your Oven Works
- Safety First: Precautions Before You Begin
- Common Oven Problems and DIY Fixes
- Tools You'll Need for Basic Repairs
- When to Call a Professional
Understanding How Your Oven Works
Before diving into any oven repair, it helps to know what you're actually dealing with. Your trusty electric oven is basically made up of a few key components that work together to make it function. Understanding these parts can make troubleshooting a breeze.
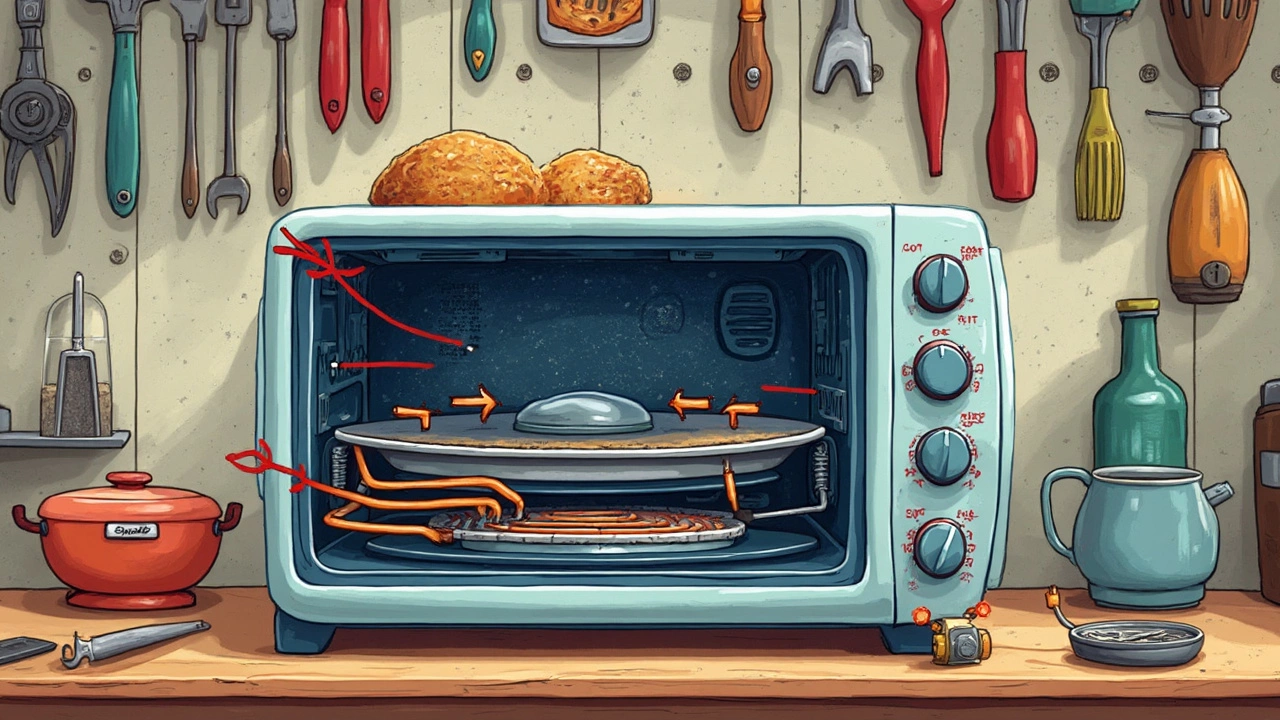
1. Heating Elements
The stars of the show in any oven are the heating elements. Most electric ovens have two—one at the top (broil element) and one at the bottom (bake element). These metallic coils heat up when electricity flows through them, cooking your food from all angles. If you're dealing with uneven cooking or no heat, these should be the first suspects.
2. Thermostat
Your thermostat keeps the temperature in check. It senses the heat inside and cycles the elements on and off to maintain the right temperature. If your oven isn't reaching the desired heat, or it's overheating, the thermostat might be the culprit.
3. Oven Igniter
Though more common in gas ovens, electric ovens sometimes use igniters, especially in units with a convection feature. The igniter helps kickstart the heating process by drawing electricity and lighting the burners.
4. Control Board
Your oven's control board is like its brain, telling the other parts what to do based on inputs from you, like setting the temperature. A faulty control board can lead to all kinds of issues, from no heat to an unresponsive display.
5. Safety and Insulation
Safety is a no-brainer. Ovens come with built-in safety features like thermal cut-offs to prevent overheating and insulation that keeps the heat inside. Be extra cautious with these components, as they're crucial for safe operation.
| Component | Function |
|---|---|
| Heating Elements | Provides heat for cooking |
| Thermostat | Regulates oven temperature |
| Oven Igniter | Kickstarts heating process |
| Control Board | Manages settings and functions |
| Safety Features | Ensures safe operation |
By understanding how these components fit together, you can pinpoint what's wrong more quickly when you're faced with an electric oven fix. Who knows? The problem might be simpler than you think, and you'll save yourself from unnecessary costs and stress.
Safety First: Precautions Before You Begin
Before diving into any oven repair task, the first rule is to prioritize safety. Dealing with electricity can be dicey, so taking the right precautions is non-negotiable. The good news? It's just about using some common sense and following a few essential guidelines.
Unplug and Protect
Start by unplugging your electric oven from the power source. This sounds basic, but you'd be surprised how often it's overlooked. Always double-check that it's properly disconnected. If your oven is hardwired, flip the circuit breaker to cut the power.
Gear Up
Wear protective gear like gloves and safety goggles. They may feel a bit over the top, but they keep you protected from burns, sharp edges, and surprise debris.
Preparation is Key
- Clear your workspace. Clutter can lead to accidents, so keep things tidy.
- Have your tools ready. Searching for tools mid-task can lead to mistakes.
- Ensure good lighting. Being able to see clearly is crucial, so grab that flashlight.
Handle With Care
Inspect the inside of the oven carefully. There might be hidden dangers like broken glass from past mishaps. Approach such areas cautiously.
A Quick Reality Check
Ask yourself: Is this repair within my comfort zone? If at any point you feel unsure or overwhelmed, calling a professional is the smart move. No need to risk personal safety for a DIY fix.
Common Oven Problems and DIY Fixes
Ovens are sturdy kitchen appliances, but like anything, they have their hiccups. If you've ever tried baking a cake and it came out half-baked on one side, you know what I mean. Let's break down some electric oven fix issues and see how you can save money by handling them yourself.
Uneven Heating
When your food cooks unevenly, it's likely not the recipe's fault. Before you point fingers, consider checking the heating elements. Sometimes they can burn out and need replacing. Here's a quick rundown on how to spot a faulty element:
- Turn off the power to your oven—safety first!
- Inspect the heating element for visible signs of damage, like blisters or breaks.
- Using a multimeter, check if it's still getting the right voltage. If not, it's replacement time.
Replacing a heating element isn't rocket science. Simply unscrew the faulty element and swap it with a new one. Easy peasy.
Oven Not Heating at All
If your oven is colder than Antarctica, you might be dealing with a blown thermal fuse or a faulty thermostat. Here's a quick way to figure it out:
- Again, ensure the oven is off.
- Locate the thermal fuse (usually behind the back panel) and check for continuity using a multimeter.
- If the fuse is blown, replacing it can solve the issue. Similarly, check the thermostat.
Replacing both these parts is usually straightforward and can be done with basic tools.
Strange Noises
Listen, ovens shouldn’t sound like a rock concert. Rattling or humming could mean a couple of things, but often it’s just a loose part. Make sure everything is tightened up snugly. If noises persist, it might be time to look at the fan or motor. Sometimes they just need a cleanup.
| Problem | Possible Solution |
|---|---|
| Uneven Heating | Check and replace heating elements |
| Not Heating | Inspect and replace thermal fuse or thermostat |
| Noises | Ensure all parts are secure |
With these DIY oven repair tips, you might just become the neighborhood appliance guru. Remember, while DIY fixes can be satisfying and save you cash, some problems need professional hands. When in doubt, it's worth making the call to stay safe.
Tools You'll Need for Basic Repairs
Alright, so you're ready to dive into the world of DIY oven repair? Awesome. But first, let's make sure you're equipped with the right tools. Having the right gear can be the difference between a smooth fix and a frustrating day.
Basic Toolkit Essentials
Here's a rundown of some must-have tools for tackling those common electric oven issues:
- Multimeter: This is crucial for checking voltages and ensuring continuity in the circuit. Knowing your appliance is getting the right power flow can pinpoint electrical issues quickly.
- Screwdrivers: Stock up on both flat-head and Phillips screwdrivers. Ovens have various screws holding different parts together, and you'll need both types.
- Pliers: Needle nose and regular pliers are handy for holding screws, nuts, or just for reaching into those tight spots inside the oven.
- Flashlight: A good flashlight is vital for seeing what's going on deep inside the oven, making those small details much more apparent.
Specialized Tools for Advanced Tryouts
If you're feeling adventurous and ready to tackle more complex electric oven repair tasks, consider investing in the following:
- Nut Driver Set: Some ovens use nuts and bolts instead of regular screws, so having a set on hand can't hurt.
- Voltage Tester: This will give you peace of mind by checking for current before you touch anything electrical.
- Wire Strippers: Handy when dealing with wiring issues, especially if you need to fix or replace a frayed connection.
Pro Tips
Here's a little nugget of wisdom: Always organize your workspace. Keep screws and small parts in a container so nothing goes missing. Start your repairs with all the tools laid out neatly – it'll save you from frequent trips to the toolbox.
And remember, while fixing your oven can save you some cash, know when to retreat. If you're ever in doubt, or if the issue seems bigger than anticipated, don't hesitate to call in a professional. Safety first, folks!
When to Call a Professional
So, when should you hang up your DIY hat and bring in the pros? Knowing when to call an expert can save you time, money, and a whole lot of frustration. Sometimes those oven issues go beyond a simple tweak, and it’s better to leave them in skilled hands.
If your electric oven refuses to turn on, it might not just be a tripped circuit. This could hint at a faulty control board or wiring issues—you don't want to mess with that without proper training. Plus, the risk of electric shock isn't worth it. Here, the safe bet is to call someone who knows their way around more complex electrical repairs.
Another common issue that calls for expertise is when the oven overheats. If it’s burning your cookies to a crisp or scorching your casseroles, it’s more than just inconvenient. It could mean the thermostat or temperature sensor is on the fritz. While there are some basic checks you can do, repairing or replacing these components is usually best left to a professional.
Strange noises or persistent odors are also red flags. Weird sounds might mean a fan is damaged or dislodged, while strange smells could point to a gas leak or electrical short. Both demand immediate attention from a pro. Don't put off these repairs—get them looked at pronto.
When Emergency Strikes
Emergencies, like smoke or sparking from the oven, need immediate professional intervention. Turn off the power at the main supply and call a repair technician right away. Safety first, always.
Lastly, while getting inside your oven's guts can be tempting, tinkering with major components without proper know-how can void warranties and jack up future repairs. If you plan to use your oven for more than just storage, sometimes a little professional help goes a long way.
In short, it’s all about recognizing your limits. Not everything is a DIY oven repair task, and that’s perfectly okay. The pros are there to ensure your oven gets back to cooking, so you don’t miss out on homemade meals.